
134: Paperclip
(view original Railscast)
Other translations:


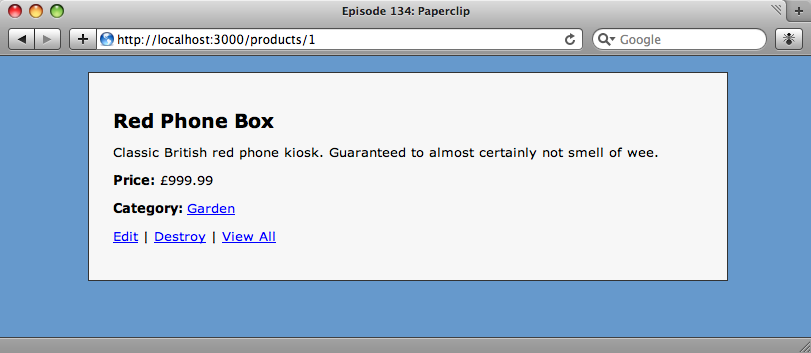
Below is a page for a product in an e-commerce application. We’d like to add an image of the product to this page and modify the admin system so that an image can be uploaded when a product is created or modified. In this episode we’ll show you how to use a plugin called Paperclip to do this.
Paperclip makes adding attachments to a model simple. We’re going to use it to add a field to our Product model so that each product can have an image.
Paperclip is installed in the same way as any other plugin. From our application’s directory we can install it from Github.
script/plugin install git://github.com/thoughtbot/paperclip.git
Updating The Model
Now that we have Paperclip installed we can run its generator to add an attachment field to the Product model.
script/generate paperclip product photo
The generator takes two arguments. The first is the name of the model, in our case our Product model, and the second is the name of the model’s new attachment field. The generator will create a migration that will add four new fields to the model.
add_column :products, :photo_file_name, :string
add_column :products, :photo_content_type, :string
add_column :products, :photo_file_size, :integer
add_column :products, :photo_updated_at, :datetime
The four new fields added by the Paperclip generator.
We’ll then need to run rake db:migrate to update the products table in the database.
The next step is to update the model code. We need to use has_attached_file to tell it the name of the attachment field we specified when we ran the migration.
class Product < ActiveRecord::Base
  belongs_to :category
  has_attached_file :photo
end
Modifying The Views
The form that creates or updates a product will need a file upload field adding to it.
<% form_for @product, :html => { :multipart => true } do |form| %>
  <ol class="formList">
    <!-- Other fields go here... -->
    <li>
      <%= form.label :photo, "Photo" %>
      <%= form.file_field :photo %>
    <li>
      <%= form.submit "Submit" %>
    </li>
  </ol>
<% end %>
As well as adding a file_field to the form we need to modify the form_for so that the form will accept file attachments. This is done by adding :multipart => true to the :html hash, which will add the attribute enctype="multipart/form-data" to the form’s opening tag.
Of course there’s no point uploading images if we don’t then show them, so we’ll need to make a change to the show view. To add the image we just need to add an image_tag to the page. Our Product model will now have a photo object as a property with a url method that will give us the correct path to the image.
<%= image_tag @product.photo.url %>
That done we can edit a product, add an image to it and see the results.
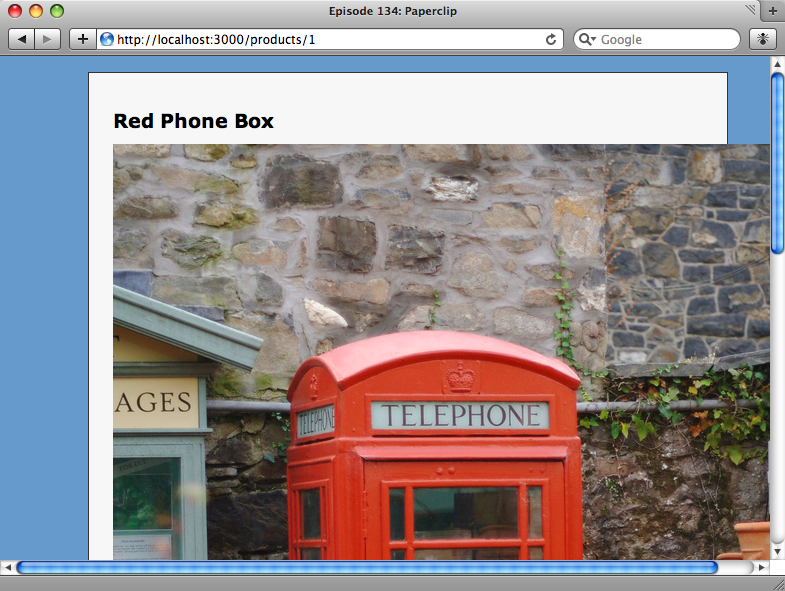
It’s worked! Our product now has an image, but it’s a bit too big. While we could make sure that we only upload pictures of the correct size, it would be easier if we could resize the images on the server and with Paperclip there’s a way to do just that.
Resizing Images
The has_attached_file method that we added to our Product model takes a number of options. One of these is styles which allows us to define different sizes for our image. To create a thumbnail for each image we just need to define a style and specify the size.
has_attached_file :photo, :styles => { :small => "150x150>" }
With the new style added, Paperclip will now generate a thumbnail of each image that fits within 150x150 pixels. The greater than sign at the end tells Paperclip to keep the aspect ratio of the picture so that it isn’t distorted when its resized. Note that to enable resizing you’ll need to have ImageMagick installed on your server.
To display the resized image in the product’s show view we’ll have to change the image_tag so that the url points to the smaller version.
<%= image_tag @product.photo.url(:small) %>
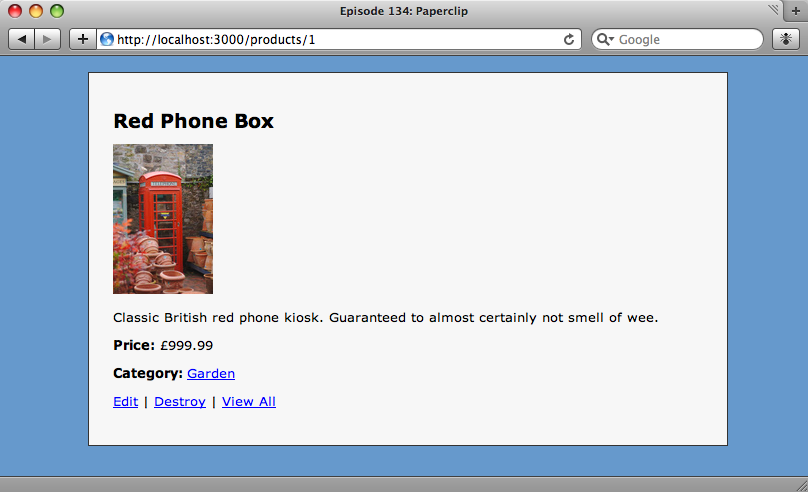
If we pass the style to the url method the appropriate image will be returned. The smaller image is only generated when an image is uploaded, so to resize our picture we’ll have to edit our product and upload the file again. Once we’ve done that our product’s photo will now appear at the thumbnail size we specified.
Setting Paperclip’s Path
By default Paperclip will store attachments in a system directory under our application’s public directory.
<img alt="Phone_large" src="/system/photos/1/small/phone_large.jpg?1238845838" />
Paperclip creates its own hierarchy to store attachments, creating directories based on the the id of the product and style we set in the model. Most of the time the default directory is fine, but if we want to store the images elsewhere then we can change it.
To store the images elsewhere we just add two more options to the has_attached_file method, url and path.
has_attached_file :photo, :styles => { :small => "150x150>" },
  :url => "/system/:attachment/:id/:style/:basename.:extension",
  :path => ":rails_root/public/system/:attachment/:id/:style/:basename.:extension"
The url and path shown above are the defaults that Paperclip uses. The url is specified relative to the public directory and there are placeholders in the string for the name of the attachment field, the model’s id and the style. There are similar placeholders in the string for the path. We want to store our images in an assets directory, so we’ll change the url and the path to suit.
has_attached_file :photo, :styles => { :small => "150x150>" },
  :url => "/assets/products/:id/:style/:basename.:extension",
  :path => ":rails_root/public/assets/products/:id/:style/:basename.:extension"
Any images we upload now will be stored in the assets directory rather than in system/photos.
Validating Attachments
One final useful part of Paperclip is that it can validate the attachments that are uploaded. To validate the photos that are uploaded we could add validators like these to our Product model:
validates_attachment_presence :photo
validates_attachment_size :photo, :less_than => 5.megabytes
validates_attachment_content_type :photo, :content_type => ['image/jpeg', 'image/png']
With the validators above we’re checking that an attachment has been uploaded, that it is no bigger than five megabytes in size and that it is either a JPEG or PNG image. Using these we can validate an attachment as easily as any other form field. One thing to take care with if you’re checking the content type is that Internet Explorer can report different MIME types from other browsers. For example it can treat JPEG files as image/pjpeg rather than image/jpeg.