
185: Formtastic Part 2
(view original Railscast)
Other translations:


In the previous episode we introduced Formtastic, a great gem for producing form views with very little code. With it we created a basic application for a vet’s surgery that had forms for adding and editing animals and categories of animals. In this episode we’ll make use of some of Formtastic’s more advanced features to extend our application.
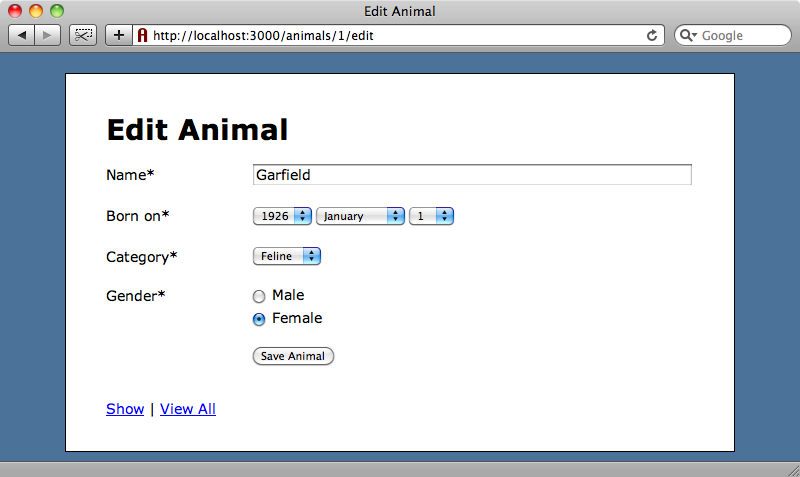
By the end of the last episode we had a form that we could use to create and update animals’ details. In this episode we’ll be modifying the form to give it some more features.
Handling Many-to-Many Relationships
An animal can come to a vet’s surgery with a number of problems so the first modification we want to make to our application is to add a Problem model. This model will have a many-to-many relationship with Animal. In the previous episode we saw how well Formtastic handles one-to-many relationships in forms when we used it to create the category dropdown. Needless to say it can work with many-to-many relationships just as well.
We’ll start by creating the Problem scaffolding. As in the previous episode we’re using Ryan Bates’ nifty generators to make creating the scaffolding simple.
script/generate nifty_scaffold problem name:string
As we’re creating a many-to-many relationship we’ll create a need a join model. We’ll create one called Symptom that will reference both Animal and Problem.
script/generate nifty_scaffold symptom animal_id:integer problem_id:integer --skip-controller
There’s no need to manipulate symptoms directly from the web interface so we can use the --skip-controller option here to avoid creating the controller code.
To complete this step we’ll migrate our database to create the new tables.
rake db:migrate
Next we’ll have to set up the associations between the Problem, Symptom and Animal models. A Problem has many Symptoms and Animals:
  class Problem < ActiveRecord::Base
    attr_accessible :name
    has_many :symptoms
    has_many :animals, :through => :symptoms
  end
A Symptom belongs to a Problem and an Animal:
  class Symptom < ActiveRecord::Base
    attr_accessible :animal_id, :problem_id
    belongs_to :animal
    belongs_to :problem
  end
Finally an Animal has many Symptoms and Problems:
  class Animal < ActiveRecord::Base
    attr_accessible :name, :category_id, :born_on, :female, :problem_ids
    belongs_to :category
    has_many :symptoms
    has_many :problems, :through => :symptoms
  end
There’s one other change we’ve had to make to our Animal model. As we’re using attr_accessible to control which fields can be updated by mass assignment we need to add problem_ids to the list of accessible fields so that we can assign multiple problems to an animal by mass assignment and therefore allow updates via the user interface.
Now that we’ve modified our models we can update the form so that problems can be assigned to animals. We just need to add <%= f.input :problems %> to the animal form to show the problems as a multiple select.
  <% semantic_form_for @animal do |f| %>
    <% f.inputs do %>
      <%= f.input :name %>
      <%= f.input :born_on, :start_year => 1900 %>
      <%= f.input :category, :include_blank => false %>
      <%= f.input :female, :as => :radio, :label => "Gender", :collection => [["Male", false], ["Female", true]] %>
      <%= f.input :problems %>
    <% end %>
    <%= f.buttons %>
  <% end %>
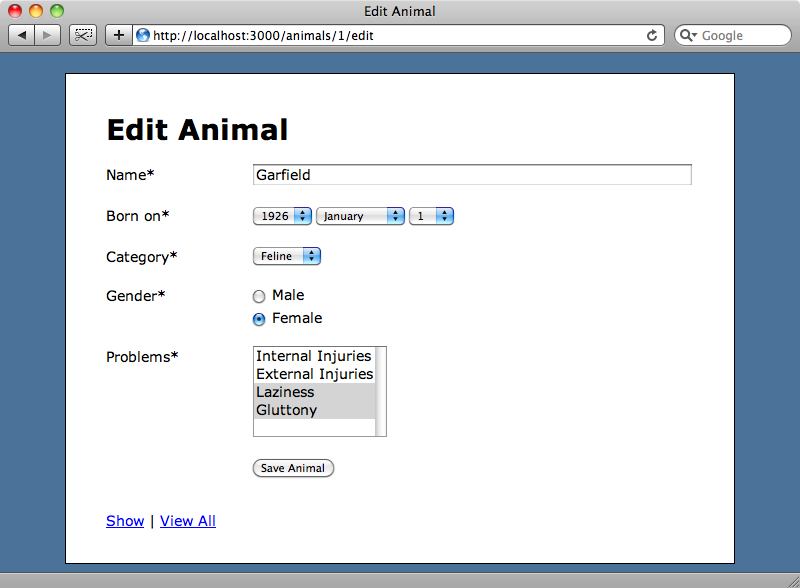
If we reload the page now and we’ll see the list of problems on the form. (We’ve already added a few problems to the database so that there’s something to show.) If we select a couple of problems and save our animal we’ll see that they’re selected when we go back to edit the animal again.
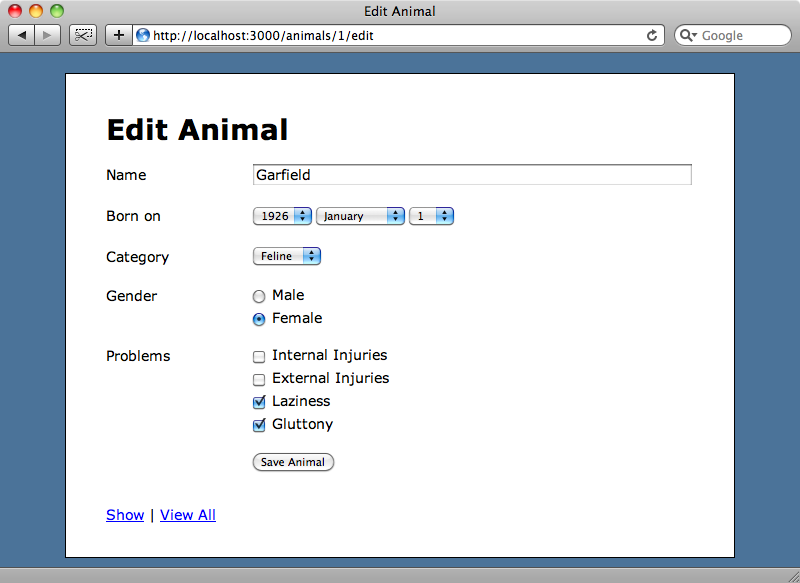
We’d like to show the problems as a list of checkboxes instead of as a multiple select control. Last time we used Formtastic’s :as option to change checkboxes to radio buttons and we can do the same here to show the list as checkboxes.
<%= f.input :problems, :as => :check_boxes %>
Another refresh and the problems are shown as checkboxes, with the items we previously selected from the multiple select checked.

Working With Required Fields
Each field’s label above has an asterisk next to it to indicate that the field is required. Formtastic makes each field required by default. We can override this for a single field by using the :required option.
<%= f.input :problems, :as => :check_boxes, :required => false %>
Controlling this on a field-by-field basis can quickly become a hassle; it would be much easier if we could use the models’ validations to control which fields are required. Formtastic does support this, but we first need to install a plugin called validation_reflection to make use of it.
We can install the plugin into our application from GitHub.
script/plugin install git://github.com/redinger/validation_reflection.git
Once validation_reflection is installed we need to restart our server so that the plugin is picked up. If we then reload the page we’ll see that the asterisks have gone. This is because none of the fields in the Animal model have validations against them.
We can now add validations to the name and born_on attributes so that they’re required…
  class Animal < ActiveRecord::Base
    attr_accessible :name, :category_id, :born_on, :female, :problem_ids
    belongs_to :category
    has_many :symptoms
    has_many :problems, :through => :symptoms
    validates_presence_of :name, :born_on
  end
…and if we reload the form again the asterisks will have returned against those fields’ labels.

How Formtastic Handles Error Messages
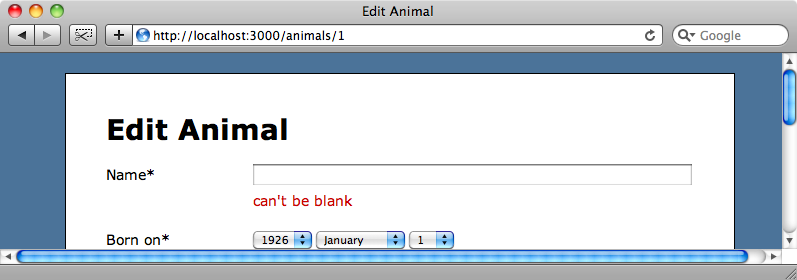
Formtastic renders a form’s error messages inline next to each field. If we remove our animal’s name then try to update it the default error message will be shown.
This is a sensible default, but the behaviour can be changed if necessary by altering Formtastic’s configuration.
It’s best to place the configuration details in a file in the /config/initializers directory. We’ll call the file formtastic_config.rb. The GitHub page for Formtastic has well-documented details on what can be placed in the configuration file and there is an example file that can be viewed. One of the configuration options listed there is inline_errors, which is the one we need to change where the form’s errors are shown. To hide the errors we can set inline_errors to :none in the configuration file.
Formtastic::SemanticFormBuilder.inline_errors = :none
If we try to submit an invalid form now we’ll be taken back to the form page but no errors will be shown. If we want to display the errors as a list at the top of the form we can use the error_messages method to show the errors in the “classic” Rails way.
  <% semantic_form_for @animal do |f| %>
    <%= f.error_messages %>
    <% f.inputs do %>
    <!-- rest of form -->
The form errors are now shown at the top of the form.

Hints
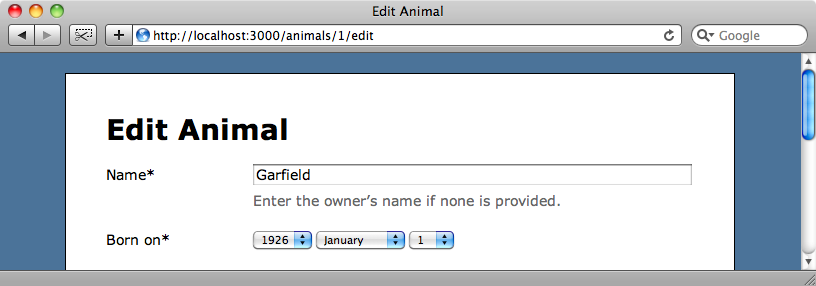
There’s one Formtastic field option that we’ve yet to show: :hint. As its name suggests, :hint shows a hint message next to the field. To add a hint to the name field we just need to add an appropriate hint message.
<%= f.input :name, :hint => "Enter the owner’s name if none is provided." %>
When we reload the page now the hint message will be shown below the form field.
If we want to style the hint message or any other part of the form we can do so by modifying the formtastic_changes.css file that Formtastic generated in the last episode when we ran
script/generate formtastic_stylesheets
The file is pre-populated with a comments section which, handily for us, includes an example of how to alter the styling of the hint text. If we want the hint text to be 11px in size and italicized then we can do so by using the following CSS:
  form.formtastic fieldset ol li p.inline-hints {
    font-style: italic;
    font-size: 11px;
  }
Reload the form again and the hint text will have changed.

If we want to make further changes to the form’s appearance it’s best to look at the formtastic.css file to see how the default styles are defined. We can then use similar selectors in formtastic_changes.css to override the defaults.
That’s about it for this episode. Hopefully it has given you enough information about Formtastic to persuade you to try it out in your own applications. There are a number of features that we’ve not managed to cover over the course of these two episodes. The Formtastic documentation6 covers all of its features and is worth referring to for further information, including internationalization support.