
188: Declarative Authorization
(view original Railscast)
Other translations:


This episode is going to cover authorization, specifically role-based authorization. With this a user can be assigned to a role which gives them certain permissions throughout an application. Authorization is a tricky subject to cover, not least because there are so many different authorization plugins and gems available. Another problem is that the best authorization solution depends on the type of application you’re writing.
This episode will focus on declarative authorization which is one of the more advanced solutions. At first it might appear to be a rather complicated but with a little effort you’ll discover that it provides a lot of powerful functionality and can handle a wide range of authorization needs.
Adding Authorization to Our Application
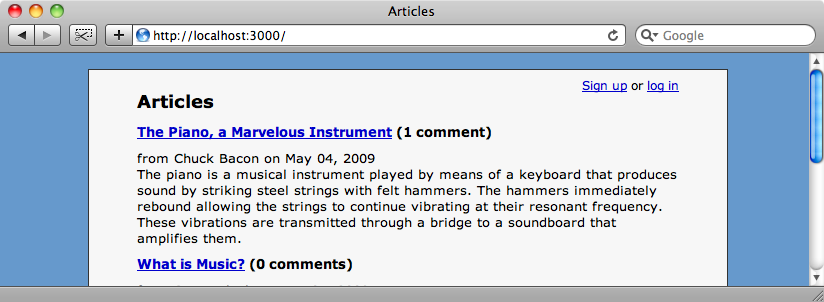
In this episode we’ll be working with a blogging application. The application’s home page shows a list of articles and each article can have a number of comments which are shown on that article’s page.
In its current state any user who visits the site can edit or delete any of the articles or comments which is obviously not what we want so we’ll be modifying the application to give each user a different level of functionality according to their role. We already have authentication set up on our site and there are links at the top of each page to allow users to sign up or log in. For this we used Authlogic, which was covered back in episode 160 [watch, read].
To add roles we’re going to create a new model called Role which will have a string attribute called name. The Role and User models will be linked by a has_many :through relationship via a join model called Assignment.
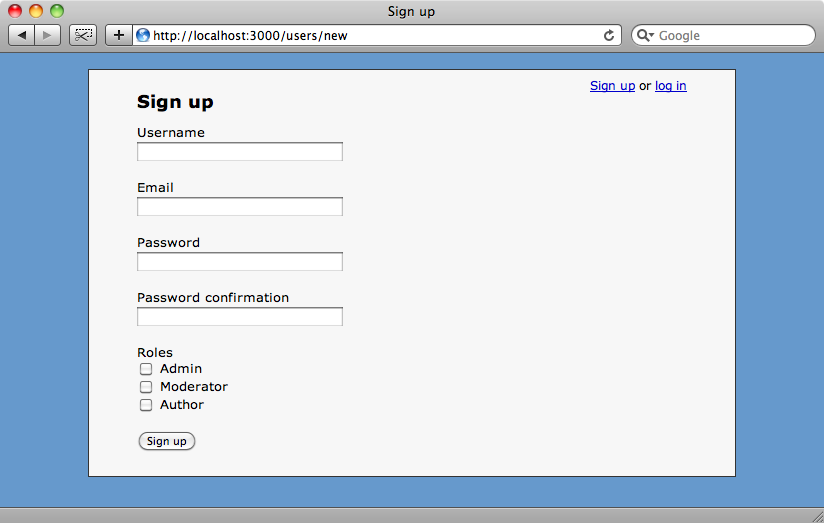
To assign roles to a user we’ll modify the sign-up form so that a user can choose their roles. This is done with a series of checkboxes using the technique described back in episode 17 [watch, read]. Obviously in a real world application we wouldn’t let users to choose their own roles but to keep this example application simple we’re going to allow this.
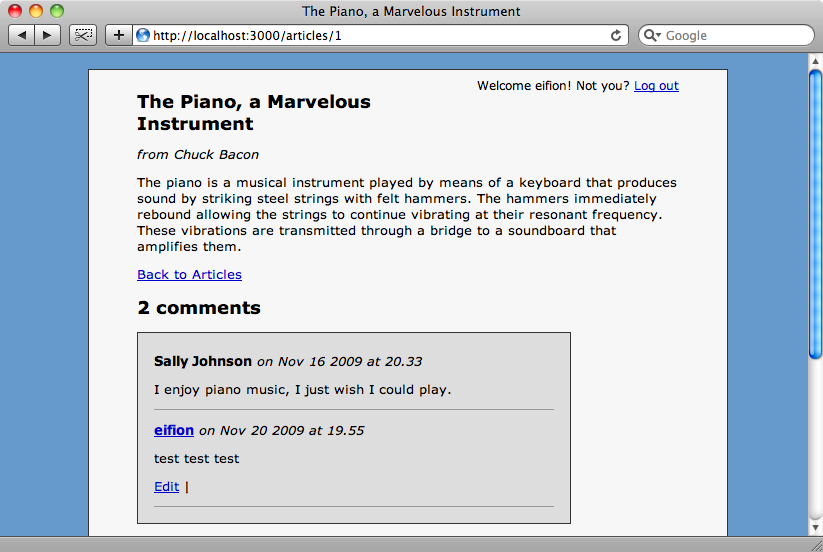
Our three roles will have different permissions: members of the admin role will be allowed to create, edit and destroy anything across the application; moderators will be allowed to edit anyone’s comments, but not articles; authors will be allowed to create articles and edit any articles that they have created and finally, users without any assigned role will be allowed to create comments and edit their own comments.
Getting Started With Declarative Authorization
Now that we know what we want to do let’s dive in and get started. Declarative authorization is available as a gem from Gemcutter so the first step we need to take is to add a reference to it in our application’s /config/environment.rb file.
config.gem "declarative_authorization", :source => "http://gemcutter.org"
Then, to make sure that the gem is installed we’ll run
sudo rake gems:install
The permissions for the roles we’re defining for our application are going be defined in a new file called authorization_rules.rb in the /config directory. Declarative Authorization provides its own DSL for defining roles and permissions and this is how we’ll use it to define the permissions for the admin user.
authorization do
  role :admin do
    has_permission_on [:articles, :comments], :to => [:index, :show, :new, :create, :edit, :update, :destroy]
  end
end
The roles are defined within an authorization block. Each role has a name and also takes a block in which that role’s permissions are set out. We use the has_permission_on method to define the permissions and this takes two parameters. The first is a list of the models that the role can access and this is followed by a :to parameter which has a list of the permitted actions on those models.
We’ll define the other roles later and test what we’ve done so far now. Before we go any further though we’ll need to make one other change as declarative authorization doesn’t know how our roles are defined. We need to make a change to our User model, adding a role_symbols method that returns a list of the roles the user has as an array of symbols. If, for example, our User model had an admin attribute we could write this method this way so that the user belongs to the :admin role if they are an admin.
def role_symbols
  [:admin] if admin?
end
Our application is different is that it has a many-to-many relationship between User and Role and a user’s roles are defined when they sign up through the checkboxes we saw earlier. So in role_symbols we’ll convert the current user’s roles into an array of symbols which is done like this:
def role_symbols
  roles.map do |role|
    role.name.underscore.to_sym
  end
end
Declarative authorization will now be able to map a user’s roles to the roles we’re defining in the authorization_rules file.
There are a couple of steps we still need to take. One is to set up a before_filter in our ApplicationController to tell declarative authorization what the current user is.
class ApplicationController < ActionController::Base
  helper :all
  protect_from_forgery
  before_filter { |c| Authorization.current_user = c.current_user }
end
Finally we need to go into each of our controllers and add a before_filter there to restrict access. We do this by calling a method that declarative authorization provides called filter_resource_access. This method adds before filters to RESTful type controllers and also does one other thing: when filter_resource_access is called it loads the single resource model so that it can check the access on it. This means that in each of the show, new, create, edit, update and delete actions we can remove the line that loads the model. We can do this in both the ArticlesController and the CommentsController in our application. If any of your controllers don’t follow the RESTful conventions then the documentation7 has details on how to deal with this.
Testing What We’ve Done
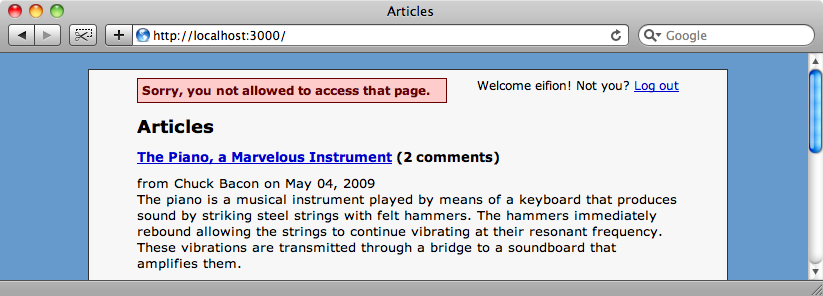
It has taken quite a bit of work to get this far but we’re finally at the stage where we can test what we’ve done so far. If we log in as a user with an admin role we can view the articles and the links to edit or delete articles and comments are visible. So far, so good, but when we log out though we see something unexpected:

This happens because the application redirects to the home page, the articles index page, when we log out and as a guest we don’t have permission to view that action. To fix this we need to add the permissions for the guest in the authorization_rules file. The guest role is a special role reserved for users who are yet to sign up or log in or users who don’t have a role assigned to them.
authorization do
  role :admin do
    has_permission_on [:articles, :comments], :to => [:index, :show, :new, :create, :edit, :update, :destroy]
  end
  role :guest do
    has_permission_on :articles, :to => [:index, :show]
    has_permission_on :comments, :to => [:new, create]
  end
end
In the guest role we give permission for guests to access the index and show actions for articles and the new and create actions for comments. With these changes in place when we reload the page we can see the list of articles again.
Hiding Links to Forbidden Actions
Although guest users cannot edit or destroy articles and comments the links for these actions are still shown. Our next step therefore is to remove these links for those users in roles that don’t have permission to execute the actions they link to. We’ll have to modify the view code to do this and declarative authorization provides a useful method called permitted_to? to help with this.
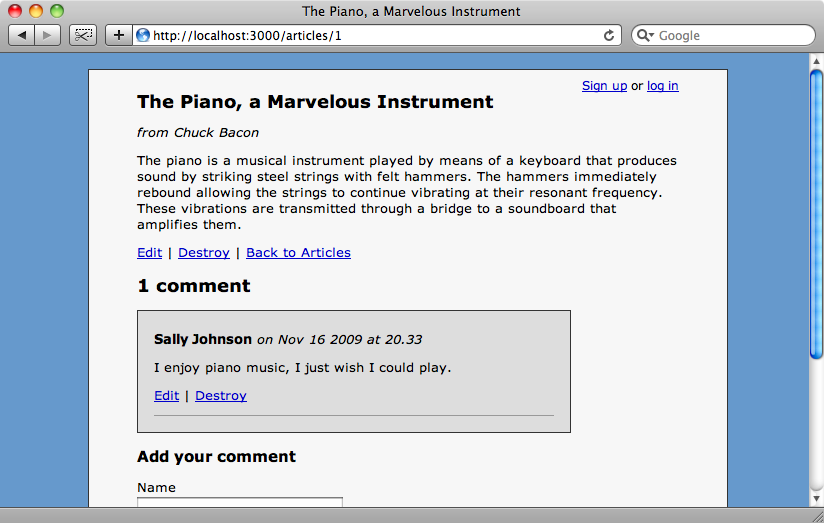
In the view code for the ArticleController’s show action we’ll use permitted_to? to hide the links to edit or delete an article unless the current user has the appropriate permissions.
<p>
  <% if permitted_to? :edit, @article %>
    <%= link_to "Edit", edit_article_path(@article) %> |
  <% end %>
  <% if permitted_to? :destroy, @article %>
    <%= link_to "Destroy", @article, :method => :delete, :confirm => "Are you sure?" %> |
  <% end %>
  <%= link_to "Back to Articles", articles_path %>
</p>
The permitted_to? method takes two parameters: the name of an action and a model. Further down in the same file we’ll make a similar modification so that the links are hidden unless the current user can edit or delete a comment.
<p>
  <% if permitted_to? :edit, comment %>
    <%= link_to "Edit", edit_comment_path(comment) %> |
  <% end %>
  <% if permitted_to? :destroy, comment %>
    <%= link_to "Destroy", comment, :method => :delete, :confirm => "Are you sure?" %>
  <% end %>
</p>
We also need to make a similar change in the index view to hide the new article link.
<% if permitted_to? :create, Article.new %>
  <p><%= link_to "New Article", new_article_path %></p>
<% end %>
Note that as we don’t have an instance of an article in the index action we’ve used Article.new instead.
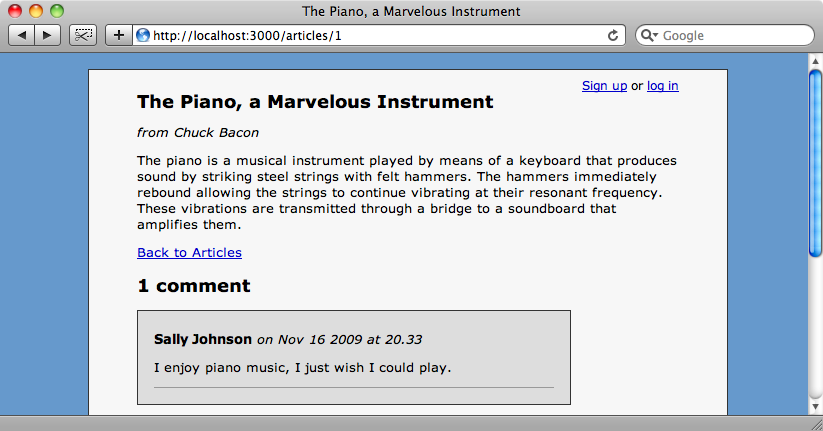
When we reload the page now the edit and destroy links will be hidden unless the current user has the appropriate permissions.
Adding More Roles and Rules
Now that everything is set up all we need to do to alter access to the different parts of the site is to make changes to the authorization_rules file. The DSL that’s provided allows us to set some fairly advanced rules. For example if we want to allow logged-in users who have no roles assigned to them to be able to edit their own comments we can add the following rule to the :guest role.
role :guest do
  has_permission_on :articles, :to => [:index, :show]
  has_permission_on :comments, :to => [:new, :create]
  has_permission_on :comments, :to => [:edit, :update] do
    if_attribute :user => is { user }
  end
end
Declarative authorization provides an if_attribute method which can be used to add conditions to a permission. In the new rule above permission is only granted if the :user attribute, that is the user the comment belongs to, is the currently logged in user.
If we now log in as a user with no roles and add a comment to an article we’ll see that we have an “edit” link for that comment but not the comments made by anyone else.
All we’ve had to do to enable this is make one change to the authorization_rules file which shows how easy it is to set up rules like this.
Adding Permissions For Other Roles
We have set up three roles in our application but so far we have only defined permissions for one of them (as well as the guest role). We’ll add permissions for those roles now.
role :moderator do
  includes :guest
  has_permission_on :comments, :to => [:edit,:update]
end
role :author do
  includes :guest
  has_permission_on :articles, :to => [:new, :create]
  has_permission_on :articles, :to => [:edit, :update] do
    if_attribute :user => is { user }
  end
end
Notice that we’ve used an includes method here to give one role the permissions of another. Any user in the moderator role can do anything a guest can do and also edit and update anyone’s comments. Similarly authors can do all that a guest can do but can also create articles and update any articles that they have written.
A Better Error Message
To finish this episode we’ll make one last change to our application. If someone viewing our site tries to visit an action they don’t have access to they’ll see a basic error page with a message saying that they aren’t allowed to do that.
We can improve this by modifying our ApplicationController. If we add a method called permission_denied it will be executed when an attempt to call an unauthorized action is made. So instead of showing a bare error we’ll have our application redirect to the home page and show an flash message.
def permission_denied
  flash[:error] = "Sorry, you not allowed to access that page."
  redirect_to root_url
end
Now when we try to access an action we’re not allowed to we’ll be redirected to the home page and shown a better error.
That’s it for this episode. Declarative authorization provides a neat, powerful solution for authorization in Rails applications and we’ve only really scratched the surface of what it can do. The documentation pages provide much more details and are well worth reading if you want to delve a little deeper.