
210: Customizing Devise
(view original Railscast)
Other translations:


In the previous episode [watch, read] we showed how to set up devise for user authentication in a Rails application. This time we’ll continue from where we left off and show you how to customize devise.
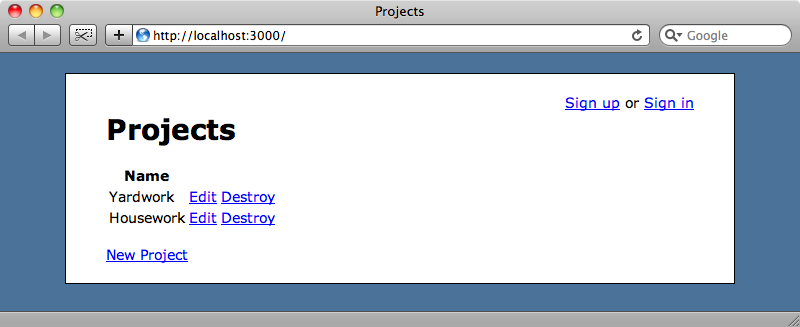
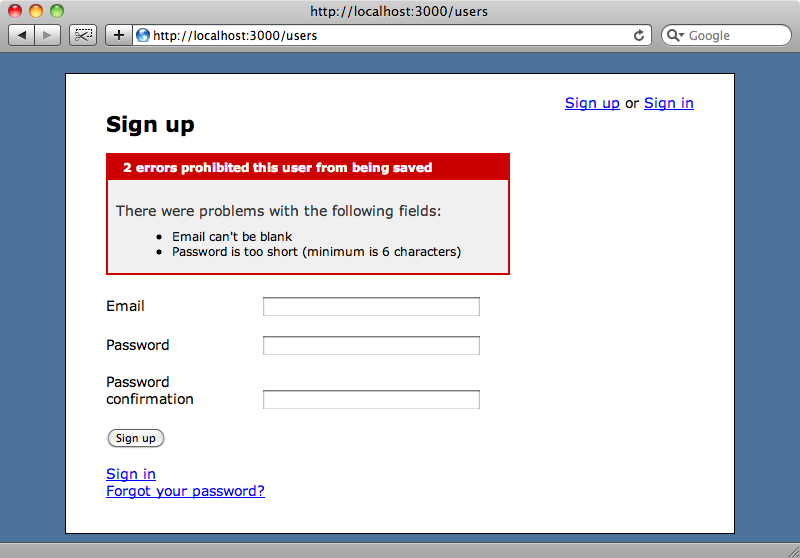
We’ll be working with the same application we used last time so we already have some authentication in place, with pages for signing up, logging in and logging out of the application.
Restricting Access
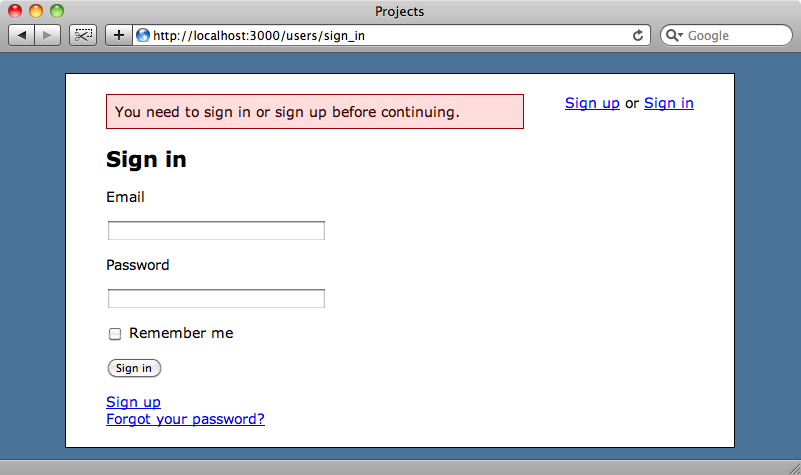
The next step we want to take is to restrict certain actions to users who have logged in. Only those users should be able to create, edit or destroy projects. To do this we need to modify the ProjectsController, adding a before_filter that calls a method provided by devise called authenticate_user!. This method ensures that the user is logged in and if not redirects them to the login page. All users should be able to see the index and show actions so we’ll add an :except parameter to exclude those actions from the filter.
/app/controllers/projects_controller.rb
class ProjectsController < ApplicationController
  before_filter :authenticate_user!, :except => [:show, :index]
  def index
    #rest of class
If we click the “New Project” link now when we’re not logged in we’ll be taken to the login page.
This technique works well if your authorization is simple and you just need to ensure that a user is logged in. For more complex authorization needs an additional authorization solution such as CanCan, which was covered in episode 192 [watch, read] can be used with devise.
Customizing Devise’s Views
Next we’ll show you how to customize the way that devise’s views look. If you’ve gone to a lot of effort on the look of your site then you’ll want the forms that devise provides to match the rest of your pages. As devise is a Rails Engine it provides its own views but these can be easily overridden by adding them into your own application and devise provides a generator to make it easy to copy these views over. From our application’s directory we can run rails generate devise_views and the view files will be created for us.
$ rails generate devise_views
      create  app/views/devise
      create  app/views/devise/confirmations/new.html.erb
      create  app/views/devise/mailer/confirmation_instructions.html.erb
      create  app/views/devise/mailer/reset_password_instructions.html.erb
      create  app/views/devise/mailer/unlock_instructions.html.erb
      create  app/views/devise/passwords/edit.html.erb
      create  app/views/devise/passwords/new.html.erb
      create  app/views/devise/registrations/edit.html.erb
      create  app/views/devise/registrations/new.html.erb
      create  app/views/devise/sessions/new.html.erb
      create  app/views/devise/shared/_links.erb
      create  app/views/devise/unlocks/new.html.erb
This command copies all of the views over from the devise Rails Engine so we can now edit them to fit our needs. For example below is the view code for the sign in page we saw earlier.
/app/views/devise/sessions/new.html.erb
<h2>Sign in</h2>
<%= form_for(resource_name, resource, :url => session_path(resource_name)) do |f| %>
  <p><%= f.label :email %></p>
  <p><%= f.text_field :email %></p>
  <p><%= f.label :password %></p>
  <p><%= f.password_field :password %></p>
  <% if devise_mapping.rememberable? -%>
    <p><%= f.check_box :remember_me %> <%= f.label :remember_me %></p>
  <% end -%>
  <p><%= f.submit "Sign in" %></p>
<% end %>
<%= render :partial => "devise/shared/links" %>
We’ll modify the page to this:
/app/views/devise/sessions/new.html.erb
<% title "Sign In" %>
<%= form_for(resource_name, resource, :url => session_path(resource_name)) do |f| %>
  <ol class="formList">
    <li><%= f.label :email %> <%= f.text_field :email %></li>
    <li><%= f.label :password %> <%= f.password_field :password %></li>
    <% if devise_mapping.rememberable? -%>
    <li><%= f.check_box :remember_me %> <%= f.label :remember_me %></li>
    <% end %>
    <li><%= f.submit "Sign in" %></li>
  </ol>
<% end %>
<%= render :partial => "devise/shared/links" %>
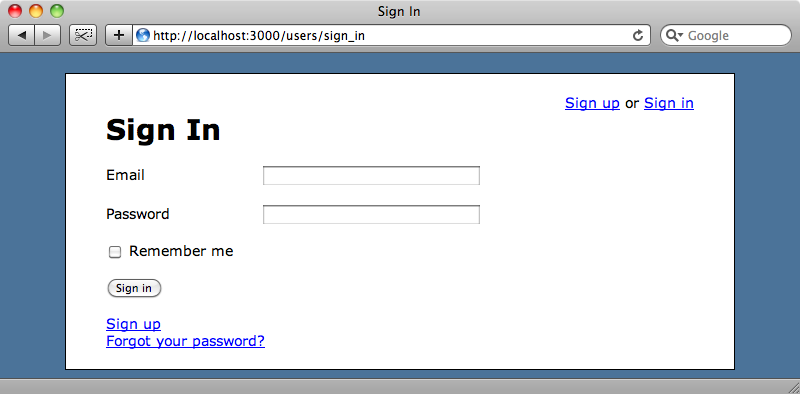
In the code above we’ve replaced the header with a call to the title method that’s provided by Ryan Bates’ nifty generators. This means that the text will also appear in the page’s title. (This trick was covered back in episode 30 [watch, read].) We’ve also changed the layout of the page so that the form elements are rendered as part of a list. With some CSS styling this can be used to move each text field’s label so that it appears next to the field itself.
All of the other views can be customized in a similar way so that they fit in with the rest of your application.
Customizing Error Messages
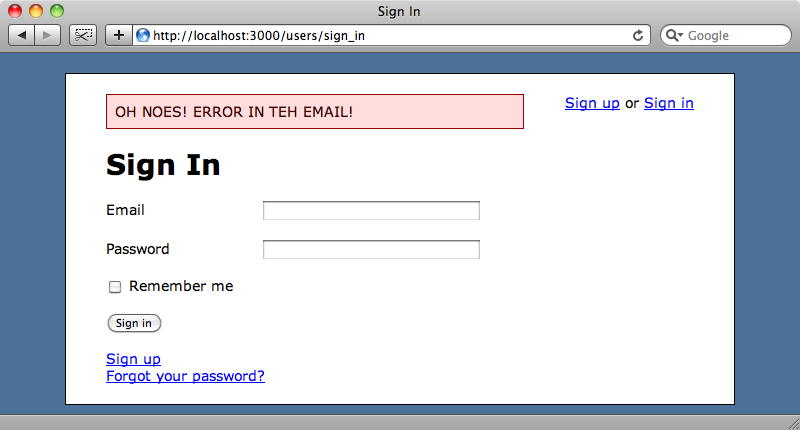
Devise has a number of error messages that are shown when something goes awry. For example if you enter an incorrect email address or password you’ll see the message “Invalid email or password”. All of these messages are stored in a locale file, making it easy to change them or to translate them into other languages. In the locale file below we’ve changed the devise.failure.invalid message.
/config/locales/devise.en.yml
en:
  errors:
    messages:
      not_found: "not found"
      already_confirmed: "was already confirmed"
      not_locked: "was not locked"
  devise:
    failure:
      unauthenticated: 'You need to sign in or sign up before continuing.'
      unconfirmed: 'You have to confirm your account before continuing.'
      locked: 'Your account is locked.'
      invalid: 'OH NOES! ERROR IN TEH EMAIL!'
      invalid_token: 'Invalid authentication token.'
      timeout: 'Your session expired, please sign in again to continue.'
      inactive: 'Your account was not activated yet.'
    sessions:
      signed_in: 'Signed in successfully.'
      signed_out: 'Signed out successfully.'
#rest of file omitted.
When we try to log in with an invalid email address the updated message is shown.
That covers the error messages, but what about the validations that devise shows, for example when someone enters incorrect details when signing up?
Inside the application’s /config/initializers directory is a file called devise.rb and this file contains a large number of options that we can use to configure devise. These options are well documented so its easy to determine which ones need to be altered if you want to make changes. So, if we want to reduce the minimum password length to four characters from six then we can just uncomment out the bottom line from this part of the file and make the necessary change. Note that you’ll need to restart the server after making any changes so that they’re picked up by the application.
/config/initalizers/devise.rb
  # ==> Configuration for :validatable
  # Range for password length
  # config.password_length = 6..20
If we want to take this further we can remove the default set of validations and replace it with our own. If we look in our User model we’ll see a list of the devise modules that our application is using, one of which is :validatable.
/app/models/user.rb
class User < ActiveRecord::Base
  # Include default devise modules. Others available are:
  # :token_authenticatable, :lockable, :timeoutable and :activatable
  # :confirmable,
  devise :database_authenticatable, :registerable,
         :recoverable, :rememberable, :trackable, :validatable
  # Setup accessible (or protected) attributes for your model
  attr_accessible :email, :password, :password_confirmation
end
The :validatable module handles the validations on the email and password when we sign up. If we want to change that behaviour we can remove that module and handle the validations ourself. The defaults in the validatable module are good enough for most purposes though so we’ll leave them as they are for now.
Routing
Next we’ll look at customizing the routes. By default the sign-up page is at /users/sign_up but we want to change that to /register. When ran the devise generator in the last episode it created a route called devise_for :users. We can modify this route with a number of different parameters to alter the routes to suit our needs.
/config/routes.rb
ProjectManage::Application.routes.draw do |map|
  devise_for :users
  resources :projects
  root :to => 'projects#index'
end
One of the parameters we can add is called :path_names and we can use it to change the route for our signup page.
/config/routes.rb
ProjectManage::Application.routes.draw do |map|
  devise_for :users, :path_names => { :sign_up => "register" }
  resources :projects
  root :to => 'projects#index'
end
Once we’ve made this change we’ll see a routing error when we visit /users/sign_up and instead we’ll have to visit /users/register. There are a number of other options that can be passed to the devise_for route and these are listed in the documentation.
Customizing The Login Requirements
Our application currently uses an email address and password to log users in, but if we want to change it so that it asks for a username instead of an email address then we can do so fairly easily.
The first thing we need to do is create a username column in the User table, which we can do by generating a migration.
$ rails generate migration add_username_to_users username:string
That done we’ll run the migration.
$ rake db:migrate
As we only have one user in the database we can quickly log in to the Rails console and set a value for the username attribute for that user.
$ rails c
Loading development environment (Rails 3.0.0.beta2)
ruby-1.8.7-p249 > User.first.update_attribute(:username, "eifion")
 => true
Now that we’ve modified the database we need to modify devise’s configuration file, uncommenting the config.authentication_keys line and changing its value from :email to :username.
/config/initializers/devise.rb
config.authentication_keys = [ :username ]
With this value set devise will use the username field as the authentication key. We’ll also have to modify the sign in form so that it has a username field instead of the email field.
/app/views/devise/sessions/new.html.erb
<% title "Sign In" %>
<%= form_for(resource_name, resource, :url => session_path(resource_name)) do |f| %>
  <ol class="formList">
    <li><%= f.label :username %> <%= f.text_field :username %></li>
    <li><%= f.label :password %> <%= f.password_field :password %></li>
    <% if devise_mapping.rememberable? -%>
    <li><%= f.check_box :remember_me %> <%= f.label :remember_me %></li>
    <% end %>
    <li><%= f.submit "Sign in" %></li>
  </ol>
<% end %>
<%= render :partial => "devise/shared/links" %>
The signup form will also need to be modified and we’ll have to add validation to the User model attribute but we won’t show that here.
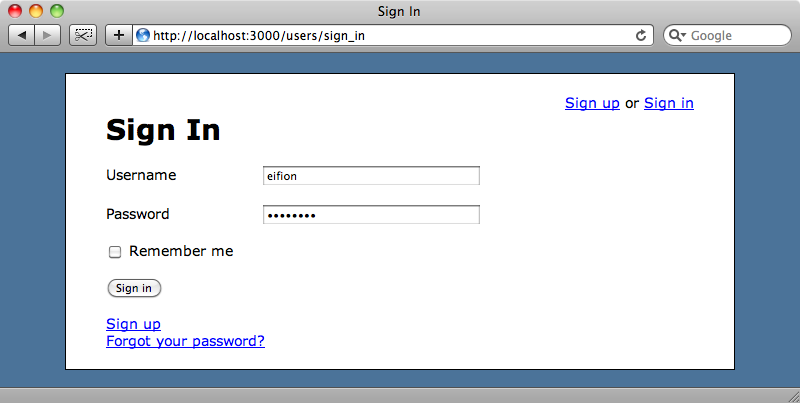
Once we’ve restarted the server so that the configuration changes are picked up we can visit the signin page and login with a username instead of and email address.
That’s it for this episode on customizing devise. Devise is a great solution for authentication in Rails applications with a good set of default options but with the flexibility to be customized almost however you want it.