213: Calendars
(view original Railscast)
Whenever you’re dealing with dates in an application it’s often helpful to provide a calendar in the user interface. If users have to pick a date for a date field it can be easier for them to pick a date from a calendar popup than by selecting a date from a series of drop down lists or by entering a date in a text field. Alternatively if your application has a number of records in a database table that have a date field then a calendar view can be provided that allows those items to be browsed or selected by a date. We’ll show you how to do both of these in this episode.
The application we’re working with is a simple blogging app that has a number of articles, but almost any application that expects date input at some point would benefit from this technique. When we create or edit an article we can choose a publication date by using a classic Rails date picker. We’re going to change this so that we can use a calendar popup as an alternative way to select the date.
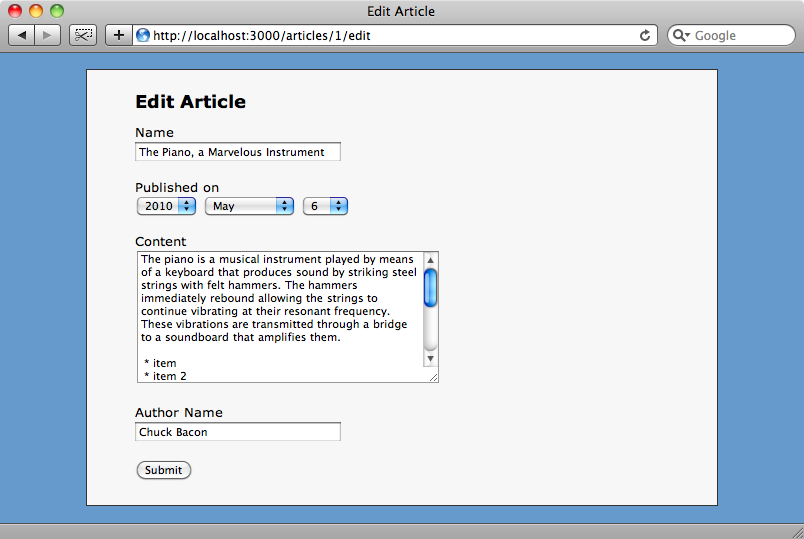
Calendars are tricky to make from scratch but there are a number of third-party solutions available that will let us do almost anything we want with calendars and dates. One of these is the calendar_date_select plugin. This gives us a helper method that works with the Prototype library that will invoke a calendar though JavaScript. We won’t be using this though, instead we’ll use a different solution that uses unobtrusive JavaScript and makes use of jQuery. This is not a Rails-specific solution but we’ve chosen it as it’s a provides a straightforward way of adding a calendar to a date field.
The jQuery UI library provides a Datepicker that allows a calendar to be unobtrusively attached to any text field on a page. When the textfield gets the focus by either being clicked on or tabbed in to a popup calendar appears and a date can be chosen. The text box then has its value set to the selected date. This calendar can be themed by using jQuery’s Themeroller to give it almost any look we want and the theme files added to our application’s layout file. If we just want to get up-and-running quickly we can use the JavaScript files and stylesheets hosted on Google’s servers to include the jQueryUI code and one of the default themes. We just need to reference the appropriate files in the head section of our layout page.
/app/views/layouts/application.html.erb
<html xmlns="http://www.w3.org/1999/xhtml" xml:lang="en" lang="en">
<head>
  <meta http-equiv="Content-Type" content="text/html; charset=utf-8"/>
  <%= stylesheet_link_tag "http://ajax.googleapis.com/ajax/libs/jqueryui/1.7.2/themes/redmond/jquery-ui.css", "application" %>
  <%= javascript_include_tag "http://ajax.googleapis.com/ajax/libs/jquery/1.4.2/jquery.min.js", "http://ajax.googleapis.com/ajax/libs/jqueryui/1.8.1/jquery-ui.min.js", "application" %>
  <title><%= yield :title %></title>
</head>
Note that the application we’re working with here is written in Rails 2. If we were using Rails 3 then we’d need to add the jQuery-compatible version of the rails.js file as discussed in episode 205 [watch, read].
Now that we have the jQuery and jQueryUI libraries included we can begin to modify our application to work with the Datepicker. The first thing we’ll have to do is modify the published_on field on the article form so that it uses a text_field instead of a date_select.
/app/views/articles/_form.html.erb
<%= f.label :published_on %>
<%= f.text_field :published_on %>
Next we need to unobtrusively add the calendar which we can do by adding some JavaScript to the application.js file.
/public/javascripts/application.js
$(function (){
	$('#article_published_on').datepicker();
});
This code will fire when the DOM is ready and add the date-picker to any element with an id of article_published_at. If we reload the edit article page and click into the published_on text field we’ll see the calendar popup and can select a date from it.
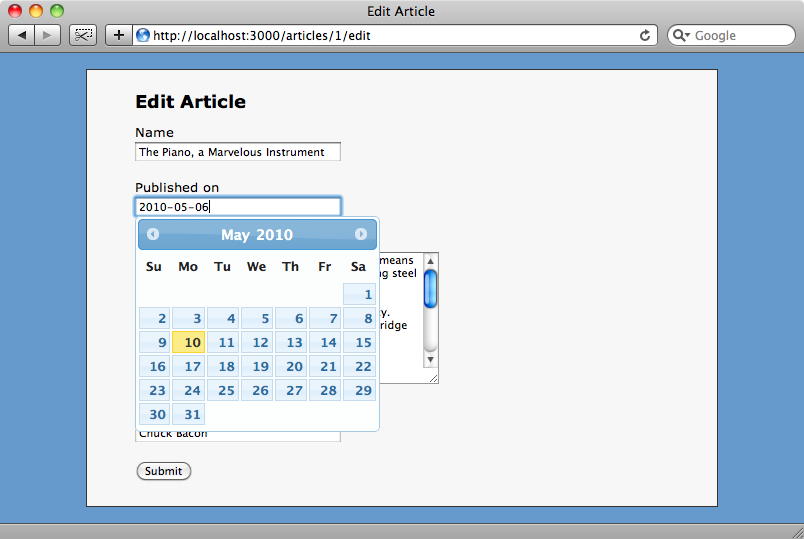
When we submit the form Rails will parse the date from the value in the text box and update the published_on date in the database’s articles table.
A Calendar View
Now that we have our date picker working let’s look at the other use of calendars we discussed: providing a calendar-based view of the articles in our application. This might not be the most efficient way of listing articles in a blog but we’ll provide it as an alternative way of browsing the articles.
There are several solutions to this problem and finding the correct one depends on the needs of your application. If you need to show records that span multiple days then it’s worth taking a look at the event_calendar plugin which can display events that span a range of dates. If this functionality isn’t required then a good alternative is the table_builder plugin. This plugin offers a helper method called calendar_for that makes it easy to group a given set of records into days on a calendar. This is a better fit for our needs so we’ll use it in our application.
We can install table_builder by running the following command:
script/plugin install git://github.com/p8/table_builder.git
After it has installed we can begin to work on our calendar view by changing the index view in our articles controller. This currently looks like this:
/app/views/articles/index.html.erb
<% title "Articles" %>
<div id="articles">
<% @articles.each do |article| %>
  <h2>
    <%= link_to h(article.title), article %>
    <span class="comments">(<%= pluralize(article.comments.count, 'comment') %>)</span>
  </h2>
  <div class="author">from <%=h article.author %> on <%= article.written_date.strftime('%b %d, %Y') %></div>
  <div class="content"><%= h(article.content) %></div>
<% end %>
</div>
<p><%= link_to "New Article", new_article_path %></p>
We’ll replace the code that loops through each article and shows it with a call to calendar_for to display the articles in a calendar view.
/app/views/articles/index.html.erb
<% title "Articles" %>
<div id="calendar">
  <% calendar_for @articles do |calendar| %>
    <% calendar.day(:day_method => :published_on) do |date, articles| %>
      <%= date.day %>
    <% end %>
  <% end %>
</div>
We call calendar_for and pass it our collection of articles. The block is executed once and takes a calendar object so we can call calendar.day to loop through each day. We have to specify a property of the article that returns a date so that we can group the articles by day so we pass in a :day_method parameter with a value of :published_on. The block here has two parameters: a date and a list of the articles that were published on that day. We can put any code we like inside this block but for now we’ll just output the date’s day of the month.
If we reload the page now we won’t see a list of articles but instead a list of dates that look a little like a calendar.
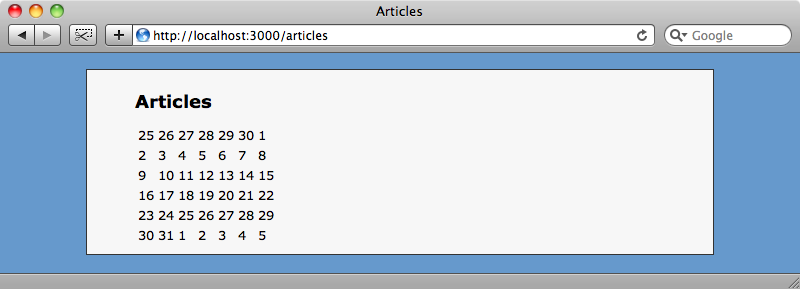
This doesn’t look very pretty yet, but we can add some to improve the look of it.
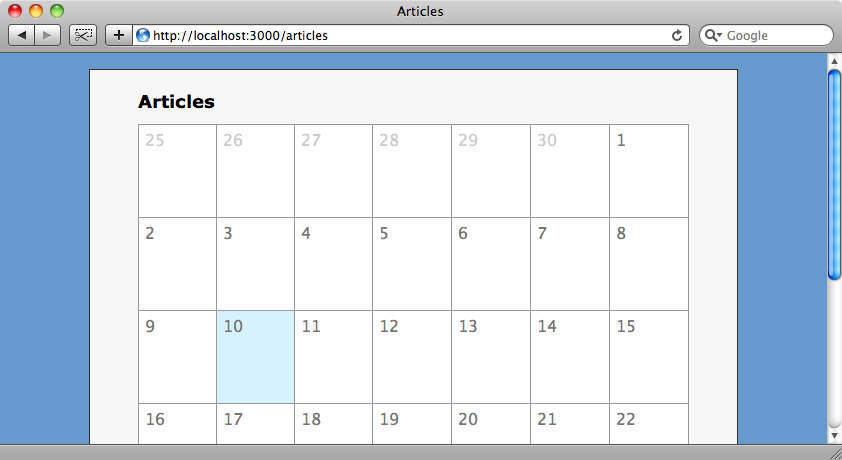
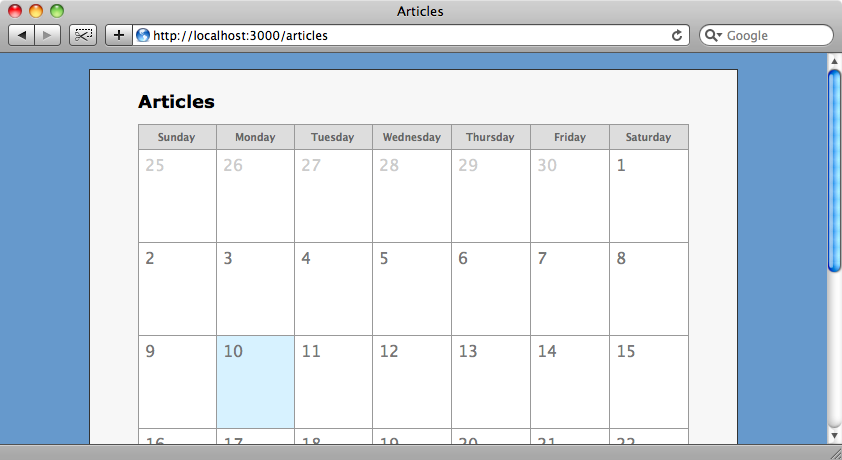
We can improve the usability of the calendar by adding the names of the days at the top, using the calendar.head method.
/app/views/articles/index.html.erb
<% title "Articles" %>
<div id="calendar">
  <% calendar_for @articles do |calendar| %>
    <%= calendar.head('Sunday', 'Monday', 'Tuesday', 'Wednesday', 'Thursday', 'Friday', 'Saturday')%>
    <% calendar.day(:day_method => :published_on) do |date, articles| %>
      <%= date.day %>
    <% end %>
  <% end %>
</div>
When we reload the page again the days of the week will have been added to the top of the calendar.
As it stands our calendar can only show dates from the current month so next we’ll add a month selector that shows the current month and has links on either side to allow us to change the month that’s shown.
To do this we’ll start in the articles controller’s index action where we’ll create a variable that will hold the date of the month that we want to display. For now we’ll just set it to today’s date.
/app/controllers/articles_controller.rb
def index
  @articles = Article.all
  @date = Date.today
end
Next we’ll alter the view so that the month and the links are shown.
/app/controllers/articles_controller.rb
<% title "Articles" %>
<div id="calendar">
  <h2 id="month">
    <%= link_to "<", :month => (@date.beginning_of_month-1).strftime("%Y-%m-01") %>
    <%= h @date.strftime("%B %Y") %>
    <%= link_to ">", :month => (@date.end_of_month+1).strftime("%Y-%m-01") %>
  </h2>
  <% calendar_for @articles, :year => @date.year, :month => @date.month do |calendar| %>
    <%= calendar.head('Sunday', 'Monday', 'Tuesday', 'Wednesday', 'Thursday', 'Friday', 'Saturday') %>
    <% calendar.day(:day_method => :published_on) do |date, articles| %>
      <%= date.day %>
    <% end %>
  <% end %>
</div>
The links both point to the index action that is currently being shown but add a parameter to the query string called month that specifies the previous or next month. We can go back to the controller code now, check for the existence of that month parameter and use it to set the value of the @date variable if it exists.
/app/controllers/articles_controller.rb
def index
  @articles = Article.all
  @date = params[:month] ? Date.parse(params[:month]) : Date.today
end
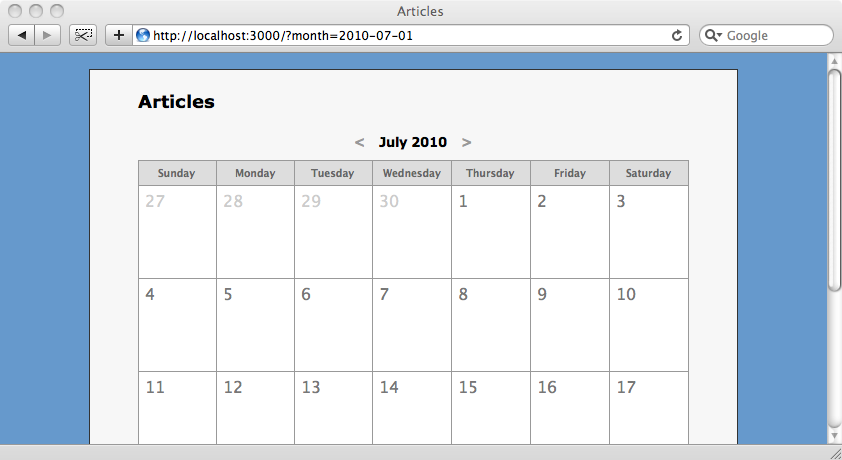
When we reload the page now we’ll see the the month above the calendar and the arrows on either side of it that will allow us to navigate to other months.
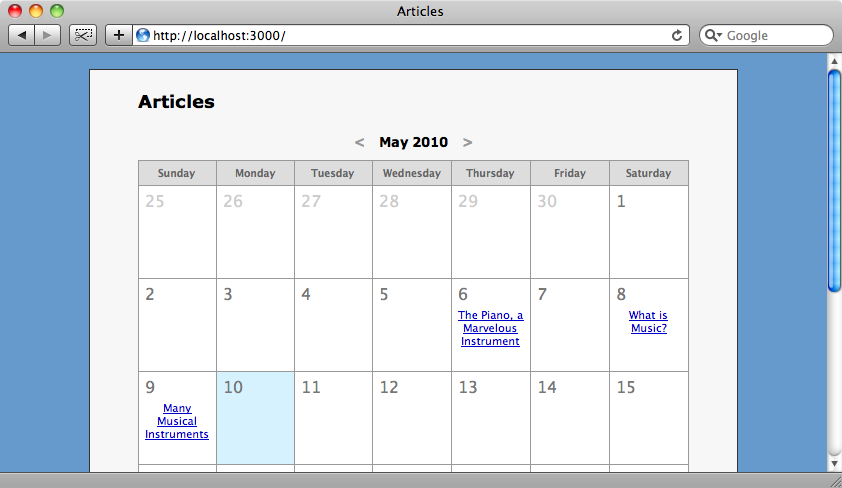
Our calendar view now looks good but it’s not showing the articles that exist for any given day. We already have access to the articles for a given day in the calendar.head block so we can loop through this collection and render a link to each article for that day in a list.
/app/views/articles/index.html.erb
<% calendar_for @articles, :year => @date.year, :month => @date.month do |calendar| %>
  <%= calendar.head('Sunday', 'Monday', 'Tuesday', 'Wednesday', 'Thursday', 'Friday', 'Saturday')%>
  <% calendar.day(:day_method => :published_on) do |date, articles| %>
    <%= date.day %>
    <ul>
      <% for article in articles %>
        <li><%= link_to h(article.title), article %></li>
      <% end %>
    </ul>
  <% end %>
<% end %>
When we reload the page one last time we’ll see the articles for each day listed and can click on each article’s link to take us through to that article.
That’s it for this episode. As we’ve shown it’s easy to use calendars to select dates or to display a list of records by a date property. You’re encouraged to consider using a calendar view like this when it fits with the data in your application.


