
238: Mongoid
(view original Railscast)
Other translations:


A few months ago Episode 194 [watch, read] covered MongoDB and MongoMapper. MongoMapper is a great gem but there is now an alternative called Mongoid that is well worth considering if you’re thinking of using MongoDB as the back-end for a Rails application. One of the things that makes Mongoid stand out is its website which looks great and which has detailed documentation. Mongoid is a project that other open-source projects can learn from.
Installing MongoDB
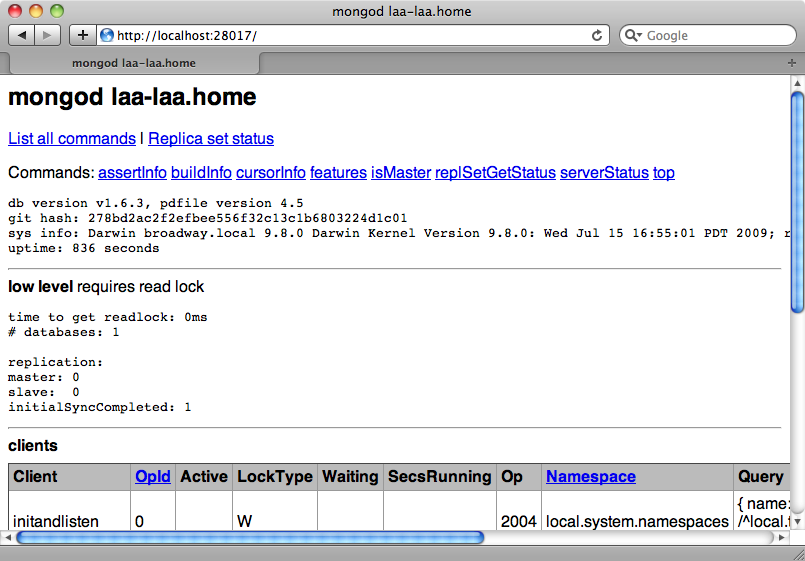
If you haven’t yet installed MongoDB on your system the first thing you’ll need to do is go to the MongoDB downloads page and download the appropriate files. If you’re using Mac OS X then you can install MongoDB via Homebrew instead. Once installed, you can check that MongoDB is working by visiting http://localhost:28017. If you see a page like the one below then everything is running correctly.
Creating a new Rails Application With Mongoid
Now that we have MongoDB installed we’ll create a new Rails 3 application that uses Mongoid. In the great tradition of example Rails applications this will be a blogging app.
$ rails new blog
The first thing we need to do is to add the Mongoid gem to the Gemfile. At the time of writing version 2, which is the version that supports Rails 3, is still in beta so we’ll need to specify the version number.
/Gemfile
source 'http://rubygems.org'
gem 'rails', '3.0.1'
gem 'sqlite3-ruby', :require => 'sqlite3'
gem 'mongoid', '2.0.0.beta.19'
gem 'bson_ext'
We also need to add the bson_ext gem. BSON is a binary version of JSON and this gem provides some C extensions to accelerate Ruby’s BSON serialization. We can then install the gems in the usual way
$ bundle
Once the gems have installed we’ll need to run the Mongoid configuration generator so that it can create the configuration YAML file.
$ rails g mongoid:config
The default file is shown below. We can leave it as it is while we’re developing our application.
/config/mongoid.yml
defaults: &defaults
  host: localhost
  # slaves:
  #   - host: slave1.local
  #     port: 27018
  #   - host: slave2.local
  #     port: 27019
development:
  <<: *defaults
  database: blog_development
test:
  <<: *defaults
  database: blog_test
# set these environment variables on your prod server
production:
  host: <%= ENV['MONGOID_HOST'] %>
  port: <%= ENV['MONGOID_PORT'] %>
  username: <%= ENV['MONGOID_USERNAME'] %>
  password: <%= ENV['MONGOID_PASSWORD'] %>
  database: <%= ENV['MONGOID_DATABASE'] %>
Everything is in place now for us to begin building our application. We’ll start by creating an Article model with name and content fields and use Rails’ scaffolding to create the associated controller and view code.
$ rails g scaffold article name:string content:text
    invoke  mongoid
    create    app/models/article.rb
Mongoid provides generators for models so that Mongoid’s model generator is invoked when a model is created and therefore ActiveRecord isn’t used. If we open up the model file we’ll see that it’s a simple class that includes Mongoid::Document.
/app/models/article.rb
class Article
  include Mongoid::Document
  field :name, :type => String
  field :content, :type => String
end
One difference this class has from an ActiveRecord model class is that each field is explicitly defined, along with its type. The default type is String so we can remove the types from this class if we want.
/app/models/article.rb
class Article
  include Mongoid::Document
  field :name
  field :content
end
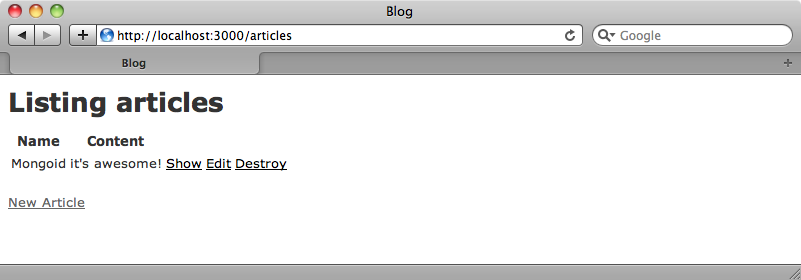
Our application is now ready to run. We don’t need to run any database migrations as MongoDB is schema-less and we can pass any fields we like into a document. If we visit the /articles page we’ll see the usual scaffold-generated page and we can create a new Article just like we would if we had an ActiveRecord back-end.
Adding Fields
One of the great advantages of using a schema-less database is that it’s simple to add new fields to a model. Let’s say that we forgot to add a publishing date to Article. To add one we just need to modify the model class.
/app/models/article.rb
class Article
  include Mongoid::Document
  field :name
  field :content
  field :published_on, :type => Date
end
To enable us to view and modify the publishing date field we’ll modify the view code and add the new field to the form.
/app/views/articles/_form.html.erb
 <div class="field">
    <%= f.label :name %><br />
    <%= f.text_field :name %>
  </div>
  <div class="field">
    <%= f.label :published_on %><br />
    <%= f.date_select :published_on %>
  </div>
  <div class="field">
    <%= f.label :content %><br />
    <%= f.text_area :content %>
  </div>
  <div class="actions">
    <%= f.submit %>
  </div>
And also the view for the show action.
/app/views/articles/show.html.erb
<p id="notice"><%= notice %></p>
<p>
  <b>Name:</b>
  <%= @article.name %>
</p>
<p>
  <b>Content:</b>
  <%= @article.content %>
</p>
<p>
  <b>Published:</b>
  <%= @article.published_on %>
</p>
<%= link_to 'Edit', edit_article_path(@article) %> |
<%= link_to 'Back', articles_path %>
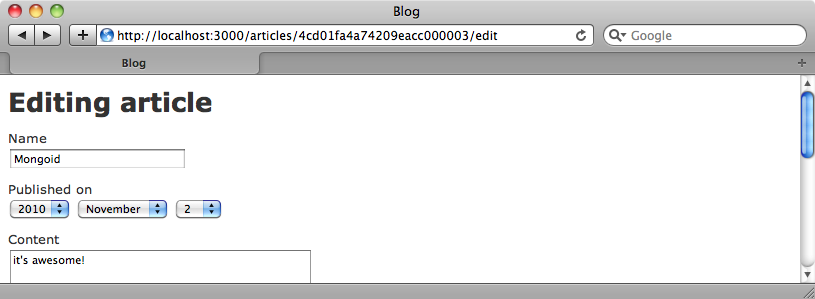
We can now edit the article we just created and add a published-on date to it.
Validations
Mongoid used ActiveModel which means that a lot of the functionality we use in ActiveRecord is available to us here as well, for example validations, callbacks, dirty tracking, attr_accessible and so on. This makes it as easy to add validations to Mongoid models as ActiveRecord ones.
/app/models/article.rb
class Article
  include Mongoid::Document
  field :name
  field :content
  field :published_on, :type => Date
  validates_presence_of :name
end
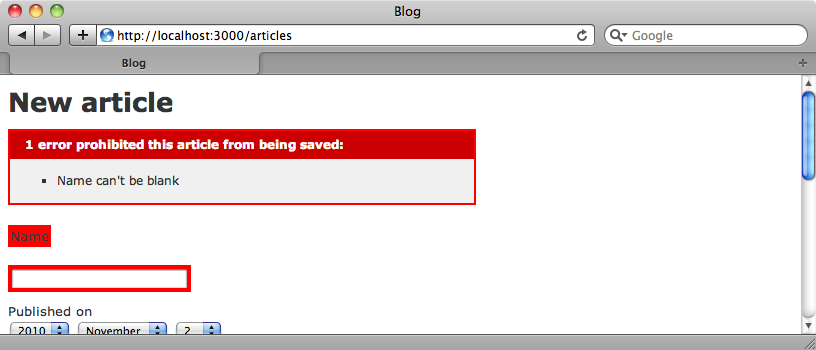
If we try to create an article without a name now we’ll get the same validation errors we’d see for an equivalent ActiveRecord model.
Associations
We can’t have a blog without comments, so we’ll create a Comment model along association so that each article can have many comments. There are two ways to define associations with Mongoid. The first is through a reference association. This behaves in a similar way to the relations between tables in ActiveRecord and relational databases in that there are two separate records that are related through an id column. The other way is an embedded association which would mean in this case that the comments are embedded inside the same document as the article.
When you’re deciding which of these approaches is to use you need to ask yourself if you’ll ever need the associated records to stand on their own or if you’ll always be accessing them through their parent model. In this case we’ll only ever be getting comments through their associated article so we’ll use an embedded association. We define the relationship in the Article class by using the embeds_many method.
/app/models/article.rb
class Article
  include Mongoid::Document
  field :name
  field :content
  field :published_on, :type => Date
  validates_presence_of :name
  embeds_many :comments
end
Next we’ll generate the Comment model.
$ rails g model comment name:string content:text
In this new Comment class we can now define its relationship with Article.
/app/models/comment.rb
class Comment
  include Mongoid::Document
  field :name
  field :content
  embedded_in :article, :inverse_of => :comments
end
We use embedded_in to define a comment’s relationship to an article. The inverse_of option is required in order to tell Mongoid what the comment should be embedded through.
In order to create comments for each article and to view them we’ll need to create a CommentsController and some views, but before we do so we’ll need to alter the routes file. For embedded associations like this we generally want to use nested routes as the child object is always accessed through its parent and so we’ll nest the comments resource under articles.
/config/routes.rb
Blog::Application.routes.draw do
  resources :articles do
    resources :comments
  end
end
Next we’ll generate the controller.
$ rails g controller comments
In the controller we’ll write a create action so that we can create new comments for an article. This action will find an article based on the article_id parameter, create a comment for that article and then redirect back to the article’s page.
/app/controllers/comments_controller.rb
CommentsController < ApplicationController
  def create
    @article = Article.find(params[:article_id])
    @comment = @article.comments.create!(params[:comment])
    redirect_to @article, :notice => "Comment created!"
  end
end
Finally we’ll add some code to the articles’ show view that will show the comments for an article and allow comments to be added.
/app/views/articles/show.html.erb
<% if @article.comments.size > 0 %>
  <h2>Comments</h2>
  <% for comment in @article.comments %>
    <h3><%= comment.name %></h3>
    <p><%= comment.content %></p>
  <% end %>
<% end %>
<h2>New Comment</h2>
<%= form_for [@article, Comment.new] do |f| %>
  <p><%= f.label :name %> <%= f.text_field :name %></p>
  <p><%= f.text_area :content, :rows => 10 %></p>
  <p><%= f.submit %></p>
<% end %>
When we visit an article’s page now we’ll be able to create a new comment and after we have submitted it it will be shown below the article.
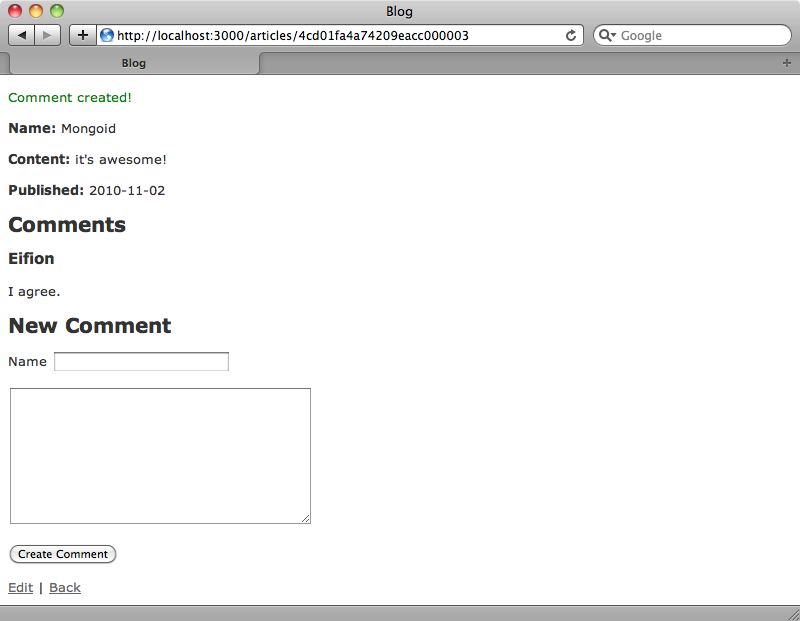
If we take a look at the development log we can see the MongoDB queries. When we created a comment just now, this query was made.
MONGODB blog_development['articles'].update({"_id"=>BSON::ObjectId('4cd01fa4a74209eacc000003')},
{"$push"=>{"comments"=>{"_id"=>BSON::ObjectId('4cd04c74a74209ecb4000002'),
  "name"=>"Eifion", "content"=>"I agree."}}})
The query updates an article model and adds a comment attribute to it so the comments are not stored separately. This means that if we open up the Rails console and count all the comments we’ll get an unexpected result.
> Comment.count
 => 0
The comments we have are embedded in articles and are not available at a global document level. To access them we always have to go through their associated article.
>   Article.first.comments.count
 => 1
To get at the attributes for a comment we’ll always need to get that comment through the association as in this application comments are embedded records.
Reference Type Associations
If we want an associated record that is also available as a separate document then we'll need to create a reference type association. We’ll demonstrate this by modifying our application so that we can associate each article with an author. First we’ll generate a scaffold for a new Author model.
$ rails g scaffold author name:string
Before we demonstrate associations we’ll take a quick look at a cool feature of Mongoid. If we add a key method to Mongoid model class that key will be used as the id to identify that model. We’ll make the name attribute the key for Author.
/app/models/author.rb
class Author
  include Mongoid::Document
  field :name
  key :name
end
If we create an author now, when we’re redirected to that author’s page we’ll see the id in the URL.
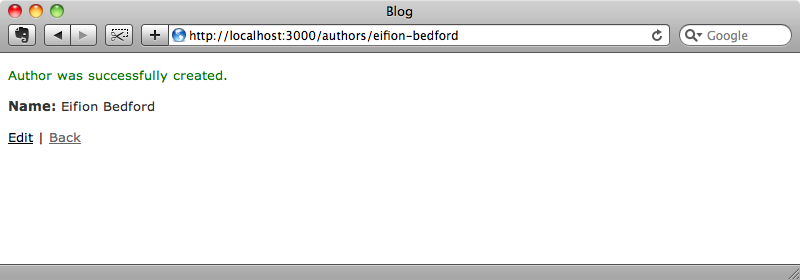
If we’re going to use this feature then we’ll need to ensure the field we choose to use as a key isn’t editable so that the document has a permanent string as an id that won’t change throughout the life of the document.
Back to associations now. In the Author class we use references_many to define the relationship with articles.
/app/models/author.rb
class Author
  include Mongoid::Document
  field :name
  key :name
  references_many :articles
end
Then in the Article model we use referenced_in.
/app/models/article.rb
class Article
  include Mongoid::Document
  field :name
  field :content
  field :published_on, :type => Date
  validates_presence_of :name
  embeds_many :comments
  referenced_in :author
end
We can now use that association like we would in ActiveRecord. In our form for editing an article we can add a collection_select so that we can select an author when we create or update an article.
/app/views/articles/_form.html.erb
<div class="field">
  <%= f.label :author_id %><br />
  <%= f.collection_select :author_id, Author.all, :id, :name %>
</div>
If we modify our article now and select an author we’ll can see that author’s id embedded in the article when we examine it in the console.
> Article.first
 => #<Article _id: 4cd01fa4a74209eacc000003, name: "Mongoid", content: "it's awesome!", published_on: 2010-11-02 00:00:00 UTC, author_id: "eifion-bedford">
Unlike the comments association, however, we can access the author separately.
> Author.first
 => #<Author _id: eifion-bedford, name: "Eifion Bedford">
That’s it for this episode on Mongoid. There’s much that we haven’t covered here but the documentation is fairly comprehensive and will give you nearly all that you need to know to use Mongoid and MongoDB in your Rails application.