
243: Beanstalkd and Stalker
(view original Railscast)
Other translations:


For this year’s Rails Rumble Ryan Bates and his team created the site Go vs Go, which allows you to play the board game Go online. On the site you can play games against either another player or a computer. When you play against the computer there is a short delay after you have placed your stone before the computer places its own. It can take a while for the computer to calculate its move and by default this ties up a Rails process. To avoid this problem the game’s AI was moved into a background process. There are a number of ways to queue background processes in Rails applications and the Go vs Go team chose to use beanstalkd. In this episode we’ll take a look at beanstalkd and the related Stalker gem.
Getting Started With Beanstalkd
If you’re running OSX then the easiest way to install beanstalkd is to use Homebrew. In this case you just need to run
$ brew install beanstalkd
After Beanstalkd has installed we can can start the Beanstalkd server by running the beanstalkd command. To run it as a daemonized process we can add the -d option.
$ beanstalkd -d
To use Beanstalkd in Ruby we’ll need to install the Beanstalk client gem, which is installed like any other gem.
$ gem install beanstalk-client
There are instructions on how to use Beanstalk with Ruby on the Beanstalkd site. We need to create a new Beanstalk::Pool and use its put method to add a job to the queue. Then to fetch an item from the queue we use the reserve method. This will wait until a job is available in the queue and then return it. We can then process the job and then use delete to remove it from the queue.
We’ll demonstrate this in two irb sessions. In each we’ll create a new Beanstalk pool at localhost:11300.
Top Window
$ irb
ruby-1.9.2-p0 > require 'beanstalk-client'
 => true
ruby-1.9.2-p0 > beanstalk = Beanstalk::Pool.new(['localhost:11300'])
 => #<Beanstalk::Pool:0x00000100a9f8e8 @addrs=["localhost:11300"], @watch_list=["default"], @default_tube=nil, @connections={"localhost:11300"=>#<Beanstalk::Connection:0x00000100a9f7f8 @mutex=#<Mutex:0x00000100a9f780>, @waiting=false, @addr="localhost:11300", @socket=#<TCPSocket:fd 3>, @last_used="default", @watch_list=["default"]>}>
ruby-1.9.2-p0 >
Bottom Window
$ irb
ruby-1.9.2-p0 > require 'beanstalk-client'
 => true
ruby-1.9.2-p0 > beanstalk = Beanstalk::Pool.new(['localhost:11300'])
 => #<Beanstalk::Pool:0x00000101919bf8 @addrs=["localhost:11300"], @watch_list=["default"], @default_tube=nil, @connections={"localhost:11300"=>#<Beanstalk::Connection:0x00000101919978 @mutex=#<Mutex:0x000001019198d8>, @waiting=false, @addr="localhost:11300", @socket=#<TCPSocket:fd 3>, @last_used="default", @watch_list=["default"]>}>
ruby-1.9.2-p0 >
We’ll add a job to the queue in the top window by using put.
Top Window
ruby-1.9.2-p0 > beanstalk.put "hello"
 => 1
In the other window we can then fetch that job with reserve.
Bottom Window
ruby-1.9.2-p0 > job = beanstalk.reserve
 => (job server=localhost:11300 id=1 size=5)
We can then look at the job’s body and delete it from the queue.
Bottom Window
ruby-1.9.2-p0 > job.body
 => "hello"
ruby-1.9.2-p0 > job.delete
 => false
If try to reserve another job now the command will wait as there are no jobs in the queue.
Bottom Window
ruby-1.9.2-p0 > job = beanstalk.reserve
Once we add another job then it will return that new job immediately.
Top Window
ruby-1.9.2-p0 > beanstalk.put "bacon"
 => 2
Bottom Window
ruby-1.9.2-p0 > job = beanstalk.reserve
 => (job server=localhost:11300 id=2 size=5)
There’s no polling going on here, the new job is processed immediately. This helps the responsiveness of the Go vs Go application as it means that the computer can respond as soon as possible.
Using Beanstalk in a Rails Application
Let’s see how we can use Beanstalk in a Rails application. We have a simple application that allows us to create cities. All we need to do is enter a postcode and a city will be created, the name of the city being fetched from an external site.
Although fetching the city name is generally fast calling a separate request has the potential to be slow so we’re going to move it into a separate background process.
While we could use the Beanstalk client gem directly in a Rails application we going to talk to Beanstalk via another gem called Stalker. This wraps the client gem and provides a better interface to work with. To use Stalker in our Rails application we just need to add it to the Gemfile.
/Gemfile
source 'http://rubygems.org'
gem 'rails', '3.0.3'
gem 'nifty-generators'
gem 'sqlite3-ruby', :require => 'sqlite3'
gem 'stalker'
We can then install it by running bundle.
We can now move the code that fetches city names to a separate background process. The create action currently saves the new city then calls a method from the City model called fetch_name to set the city name. This method calls an external API which fetches the city’s name and it’s this that we want to move into the background process.
/app/controllers/cities_controller.rb
def create
  @city = City.new(params[:city])
  if @city.save
    @city.fetch_name
    redirect_to city_path(@city), :notice => "Successfully ↵
      created city."
  else
    render :action => 'new'
  end
end
We’ll modify the code so that instead of calling @city.fetch_name it adds a job to our queue. We can do this by calling Stalker.enqueue. We need to give the new job an identifier so we’ll call it city.fetch_name. We can also pass in any options we want to pass to the job; we’ll pass in the id of the city we’ve just saved.
/app/controllers/cities_controller.rb
def create
  @city = City.new(params[:city])
  if @city.save
    Stalker.enqueue("city.fetch_name", :id => @city.id)
    redirect_to city_path(@city), :notice => "Successfully ↵
      created city."
  else
    render :action => 'new'
  end
end
Next we need to create a Stalker job to handle this task. We can create a file anywhere in our Rails application to put this; we’ll create a new file in the application’s /config directory called jobs.rb.
Stalker has a simple API for managing jobs. All we need to do is call job and pass it an identifier. This method also takes a block which has as its arguments the arguments we passed to Stalker.enqueue earlier. In that block we find a City with the correct id and call fetch_name on it. Stalker isn’t Rails-specific so the Rails environment isn’t loaded by default. To load it we require the application’s config/environment.rb file in the first line of the code below.
/config/jobs.rb
require File.expand_path("../environment", __FILE__)
job "city.fetch_name" do |args|
  City.find(args["id"]).fetch_name
end
We can run our jobs by running the stalk command and passing it the name of the file we want to run.
$ stalk ./config/jobs.rb
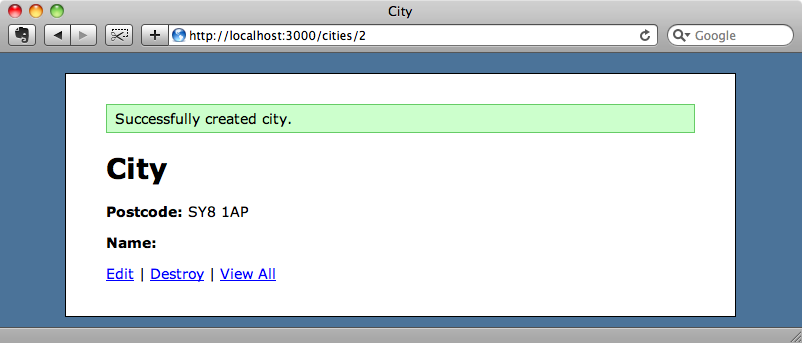
We still have beanstalkd running from earlier so we can try this out now. If we enter a new city the name will be blank.
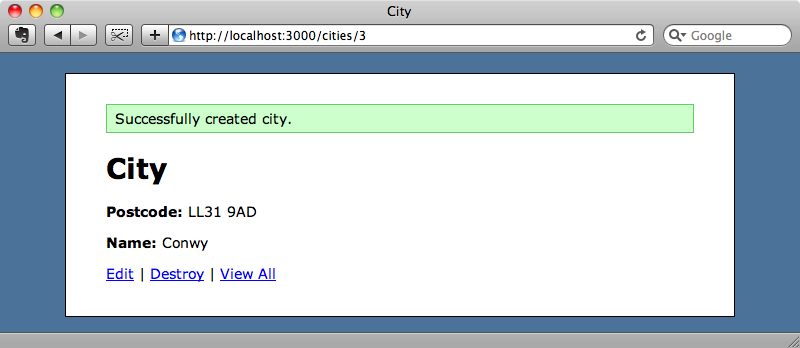
If we refresh the page a second or two later, however, the name will be shown.
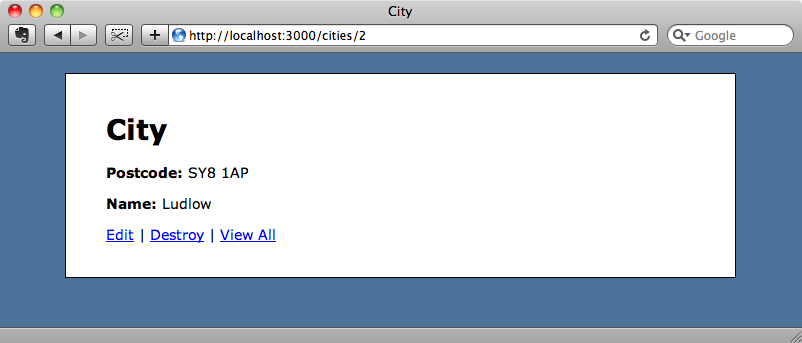
This shows that the job has been processed successfully in the background and if we look in the log file we’ll see the job listed.
[2010-12-09 19:04:49 +0000] -> city.fetch_name (id=2)
[2010-12-09 19:04:50 +0000] -> city.fetch_name finished in 374ms
Optimizing The Background Process
One problem our background job has is that it loads the entire Rails environment. If we want to spin up several workers to handle background jobs then this will take up a lot of memory. Having the Rails environment available is convenient but not necessary and we can make the background job a lot more efficient without it. To do this we’ll change the job so that it accesses the database directly instead of through ActiveRecord.
/config/jobs.rb
require 'sqlite3'
require 'json'
require 'net/http'
RAILS_ENV = ENV["RAILS_ENV"] || "development"
db = SQLite3::Database.new(File.expand_path( ↵
  "../../db/#{RAILS_ENV}.sqlite3", __FILE__))
job "city.fetch_name" do |args|
  postcode = db.get_first_value("SELECT postcode FROM ↵
    cities WHERE id=?", args["id"])
  url = "http://ws.geonames.org/postalCodeLookupJSON?  ↵
    postalcode=#{CGI.escape(postcode)}&country=GB"
  json = Net::HTTP.get_response(URI.parse(url)).body
  name = JSON.parse(json)["postalcodes"].first["placeName"]
  db.execute("UPDATE cities SET name=? WHERE id=?", ↵
    args["id"], name)
end
In the code above we get the postcode for the matching city from the database then fetch the city name from the API. We then parse the JSON response to get the city name and then update the appropriate record in the database. All of this is done without using the City model or any of the Rails application and will keep the process a lot slimmer.
Handling Errors
What happens if an exception is raised when we try to get the city name? In these cases Stalker will log the error and it will also try to execute an error handler. We can create a handler by writing an error method.
/config/jobs.rb
error do |exception|
  # Code to handle the error.
end
When this happens Stalker will bury the task in Beanstalk which means that Beanstalk won’t try to re-queue the job unless we kick it. To kick a task in Beanstalk we have to telnet directly to Beanstalk.
$ telnet localhost 11300
Trying ::1...
Connected to localhost.
Escape character is '^]'.
Once connected we can run the kick command, passing it the number of tasks we want to kick back into the queue.
kick 10
KICKED 0
We don’t have any buried tasks so we get KICKED 0 as a response.
So we can handle exceptions in a job but what if the background process dies completely? We should be monitoring the background process to ensure that it stays up and we can do that with a tool like God. God was covered in detail in episode 130 so if you’re not familiar with it then it’s worth taking a look at that episode. Below is a configuration file for running Stalker tasks in the background. One advantage of this is that it automatically daemonizes the process so that we don’t have to worry about it.
If you look at the config file below you’ll see that it calls the stalk command with our jobs.rb file passed as a parameter. The rest of the file is a fairly standard set of settings that ensure that it stays up and running and doesn’t start using too much memory or CPU.
/config/god.rb
# run with: god -c config/god.rb
RAILS_ROOT = File.expand_path("../..", __FILE__)
God.watch do |w|
  w.name = "anycity-worker"
  w.interval = 30.seconds
  w.env = {"RAILS_ENV" => "production"}
  w.start = "/usr/bin/stalk #{RAILS_ROOT}/config/jobs.rb"
  w.log = "#{RAILS_ROOT}/log/stalker.log"
  w.start_if do |start|
    start.condition(:process_running) do |c|
      c.running = false
    end
  end
  w.restart_if do |restart|
    restart.condition(:memory_usage) do |c|
      c.above = 50.megabytes
      c.times = [3, 5] # 3 out of 5 intervals
    end
    restart.condition(:cpu_usage) do |c|
      c.above = 50.percent
      c.times = 5
    end
  end
  w.lifecycle do |on|
    on.condition(:flapping) do |c|
      c.to_state = [:start, :restart]
      c.times = 5
      c.within = 5.minute
      c.transition = :unmonitored
      c.retry_in = 10.minutes
      c.retry_times = 5
      c.retry_within = 2.hours
    end
  end
end
Persisting Beanstalk
One more thing to keep in mind is that by default Beanstalk is not persistent. If you run it as we have with the -d option and the process gets killed then all of the queued jobs that were waiting to be processed are lost as they’re stored in memory. To make it persistent we can run it with the -b command and pass it the path to a binlog directory.
beanstalkd -d -b /Users/eifion/binlog
This way the queue can be restored if the process ever fails.