
277: Mountable Engines
(view original Railscast)
Other translations:


The Rails 3.1 HackFest took place last weekend and thanks to the hard work of those who participated the fifth release candidate of Rails 3.1 is now available. This release includes some important fixes to mountable engines. Mountable engines allow us to mount one Rails application within another and we’ll cover them in this episode.
You may remember the Exception Notification plugin that was covered in Episode 104. This could be added to an application and would store in a database any exceptions that the application raised. It also provided a user interface that would allow the exceptions to be viewed. In this episode we’ll remake this plugin but as a mountable engine.
Getting Started
Before we start writing our engine we’ll need to make sure that we’re running Rails 3.1 Release Candidate 5 or newer. We can install the latest version by running
$ gem install rails --pre
Once we have the correct version of Rails installed we can begin to generate our mountable engine. We don’t need to create it within an existing Rails application, creating an engine is similar to creating a new Rails application with the rails new command. The only difference is that we run rails plugin new instead. As our application handles exceptions we’ll call it uhoh. We need
to pass the --mountable option to make it a mountable engine.
$ rails plugin new uhoh --mountable
Our engine’s directory structure looks a lot like a normal Rails application’s structure and it basically is, just one that’s designed to be mounted inside another app. There are some differences, however. There are a number of namespaced directories across the application; for example the application_controller file is under /app/controllers/uhoh and the same applies to files under the assets, helpers and views directories. This helps to keep the engine’s code nicely separated from the application in which it will be embedded. Having an assets directory means that we no longer need to worry about copying assets into the public directory when the engine is mounted in an application. Thanks to the asset pipeline this is all handled for us.
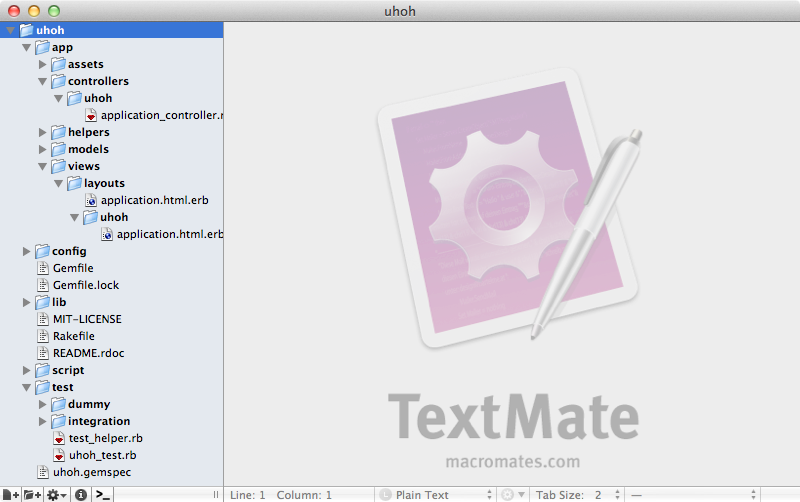
Assets are also namespaced into a directory so when we link to them we need to go through that directory. We can also see this in the layouts directory, although there seems to be a bug in RC5 as we have two application.html.erb files. We can safely delete the one outside of the uhoh directory. If we look at the other one we’ll see that the references in it to the assets all include that extra uhoh directory. Whenever we link to images or other assets we’ll need to include that namespace.
/app/views/layouts/uhoh/application.html.erb
<!DOCTYPE html>
<html>
<head>
  <title>Uhoh</title>
  <%= stylesheet_link_tag    "uhoh/application" %>
  <%= javascript_include_tag "uhoh/application" %>
  <%= csrf_meta_tags %>
</head>
<body>
<%= yield %>
</body>
</html>
Next we’ll look at one of an engine’s key files, engine.rb in the /lib/uhoh directory.
/lib/uhoh/engine.rb
module Uhoh
  class Engine < Rails::Engine
    isolate_namespace Uhoh
  end
end
This is a class that inherits from Rails::Engine and it’s the central location for custom configuration. There is already a call to isolate_namespace in this class and this means that the engine will be treated as its own isolated unit and not have to worry about the application in which it’s mounted.
The final part of the engine that we’ll take a look at in this quick overview is in the /test directory. Under /test/dummy is a Rails application and it’s there to show us how our engine works when it’s mounted into an app. The application’s config directory contains a routes.rb file. This contains a call to mount into which is passed the engine’s main class which is assigned to a path.
/test/dummy/config/routes.rb
Rails.application.routes.draw do
  mount Uhoh::Engine => "/uhoh"
end
This is what someone will need to do when they install your engine into an application, mounting it to whatever path they choose. This is a Rack application and so if a request comes in to /uhoh it will be passed on to our Engine class. It’s a good idea to add this line to the installation instructions in the engine’s README file so that users know how to mount it in their application’s routes file.
Even though this dummy app is in the /test directory it’s useful for testing manually as well. If we run rails s from our engine’s directory the dummy application will start up. If we visit http://localhost:3000/uhoh/ we’ll be taken to the engine as that is where it’s mounted. We’ll see an error when we visit that page, though, as we haven’t written the relevant controller.
We’ll do that now and create a failures controller in the engine. We can use Rails’ generators to do this just as we would in a Rails application. Even though we’re in an engine there’s no need to namespace the controller as this is all handled for us.
$ rails g controller failures index
This generates the same files we’d expect in a normal controller except that everything is be namespaced into the correct directory. Next we’ll modify the engine’s routes to give us a root route to the controller’s index action. This is is done in the engine’s /config/routes.rb file.
/config/routes.rb
Uhoh::Engine.routes.draw do
  root :to => "failures#index"
end
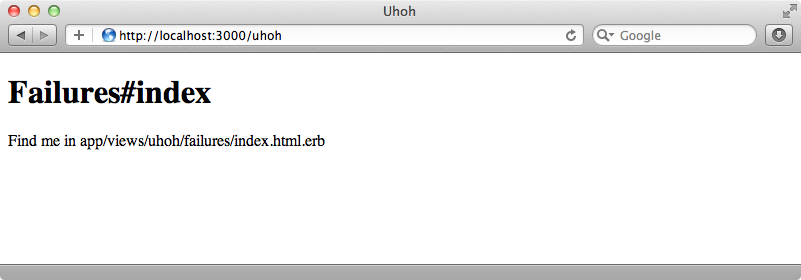
When we visit http://localhost:3000/uhoh/ now we’ll see the action’s view.
On this page we want to show a list of the exceptions that have been raised. We’ll need a model to store this information in and so we’ll create a simple Failure model with a message field.
$ rails g model failure message:text
Now that we’ve created the model how do we run the migrations? Inside the engine itself we can run rake db:migrate as normal and everything will work as expected. This won’t work, however, when someone tries to mount the engine inside an application as rake won’t pick up migrations inside mounted engines. We’ll have to tell our engine’s users to run rake uhoh:install:migrations instead. This will copy over the engine’s migrations into the application so that they can then run rake db:migrate as normal. It’s a good idea to include this information in the installation instructions for the engine.
The Rails console also works as we’d expect it to in an engine and we’ll use it now to create an example Failure.
Uhoh::Failure.create!(:message => "hello world!")
Note that we need to include the namespace whenever we reference a class. Now that we have a Failure record we’ll display it in our FailuresController’s index action.
/app/controllers/uhoh/failures_controller.rb
module Uhoh
  class FailuresController < ApplicationController
    def index
      @failures = Failure.all
    end
  end
end
Unlike when we’re in the console we don’t need to specify the namespace here as we’re already inside the Uhoh module. In the view we’ll write some code to loop through all of the failures and display them in a list.
/app/views/uhoh/failures/index.html.erb
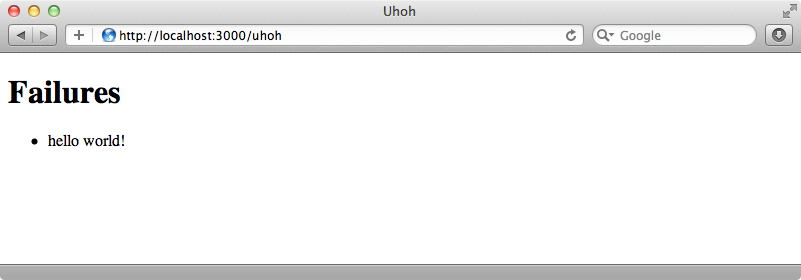
<h1>Failures</h1>
<ul>
  <% for failure in @failures %>
  <li><%= failure.message %></li>
  <% end %>
</ul>
When we reload the page we’ll see the Failure that we added.
Catching Exceptions
Now we have a method of recording failures we’ll need to generate one every the application the engine is embedded in raises an exception. To test this we’ll need a way to simulate an exception in the dummy application. To do this we’ll move into our engine’s dummy application’s directory and generate a controller called simulate with a failure action.
$ rails g controller simulate failure
Inside the action we’ll raise an exception.
/test/dummy/app/controllers/simulate_controller.rb
class SimulateController < ApplicationController
  def failure
    raise "Simulating an exception"
  end
end
If we visit that action in a browser we’ll see the exception as expected.

We’ll need to change our engine now so that it listens for that exception and creates a new Failure record when it’s raised. The solution we’ll use for this isn’t very efficient but it’s simple and it will work for our case. We’ll start by creating an initializer in our engine. There’s no initializers directory in the engine’s config directory but we can create one and initializers placed in it will work. In this directory we’ll create a file called exception_handler.rb.
/app/config/initializers/exception_handler.rb
ActiveSupport::Notifications.subscribe ↵
  "process_action.action_controller" do ↵
  |name, start, finish, id, payload|
  if payload[:exception]
    name, message = *payload[:exception]
    Uhoh::Failure.create!(:message => message)
  end
end
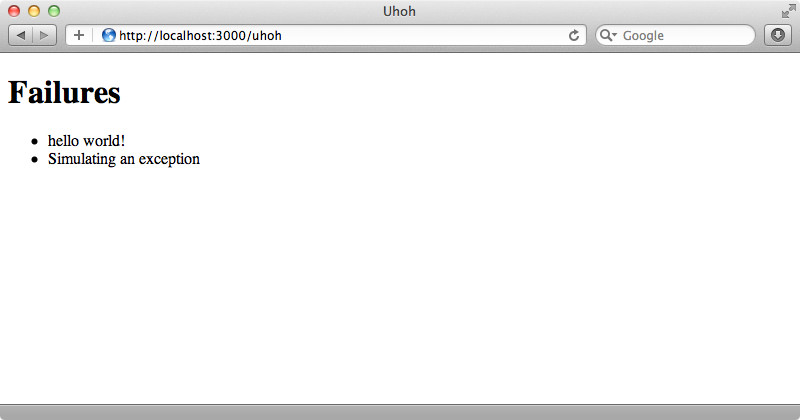
In this file we subscribe to a notification (notifications were covered in detail back in episode 249[watch, read]), listening to a notification that tells us that an action was processed. When an action is processed we can check to see if the payload contains an exception. If it does we know that an exception has been raised and we can store its message in a new Failure.
We’ll need to restart the server before we test this. We can then visit http://localhost:3000/simulate/failure again to raise an exception. Once we’ve seen the exception we’ll see it when we go to http://localhost:3000/uhoh.
Handling URLs in Engines
Any URL helpers we use inside an engine will generate URLs for that engine. For example if we add a link to the root URL from our failures index page this link will point to the root URL for the engine, not for any application it’s embedded in.
/app/views/uhoh/failures/index.html.erb
<p><%= link_to "Failures", root_url %></p>
This link points to http://localhost:3000/uhoh which is the engine’s root URL. This is the same page that the link is on as the root URL is defined in the routes to point to the FailuresController’s index action. We can create links to the application itself by calling URL helpers on main_app like this:
/app/views/uhoh/failures/index.html.erb
<p><%= link_to "Failures", root_url %></p>
<p><%= link_to "Simulate Failure", main_app.simulate_failure_path %></p>
This gives us a link to the Simulate Failure page in the app at http://localhost:3000/simulate/failure.
What if we want to do this the other way around and have a link to the engine from the application? The first thing we need to do here is change the line in the application’s routes file that mounts the engine and give it a name using the :as option.
/test/dummy/config/routes.rb
Rails.application.routes.draw do
  get "simulate/failure"
  mount Uhoh::Engine => "/uhoh", :as => "uhoh_engine"
end
We can then access the engine’s URL helper’s by calling them as methods of uhoh_engine. To demonstrate this we’ll temporarily change our failure action so that instead of raising an exception if redirect’s to the engine’s root URL.
/test/dummy/app/controllers/simulate_controller.rb
class SimulateController < ApplicationController
  def failure
    redirect_to uhoh_engine.root_url
  end
end
If we visit http://localhost:3000/simulate/failure we’ll be redirected to http://localhost:3000/uhoh as we’re using that engine helper to redirect to one of its URLs. This is another feature that you might want to mention in your engine’s README.
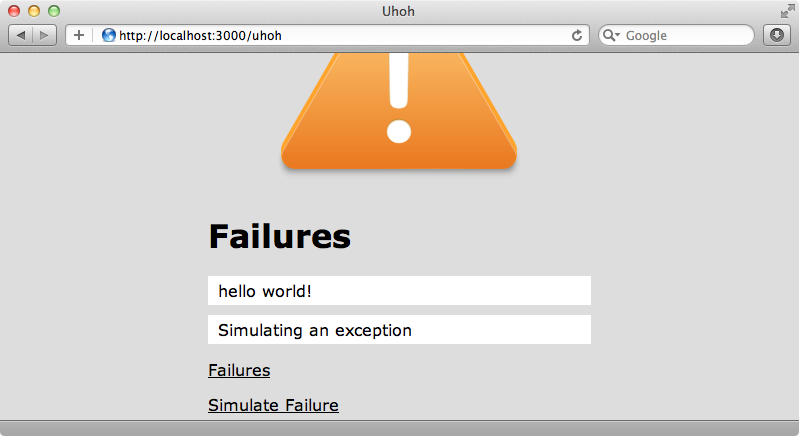
Our engine’s functionality is pretty much complete now but the page that lists the failures looks pretty drab so we’ll spice it up with some assets. First we’ll add an image. We’ve already found one to use and added it to the /app/assets/images/uhoh directory. To include it on the page we can use image_tag much as we would with any other image.
/app/views/uhoh/failures/index.html.erb
<%= image_tag "uhoh/alert.png" %>
<h1>Failures</h1>
<ul>
  <% for failure in @failures %>
  <li><%= failure.message %></li>
  <% end %>
</ul>
<p><%= link_to "Failures", root_url %></p>
<p><%= link_to "Simulate Failure", ↵
  main_app.simulate_failure_path %></p>
We’ll also include some CSS. SASS and CoffeeScript aren’t available by default in engines, though they can be added as dependencies. If we add some CSS to the failures.css file it will be included automatically.
/app/assets/stylesheets/uhoh/failures.css
html, body {
  background-color: #DDD;
  font-family: Verdana;
}
body {
  padding: 20px 200px;
}
img {
  display: block;
  margin: 0 auto;
}
a {
  color: #000;
}
ul {
  list-style: none;
  margin: 0;
  padding: 0;
}
li {
  background-color: #FFF;
  margin-bottom: 10px;
  padding: 5px 10px;
}
The same applies with JavaScript. Any code placed in the failures.js file will also be automatically included.
/app/assets/javascripts/uhoh/failures.js
$(function() {
  $("li").click(function() {
    $(this).slideUp();
  });
});
When we reload the page now it will look a lot better and we can hide an exception by clicking on it showing that the JavaScript was included.
That’s it for this episode. Mountable engines are a great new feature in Rails 3.1 and are well worth taking a look at.