
332: Refinery CMS Basics
(view original Railscast)
Let’s say that a client asks us to build them a site for a piano store. This site will be called Piano Plus and will have information about the store, a page where users can browse through the store’s stock of pianos and also one that shows the store’s location. There’s not much user interaction on the site but the owners would like to be able to edit the content of each page. This is a perfect case for a Content Management System so in this episode and its related pro episode we’ll build this site using Refinery CMS. This is an excellent CMS which uses Rails engines, which makes it very modular. Thanks to the way Refinery is written we can either create a new Rails application with or add it to an existing app.
Installing Refinery
Refinery depends on ImageMagick so we’ll need to install that first. On OS X the easiest way to do this is through Homebrew. With it all we need to do is run the following command:
$ brew install imagemagick
Now we can install the Refinery gem.
$ gem install refinerycms
This gem has a number of dependencies and make take a while to install. Once it has we can create a new Refinery application by running the refinerycms command, passing it the name of our application.
$ refinerycms piano_plus
This will generate a full Rails application, add Refinery to it, and run its migrations. When it finishes it will give us some instructions on what to do next which is to move into our new app’s directory and start up the server.
$ cd piano_plus/
$ rails s
Getting Started With Refinery
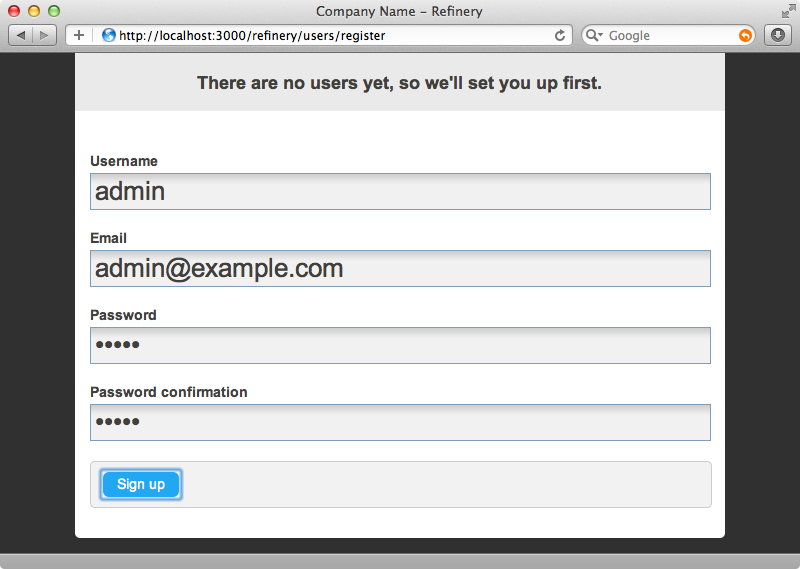
We can take a look at our application in the browser now. The first time we do this we’ll be taken to a registration page as there aren’t any users yet. We’ll use this page to register an user called admin.
After we’ve registered we’ll be taken to the Refinery dashboard. This shows us the latest activity and has links for performing various tasks.
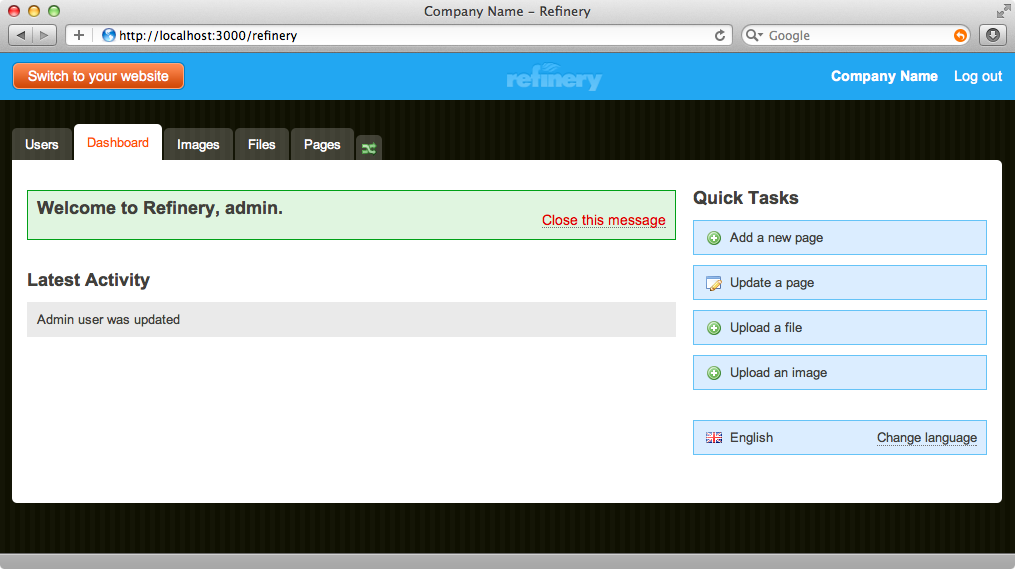
There are also some tabs at the top of the main section. These take us to pages that will help up manage various parts of our CMS such as the users and pages. Clicking the small tab on the right allows us to reorder these tabs. We’ll mostly be working with pages so we’ll take a look at that first.
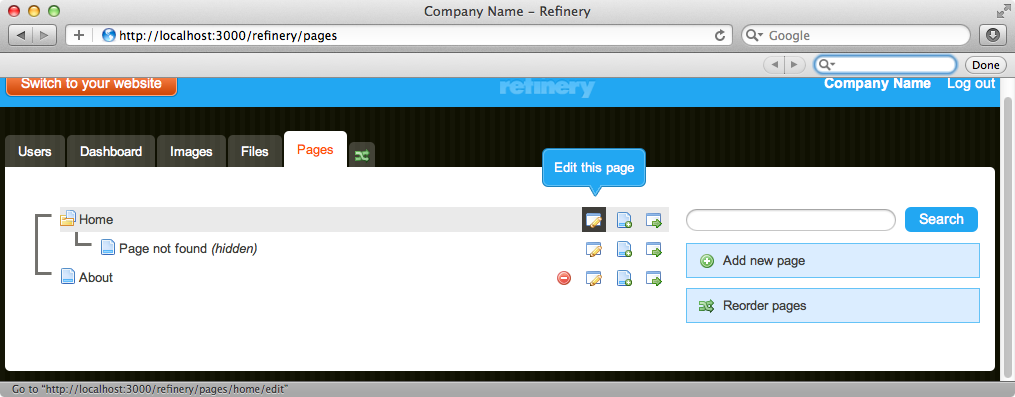
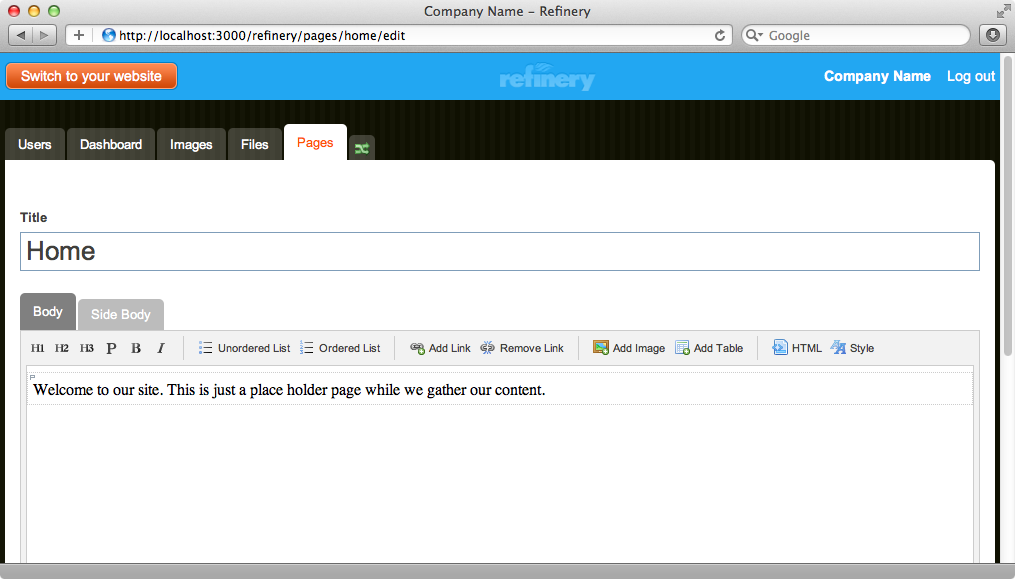
Refinery sets up a few pages for us by default: a home page, an about us page and a page to handle 404 errors. We can edit a page by clicking the edit icon ; this takes us to a page where we can edit that page’s content. By default a page has two sections: “Body” and “Side Body” but we can customize these if we want to. Refinery gives us a rich-text editor for editing the content of each section. There’s also an “advanced” section at the bottom of the page that gives us options for changing various aspects of the page.
Let’s take a look at the actual application now. We can do this by clicking the orange button at the top left of each page.
We can see the content of the page now but there’s no styling at all. This is good as it gives us complete control over how our site looks to the end user.
Changing Settings and Adding CSS
Next we’ll add some CSS to our application and change some settings such as the company name. A Refinery application’s structure should look familiar as it’s essentially a Rails application with a few Refinery extras thrown in. If we look at the routes file we’ll see that it mounts the Refinery engine at the root path.
/config/routes.rb
# This line mounts Refinery's routes at the root of your application.
  # This means, any requests to the root URL of your application will go to Refinery::PagesController#home.
  # If you would like to change where this extension is mounted, simply change the :at option to something different.
  #
  # We ask that you don't use the :as option here, as Refinery relies on it being the default of "refinery"
  mount Refinery::Core::Engine, :at => '/'
If we want to configure how Refinery works we need to look in the /config/initializers/refinery directory where there are a number of files for changing various settings. Each configuration option in these files is nicely documented in comments so it’s worth spending a little time reading through them to get an idea as to what can be configured. We want to change the site’s name and this option is defined in the
/config/initializers/refinery/core.rb
# Site name
config.site_name = "Piano Plus"
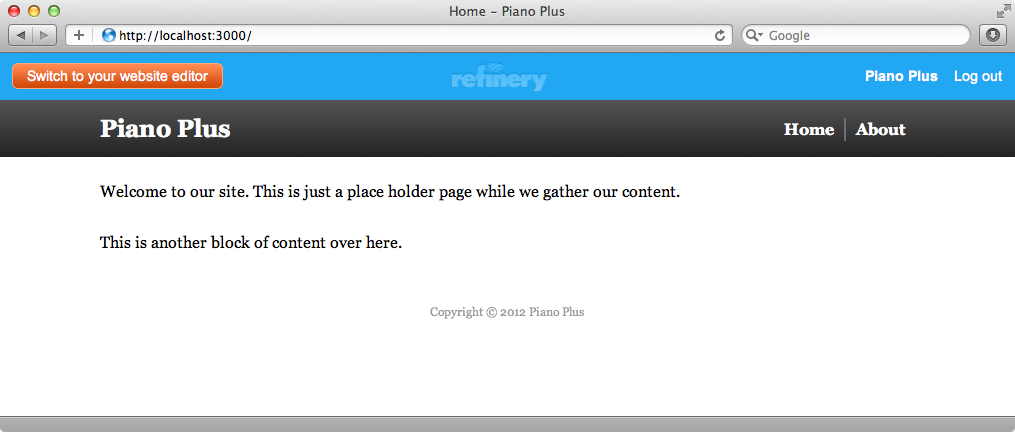
As this setting is in an initializer we’ll need to restart the server for it to be picked up. After we do that and reload the page we’ll see the changed name in the header and footer of the page.
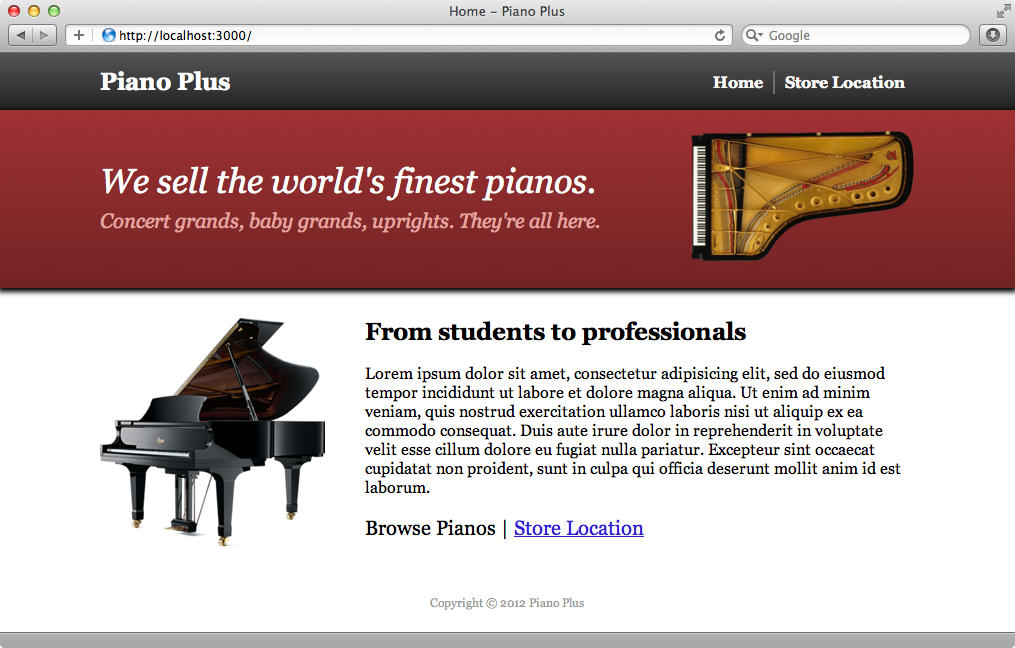
Next we’ll add some styling to the page. It’s structured with a header section, containing an image, a page section containing the body of the page and a side_body section which contains the sidebar. Our application has an application.css file in the /app/assets/stylesheets directory which behaves in the same way as it would in a normal Rails application. We’ll create a layout.css.scss file in the same directory and put our styles there. When we reload the page now it looks much better.
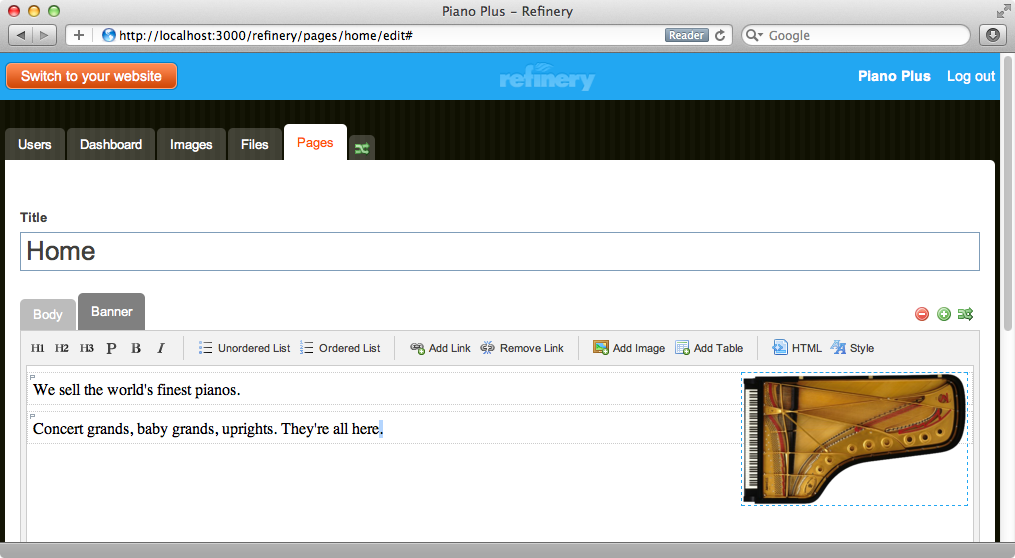
Next we’ll edit the home page. We’ll add a heading in an h2 element and a paragraph of lorem text. Below that we’ll add another paragraph with two short pieces of text. These will should be links but the pages they will link to don’t yet exist. We’ll use the style menu to set the font size of this last paragraph to large. We want an image on the page, too. The file is on our computer and Refinery will let us upload an image and then resize it. We’ll choose the medium resize option and float the image left then place it near the top of the page by dragging it into place.
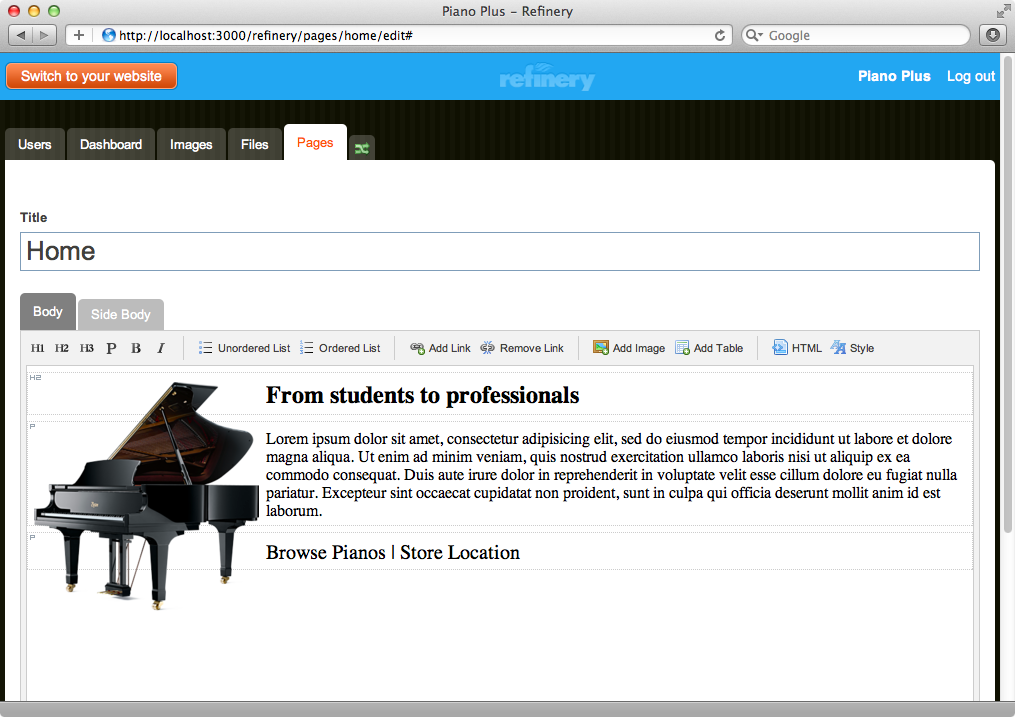
If we’re ever unsure about the HTML source code that’s being generated we can click the HTML button and view the raw code. We can also edit it if the WYSIWYG editor isn’t generating the exact code that we want. We don’t want anything in the sidebar on this page so we’ll edit the Side Body section to remove the text there. Once we’ve done that we’ll save the page and take a look at it in the site.
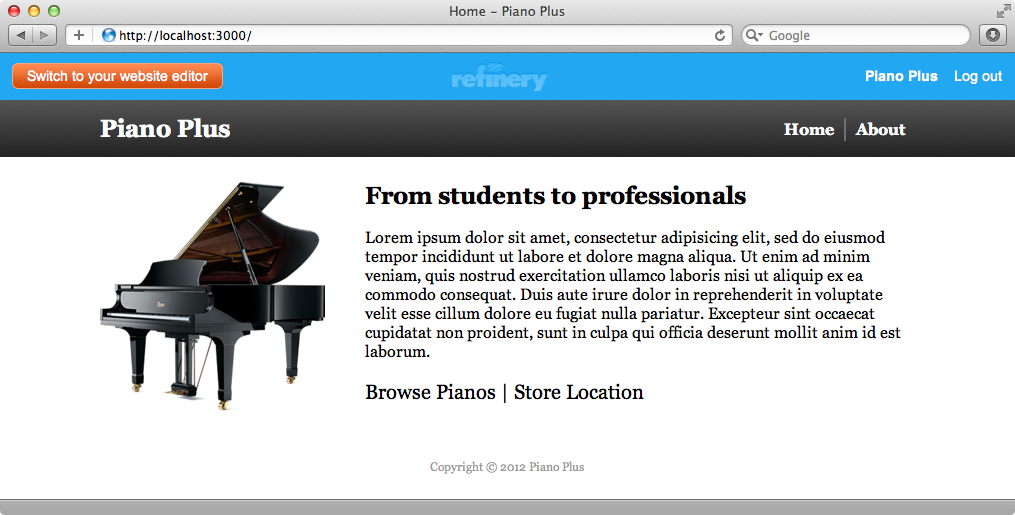
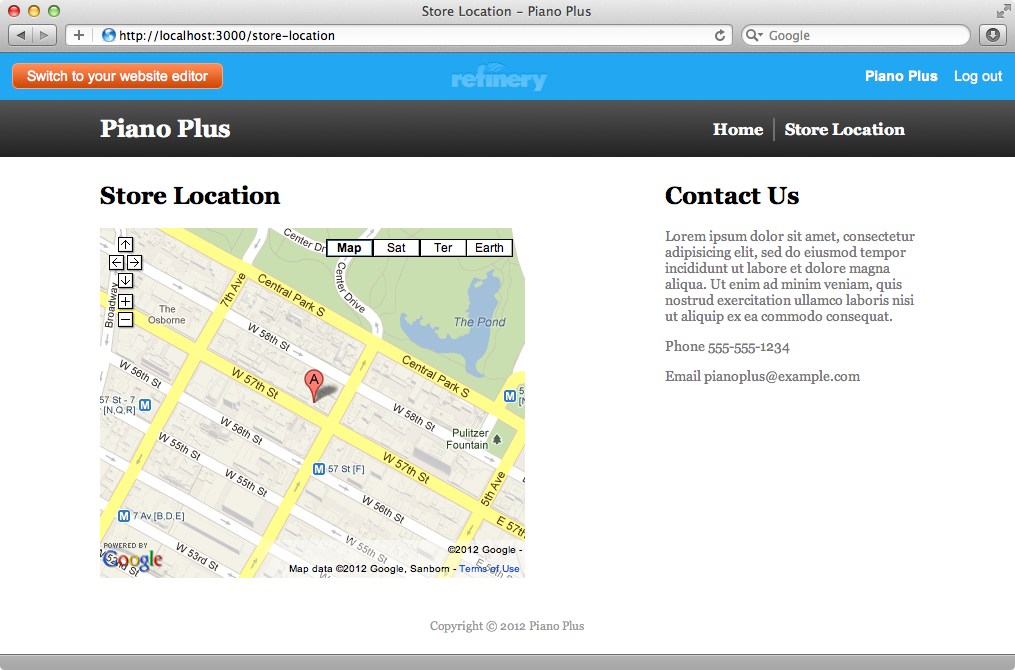
This page is looking good now although we have had to make a few CSS tweaks. It’s almost complete but we want to add a red banner section near the top. Before we do that we’ll add the Store Location page. We’ll do this in the admin section again. First we’ll delete the “About” page as we won’t be using it then we’ll add a new page that we’ll call “Store Location”. We want to display a map on this page so we’ll click the HTML button and enter the following snippet for displaying a Google map on the page.
html
Store Location
We’ll also add some text to the sidebar on this page containing “Contact Us” information before we save it. We want our home page to link to this new page so we’ll go back into its editor, select the “Store Location” text, click the “Add Link” button then add a link to our new page. We now have a link to our new page on the home page and the “Store Locator” page has the map and the contact information.
Adding Custom Sections
Next we’ll add a red banner to the top of the home page. This will have some text and an image and appear above the main body of the page. We want this to be in a separate section but we only have the “Body” and “Side Body” sections at the moment. We could add this new banner into the sidebar but it’s not where it’s really meant to be so instead we’ll add a new section. There’s a configuration option in Refinery that determines whether new sections can be added or not. Its default value is false so we’ll need to change it.
/config/initializers/refinery/pages.rb
# Configure whether to allow adding new page parts
# config.new_page_parts = true
As we’ve changed an initializer we’ll need to restart the server again. Once we’ve done so when we visit the edit page for the home page (or any other page) we’ll see some new buttons that will allow us to add or remove sections. We’ll use these to delete the Side Body section, as we don’t use it on this page, and add a new section called “Banner”. We’ll also need to click the reorder button to make sure that that “Banner” section appears after the “Body” section. If you’re using a version of Refinery earlier than 2.0.2 then you might see an see error when you do this. In this case you can add a new page part manually through the console like this:
console
>> Refinery::Page.find(1).parts.create! "Banner"
Our page now has a “Banner” section and we can now add the content we want in the banner to it then save the page.
We’ve already added some CSS for this section so when we switch to the home page we’ll see our new banner already styled. If we want to see the page without Refinery’s bar at the top we’ll need to log out first.
We can now browse around our site just like our customers would. To log back in to Refinery we just need to add /refinery to the URL and we’ll be taken to the login page.
There’s one more section of the site we need to add: the “Browse Pianos” page. We don’t be doing that in this episode, though. While we could just make a static page that lists the available pianos it would be better to store this information in a database. To do that we’ll need to extend Refinery by creating our own engine. We’ll cover this in this week’s pro episode.