
336: Copycopter
(view original Railscast)
As developers writing copy isn’t always our cup of tea. For example take the text at the top of the page below. Should it say “Browse Our Products”, “Product Listing” or maybe even “Products” instead of “Browse Products” as it does now?
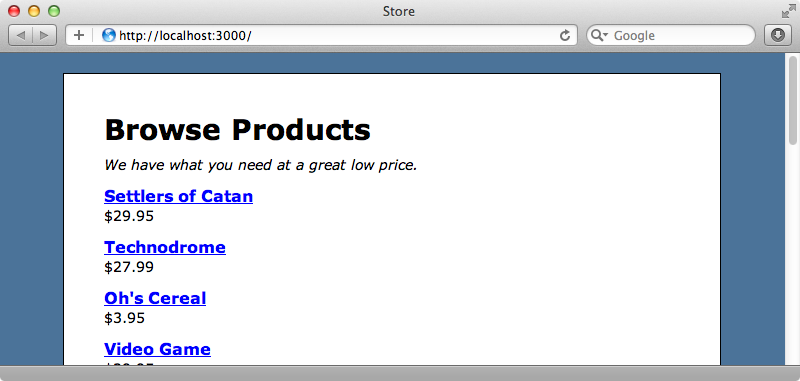
A client may want text changes made to this heading or to the description below it and this text isn’t that easy to change. It’s hard-coded into the view template and anyone who wants to change it will need to have access to the source code so that they can edit the template and then redeploy the application, just to change some text. It would be much easier if there was a simple admin interface where the client could go in and edit text like this and Copycopter does just this, providing an interface where clients can edit a Rails application’s text. Copycopter also comes with a Ruby gem which makes it easy to integrate into an application. This used to be a paid service but Thoughtbot have recently open-sourced it and made it free to use and in this episode we’ll use it to make our headline and description editable.
Setting up a Copycopter Server
First we’ll need to set up the Copycopter server. This is a complete Rails application that provides the interface for editing copy. This isn’t a mountable engine and it needs to be deployed and hosted separately from our Rails application. Heroku is a perfect fit for this and Copycopter will work on one dyno so we can host it for free here. If you don’t have a Heroku account it’s free to sign up. Once we’ve done so we’ll need to install the Heroku Toolbelt which provides a command-line interface for managing our apps. Once we’ve downloaded and installed this we’ll have access to a new heroku command in any terminal windows we open. We’ll use this command now to log in to our Heroku account.
$ heroku login
Enter your Heroku credentials.
Email: eifion@asciicasts.com
Password:
Authentication successful.
Now that we’re authenticated we can deploy Copycopter Server to Heroku. The Github documentation has some instructions for going this and we’ll follow these. First we need to clone the project to our local machine.
$ git clone git://github.com/copycopter/copycopter-server.git
We’ll then move into its directory and begin to deploy it to Heroku. First we’ll create a new Heroku application.
$ cd copycopter-server/
$ heroku create --stack cedar
Depending on your setup you may see an error when you run this command. We can fix this by running bundle install. It’s best to run this without the test environment to reduce the number of test dependencies.
$ bundle install --without=test
After doing this we should be able to run heroku create without any errors. We deploy to Heroku by using Git and we can deploy our app by running git push.
$ git push heroku master
We can run database migrations on the server by running this command.
$ heroku run rake db:migrate
When this finished we need to run heroku restart. We can now create a Copycopter project by running this command. (Obviously you’ll need to change the values for the NAME, USERNAME and PASSWORD options for your own application.)
$ heroku run rake copycopter:project NAME=Store USERNAME=eifion PASSWORD=secret
We can take a look at the site we’ve just created by running heroku open which will open the app in a browser.

If we click on the “Store” link we’ll be prompted for the username and password we used when we created the Copycopter project. After we’ve entered these we’ll be taken to the project’s page and told that we don’t have a Rails application for this project. The page gives us instructions for doing this: we just need to add a gem to our application’s gemfile and add an initializer to configure the Copycopter client.
Configuring Our Rails Application to use Copycopter
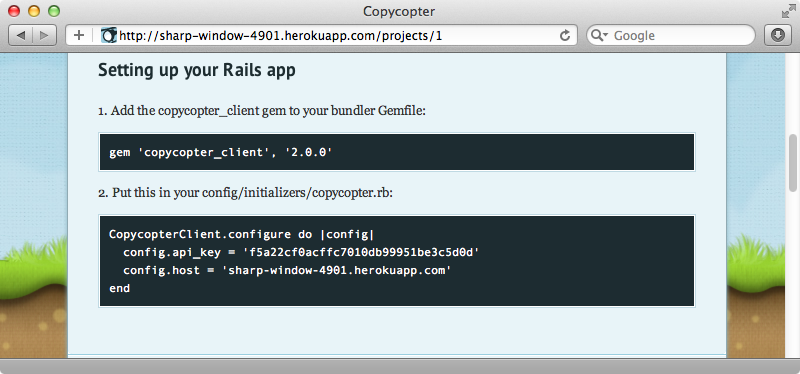
We’ll use these instructions to add Copycopter to our Store application. First we’ll add the gem to the gemflle then run bundle to install it.
/Gemfile
gem 'copycopter_client', '2.0.0'
Next we’ll create the initializer. This contains the configuration code that will hook up our application to the Copycopter server that we deployed.
/config/initializers/copycopter.rb
CopycopterClient.configure do |config|
  config.api_key = 'f5a22cf0acffc7010db99951be3c5d0d'
  config.host = 'sharp-window-4901.herokuapp.com'
end
Now we can make the headline and description on our application’s home page editable through Copycopter. To do this we need to go the page’s template and replace each piece of text with a call to the t method and pass in a unique key to identify it, along with a default value for each item to act as a fallback in case it isn’t defined in Copycopter.
/app/views/products/index.html.erb
<%= t "products.headline", default: "Browse Products" %>
<%= t ".tagline", default: "We have what you need at a great low price." %>
The t method here is Rails’ built-in internationalization method which means that we can also use Copycopter to internationalize a website. Note that for the tagline the identifier starts with a full stop. This makes it a relative key and so it will be prefixed with the path to the template which will make it unique to this template.
We’ll need to restart our application’s server to load Copycopter. When we reload the page afterwards it should look exactly the same as each call to t uses the default values. When we visit our Copycopter server now, however, we’ll see a search dialog that allows us to search for keys. If we search for “headline” we’ll see the products.headline key listed. Clicking on this will take us to a page where we can edit the key’d text. We’ll change “Browse Products” to “Browse Our Products”
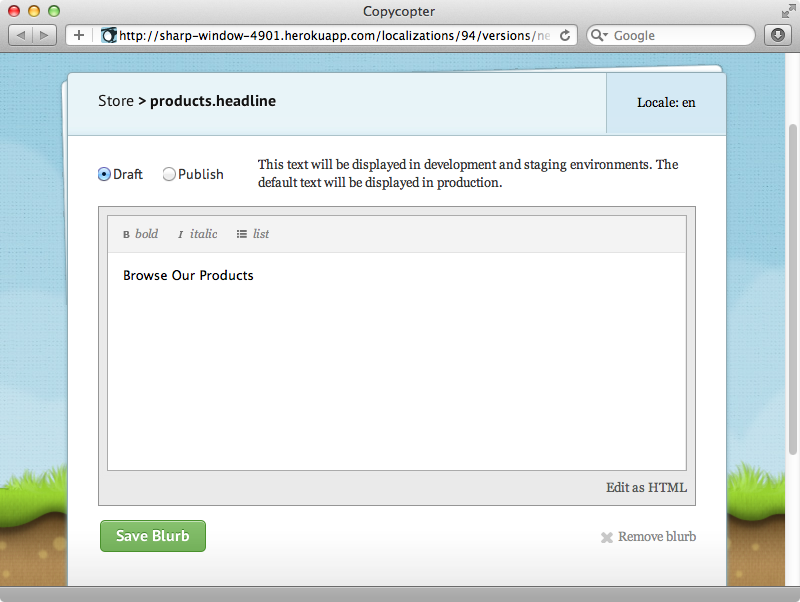
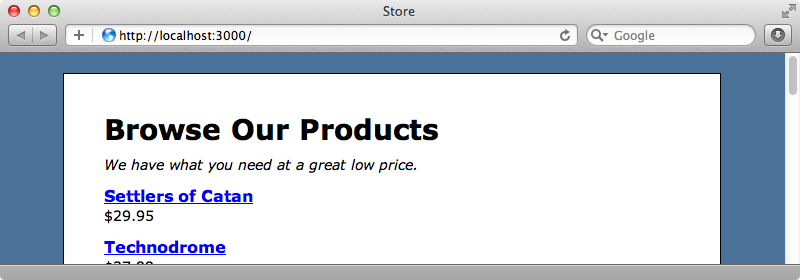
We have the option to make the change a draft or publish it to the production environment. We’ll keep it at “Draft” and save our changes. When we reload our application’s page now the text has changed.
We can change the tagline in the same way. This will have a key of products.index.tagline as we gave it a relative key in our app. We can add styling to the editable text through the editor and also set the text for different locales if we want to translate our app’s text into other languages.
Finally it’s worth noting that one Copycopter server can manage multiple projects so if we have another site we can run heroku run rake copycopter:project again with a different project name.