
163: Self Referential Association
(view original Railscast)
Other translations:

Below is a page from a basic social networking application. A user can sign up, then log in and interact with other users. The page shown displays a list of the users and has a link next to each one that allows you to add them as a friend.
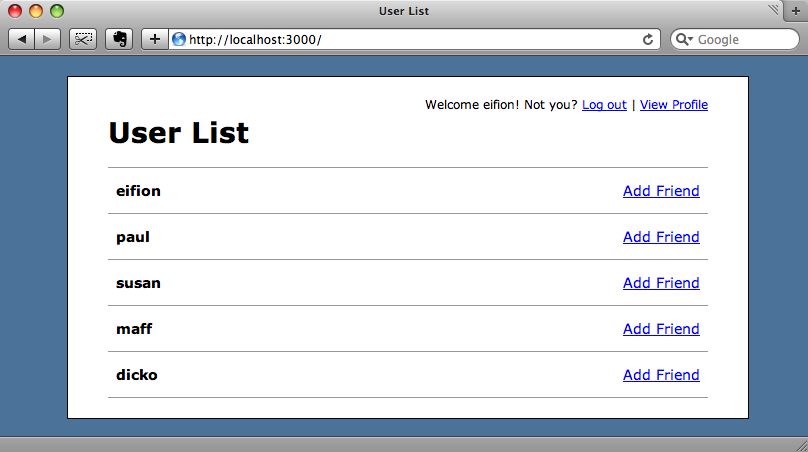
Although the link is there, it currently does nothing. In this episode we’ll write the code needed to enable a user to add other users as friends. To do this we’re going to need to create a self-referencing association: users will have relationships with other users, but instead of creating a relationship between two different models, we’ll be creating a relationship between two instances of the same model.
Generating The Right Actions
The “Add Friend” link on the users page doesn’t as yet link to anything.
<%= link_to "Add Friend" %>
At some point we’re going to have to wire it up to an action in a controller, and it’s worth thinking a little now about what controller and action it will call when it’s clicked. We already have a UsersController, so this might seem the obvious place to deal with friends as friends are just other users. We could add two new actions to the UsersController to deal with adding and removing friends.
def add_friend
end
def remove_friend
end
This, however, is wrong for several reasons. The first alarm bell that should ring in your head when you start creating controller methods like these is that they are not among the seven standard RESTful methods (index, show, new, create, edit, update and destroy). Another concern should be raised by the fact that these methods both have _friend appended to them. This suggests that we’re putting these methods in their own namespace. The final clue that this isn’t the best approach is the first part of each method name: add and remove indicate that we’re creating and destroying a resource. All of these points give us a big hint that we should be creating a new controller for handling friends.
Creating Friendships
The controller we’ll create will be called FriendshipsController. The naming of this controller is important. We might have called it FriendsController but in our application a friend is just another User, and we’ll be using our new controller to create and destroy relationships between users, not to create and destroy users.
A user can have many friends and be befriended by many other users so we’re going to have to create a many-to-many relationship. There are two ways to define this type of relationship in Rails: has_and_belongs_to_many and has_many :through. (You can find more information about these two methods by watching Railscast 47). These days, has_many :through is the most used, and it’s what we’ll be using to define our friendships.
To use has_many :through we’ll need to create a join model, which we’ll call Friendship. This model will have two fields, a user_id that represents the current user who’s adding a friend and a friend_id that represents the user who’s being befriended.
We’ll create our new model in the usual way,
script/generate model Friendship user_id:integer friend_id:integer
and then run the generated migration.
rake db:migrate
Along with the model we’ll need to generate the FriendshipsController we mentioned earlier.
script/generate controller Friendships
As we’re using Friendship as a resource we’ll need to add the following line to /config/routes.rb.
map.resources :friendships
Now that we have our model and controller we can start to define how a Friendship works. We’ll start off by defining the relationships between User and Friendship in the model classes.
class Friendship < ActiveRecord::Base
  belongs_to :user
  belongs_to :friend, :class_name => 'User'
end
A Friendship will belong_to a User, who will be the user who initialised the relationship, and will also belong to a Friend, who is the user who has been befriended. For the friend relationship we need to explicitly specify the class name as ActiveRecord cannot work out the model to use from the name in the association.
We’ll also need to define the other half of the relationship in the User model.
class User < ActiveRecord::Base
  has_many :friendships
  has_many :friends, :through => :friendships
  # rest of class omitted.
end
The relationship here is defined as you would define any other many-to-many relationship. There’s no need to specify any custom naming as the relationships can all be worked out from the names of the relationships.
Wiring Up The “Add Friend” Link
Now that the relationships between the models have been defined, and we have our FriendshipsController we can start work on the “Add Friend” link in the users’ index view.
<% for user in @users %>
  <div class="user">
    <p>
      <strong><%=h user.username %></strong>
      <%= link_to "Add Friend", friendships_path(:friend_id => user), :method => :post %>
      <div class="clear"></div>
    </p>
  </div>
<% end %>
The link needs to call the create method in the FriendshipsController. To do that we have the link POST to the friendships_path. That isn’t quite enough though; we also need to pass the user that we’re going to befriend. We do that by adding it as a parameter to the friendships_path method. That will pass the id of the user to the create action so that it knows which user we’re befriending.
Now that the link code is written we’ll move on to the FriendshipsController and write the create action.
def create
  @friendship = current_user.friendships.build(:friend_id => params[:friend_id])
  if @friendship.save
    flash[:notice] = "Added friend."
    redirect_to root_url
  else
    flash[:notice] = "Unable to add friend."
    redirect_to root_url
  end
end
We create the new friendship by taking our current user and building a friendship through it, passing it the id of the user we’re befriending. Using build will mean that the user_id of the new Friendship is automatically set, and as we’ve passed the friend_id from the parameters the relationship is fully defined. We can then save the relationship and redirect back to the home page, displaying a flash notice that says that the friend has been added. If for some reason the relationship is invalid then we’ll show a different flash notice. Obviously, if this was an application that was going into production then we’d give the user more specific information as to why their request failed.
Viewing Our Friends
A logged-in user can now click the “Add Friend” link and make another user their friend. They can’t, however, see a list of their friends. To fix this we’ll modify the user’s profile page so that they can see who they have added as a friend. The profile page is the show page for a User. Currently it just shows their name and provides a link that allows them to find friends.
<% title "My Profile" %>
<p>Username: <%=h @user.username %></p>
<p><%= link_to "Find Friends", users_path %></p>
To display a list of their friends, we can loop through the user’s friends collection and display each one.
<h2>Your Friends</h2>
<ul>
  <% for user in @user.friends %>
  <li><%= h. user.username %></li>
  <% end %>
</ul>
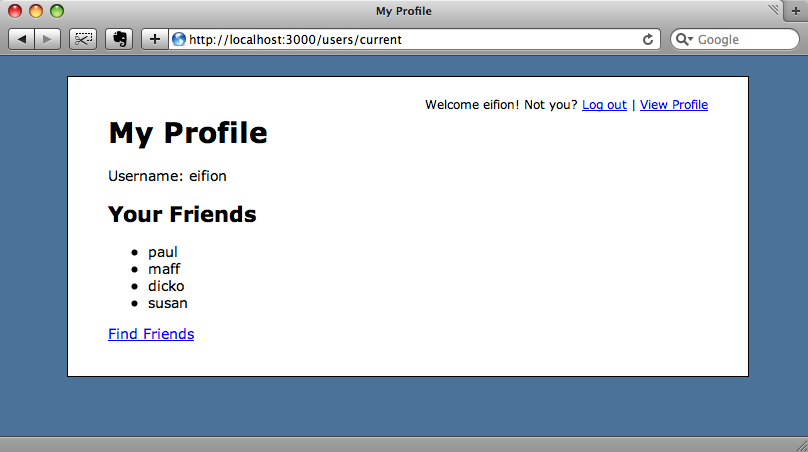
The profile page will now show the list of our friends.
Removing Friends
It would be useful if there was a link next to each of our listed friends that allowed us to remove that user as a friend. To implement that we need to add a link to the FriendshipController’s destroy action, passing the id of the friendship. It’s here where things could get a little tricky as we’re looping through Users and don’t have access to the Friendship model to get the id that identifies the relationship. This is a common problem that beginners to Rails encounter when they use many-to-many relationships as they can forget that there is a join model that we can interact with directly rather than, in this case jumping directly from User to Friend.
Instead of looping through a user’s friends to create the list, we’ll instead loop through their friendships. The code in the view will now change to this:
<h2>Your Friends</h2>
<ul>
  <% for friendship in @user.friendships %>
  <li>
    <%= h friendship.friend.username %>
    (<%= link_to "remove", friendship, :method => :delete %>)
  </li>
  <% end %>
</ul>
We can now get each friend’s name by using friendship.friend.username and create our delete link by passing the friendship as a parameter to the link and telling it to use DELETE as the method so that it will call the destroy action.
Talking of the destroy action, it’s now time to implement it in the FriendshipsController.
def destroy
  @friendship = current_user.friendships.find(params[:id])
  @friendship.destroy
  flash[:notice] = "Removed friendship."
  redirect_to current_user
end
Note that in the first line of the action we search for the friendship only within the current user’s friendships. If we just called Friendship.find(params[:id]) then a maliciously minded user could destroy relationships between any two users, when they should be restricted to only destroying relationships they themselves have made. The rest of the action destroys the friendship and then redirects back to the user’s profile page.
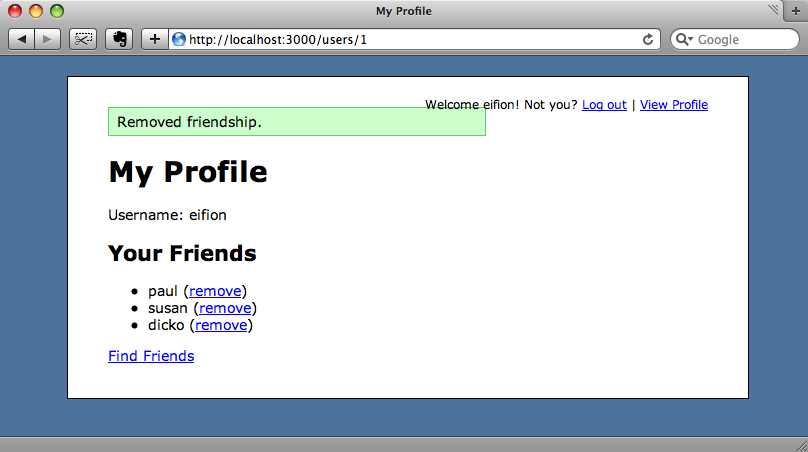
The profile page will now show a link and we’ll be able to remove a friendship with another user by clicking the link next to their name.
Inverse Relationships
When creating self-referential relationships it’s important to remember that we’re only creating one side of the relationship. Although eifion has paul listed as a friend above, if we were to visit paul’s profile we wouldn’t see eifion listed unless paul had chosen to add him. We need two Friendship records to create a mutual friendship.
To finish this episode we’ll add a list to the profile page so that a user can see who has them listed as a friend so that we can see the other side of this relationship. To do this we need to add two more relationships to the User model.
class User < ActiveRecord::Base
  has_many :friendships
  has_many :friends, :through => :friendships
  has_many :inverse_friendships, :class_name => "Friendship", :foreign_key => "friend_id"
  has_many :inverse_friends, :through => :inverse_friendships, :source => :user
  #rest of class omitted.
end
It’s difficult to think up appropriate names to define the other side of the relationship so we’ll prefix both with the word “inverse” to give us inverse_friendships and inverse_friends. We need to specify some additional options to make the relationships work. For inverse_friendships we’ll have to specify the name of the other model as it can’t be inferred from the relationship name and we’ll also have to define the foreign key as friend_id. For the inverse_friends relationship we need to specify the source as users, as again it cannot be inferred from the name of the relationship.
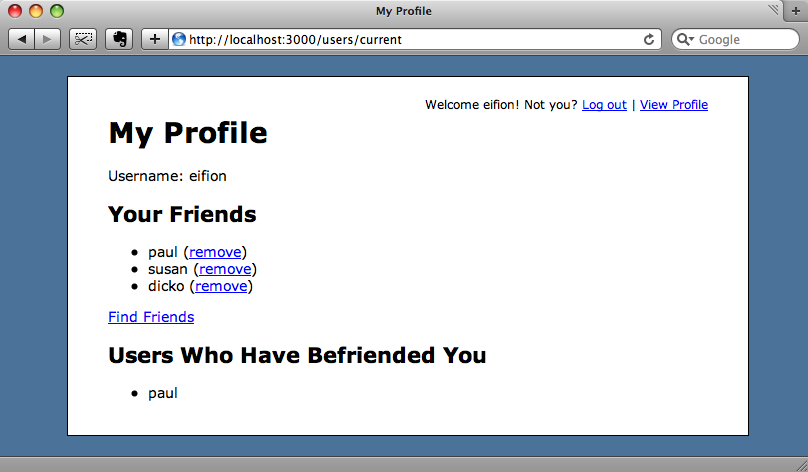
Back in the profile page we want to show a list of the users who have befriended us. To do this we just need to loop through our inverse_friends and display their user names.
<h2>Users Who Have Befriended You</h2>
<ul>
  <% for user in @user.inverse_friends %>
  <li><%= h user.username %></li>
  <% end %>
</ul>
If we log in as paul and add eifion as one of his friends, then log back in as eifion we’ll now see paul listed as having added eifion as a friend.
That’s it for this episode. We haven’t quite recreated Facebook, but hopefully you’ve now got a good idea of how self-referential relationships work in Ruby on Rails.