
165: Edit Multiple
(view original Railscast)
Other translations:

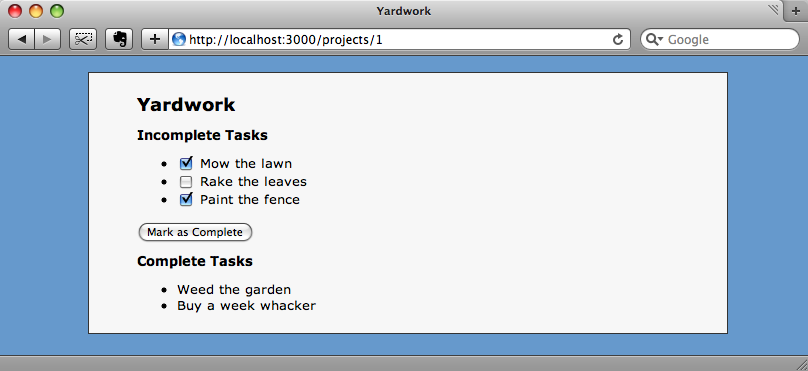
Episode 52 demonstrated how to edit multiple records simultaneously. The example application allowed you to mark several tasks as complete and each checked Task would be updated so that it was complete.
In this episode we’ll expand on the same idea, but instead of just being able to update a single attribute we’ll give the user the option of updating multiple attributes on a number of records.
The Store Application
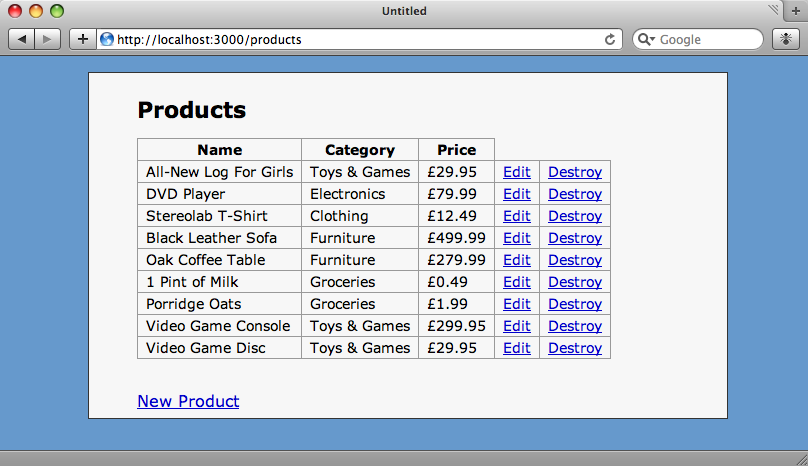
The application we’ll be using is shown below. Currently if we want to update, say, the category for the last two products we’d have to edit each product individually. While this is fine for a small number of products it would soon become fairly tedious if we had to do it for dozens or hundreds. We’ll modify our application so that we can update a number of attributes on some of the products at the same time.
Modifying The Index View
We’ll start by adding a checkbox next to each product so that we can easily select the products we want to update. To do this we’ll first have to wrap the table that renders the products in a form tag. We don’t yet have an action that can handle editing multiple products so we’ll leave that blank for now and come back to it later to fill in the appropriate path.
<% form_tag ... do %>
We haven’t specified a method for the form so it will use POST by default. As the form will take us to a page that shows a list of the selected products we could use GET, but as there will be multiple product ids passed, GET won’t really work.
On each row of the table we’ll need to add a checkbox that has a value that is the id of the product (and an empty <th> in the table’s head so that the headings still line up correctly).
<td><%= check_box_tag "product_ids[]", product.id %></td>
Note the empty square brackets at the end of the name of the check_box_tag. Doing this will mean that all of the values passed will be gathered into an array.
Finally we’ll need to add a submit button below the table.
<%= submit_tag "Edit Checked" %>
Our products index view file will now look like this:
<h1>Products</h1>
<% form_tag ... do %>
<table>
  <thead>
    <tr>
      <th>Name</th>
      <th>Category</th>
      <th>Price</th>
    </tr>
  </thead>
  <tbody>
    <% for product in @products %>
    <tr>
      <td><%= check_box_tag "product_ids[]", product.id %></td>
      <td><%= product.name %></td>
      <td><%= product.category.name %></td>
      <td><%= number_to_currency product.price, :unit => "£" %></td>
      <td><%= link_to "Edit", edit_product_path(product) %></td>
      <td><%= link_to "Destroy", product_path(product), :confirm => "Are you sure?", :method => :delete %></td>
    </tr>
    <% end %>
  </tbody>
</table>
<%= submit_tag "Edit Checked" %>
<% end %>
<%= link_to "New Product", new_product_path %>
Modifying The Products Controller
Our products controller has the usual RESTful actions in it. We’ll have to add two more to allow the editing and updating of multiple records.
def edit_multiple
end
def update_multiple
end
These two actions will behave like the standard edit and update actions but will handle multiple records. The edit_multiple action will need a view and we’ll write that shortly.
In our application Products is a RESTful resource so the two new actions won’t be accessible without making a change to our routes file. As we’re adding methods that will work on a collection of products we’ll use the :collection option to add our two new actions.
map.resources :products, :collection => { :edit_multiple => :post, :update_multiple => :put }
The :collection option takes a hash of values. Each key is the name of an action and each value is the method that that action should use. As mentioned earlier we’re using POST for the edit_multiple action, even though ideally we should use GET.
Now that we have our actions defined we can go back to the form_tag on the index page and add the correct path.
<% form_tag edit_multiple_products_path do %>
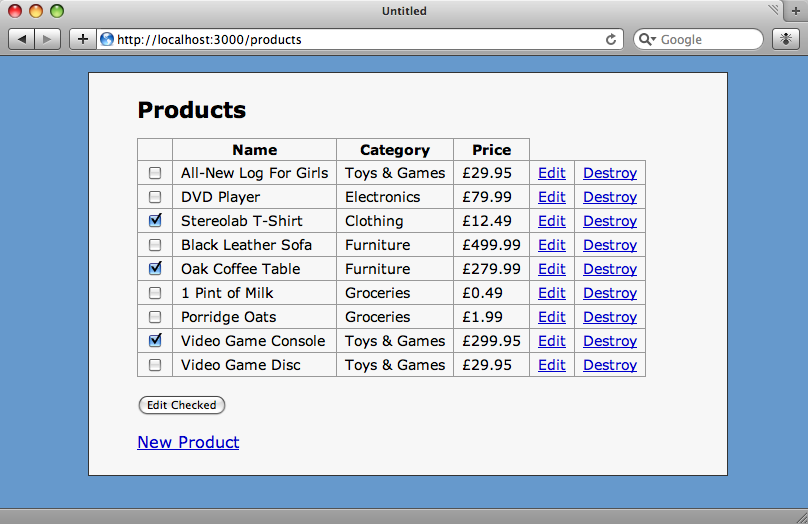
Now, if we refresh the index page we’ll see the checkboxes for each product and the button that will take us to the edit multiple page.
The New Form
If we check some of the checkboxes and then click the “Edit Checked” button we’ll see a missing template error. This is because we’ve not yet created the view code, so our next job will be to write this. The code will go in /app/views/products/edit_multiple.html.erb. But before we do that let’s take a quick look at the section of the development log that was generated when we clicked the button.
Processing ProductsController#edit_multiple (for 127.0.0.1 at 2009-06-06 19:24:37) [POST]
  Parameters: {"product_ids"=>["3", "4", "5"], "commit"=>"Edit Checked", "authenticity_token"=>"s5z3KEJpBM7zC2JooC/relZ2oZtVpfxL/IMklpcBuYU="}
In the parameters section we can see the array of product ids that represent the products in the list that we selected. In the controller we’ll use this parameter to get the products we chose from the list.
  def edit_multiple
    @products = Product.find(params[:product_ids])
  end
Now to the form view. In our application we already have a form in a partial that allows us to create and edit products, so it might seem that we could just use the form again, but there are some parts of it that need to be changed to make it work with multiple records so we’ll create a new form.
At the top of this form we’ll put the opening form_tag. As the form isn’t going to be editing a particular product we’ll use a symbol rather than a variable that references a product. We’ll also need to specify a :url so that the form knows where to send its data and a :method so that PUT rather than POST is used.
<% form_for :product, :url => update_multiple_products_path, :html => { :method => :put } do |form| %>
In the form we’ll need to pass through the ids of the products that were passed to it,or they will be lost when the form is submitted and we won’t know which products to update. We can pass the ids as a series of hidden fields and, as we’re doing that, also show a list of the products that are being updated to the user.
<ul>
  <% for product in @products %>
  <li>
    <%= h product.name %>
    <%= hidden_field_tag "product_ids[]", product.id%>
  </li>
  <% end %>
</ul>
Next we’ll add the form elements for the attributes that a Product has. There will be elements for the name, the category, the price, and for whether the product has been discontinued. When we submit this form we only want to update the fields that have had a value set against them, so for the fields that have a fixed number of options we’ll need to add a blank option so that the users can choose not update that field.
<ol class="formList">
  <li>
    <%= form.label :category_id %>
    <%= form.collection_select :category_id, Category.all, :id, :name, :include_blank => true %>
  </li>
  <li>
    <%= form.label :name %>
    <%= form.text_field :name %>
  </li>
  <li>
    <%= form.label :price %>
    <%= form.text_field :price %>
  </li>
  <li>
    <%= form.label :discontinued %>
    <%= form.select :discontinued, [["Yes", true], ["No", false]], :include_blank => true %>
  </li>
  <li>
    <%= form.submit "Submit" %>
  </li>
</ol>
Finally, we’ll just need to close the form_for block and our form is done.
<% end %>
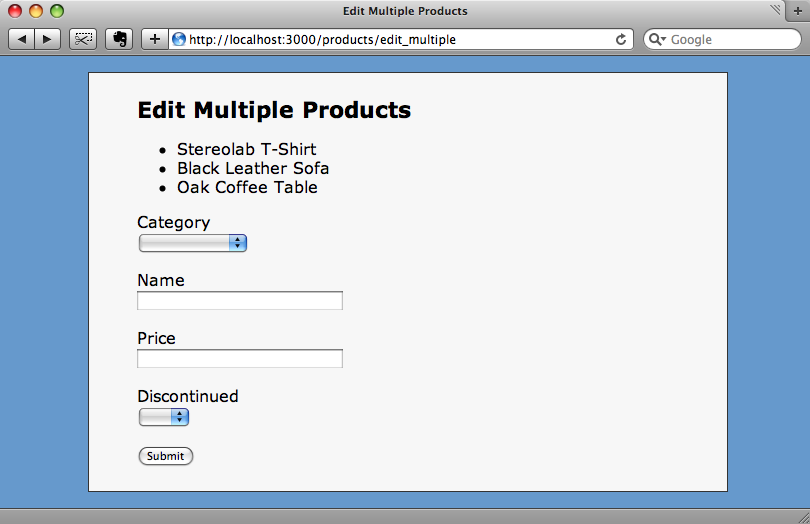
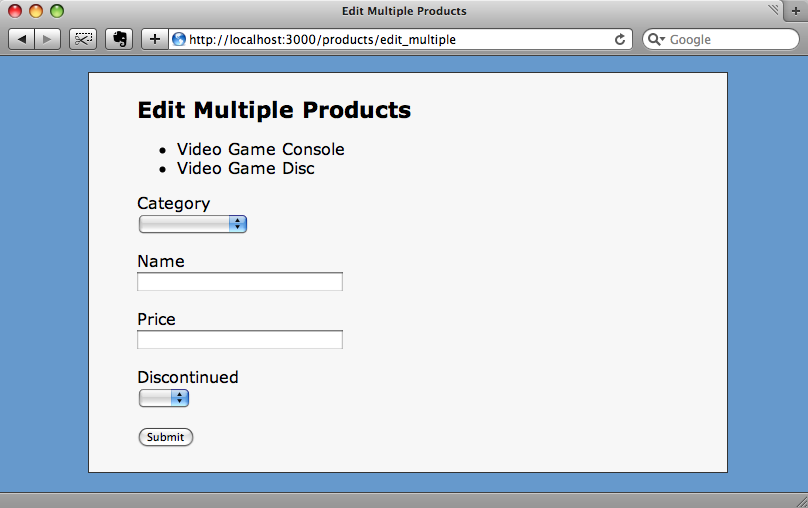
Now, if we refresh the page we’ll see the list of products we’ve selected and the form that will let us update those products. Note that both of the drop-downs have blank options so that we don’t have to update their values.
Writing The Update Action
We’re almost there now, but we still have to write the code for the update_model action so that the products we select have their attributes updated when the form above is submitted.
def update_multiple
  @products = Product.find(params[:product_ids])
  @products.each do |product|
    product.update_attributes!(params[:product].reject { |k,v| v.blank? })
  end
  flash[:notice] = "Updated products!"
  redirect_to products_path
end
The update_multiple action starts by getting the array of product ids that we passed through from the other form as a list of hidden fields. We then loop through each product and update its attributes. As we only want to update the attributes that aren’t empty we use reject to loop through each parameter and remove the ones that have a blank value from the parameter array. Note that we’re using update_attributes! with a bang (!) as we don’t have any validations on our model. If this was a production application we’d have validations but that’s beyond the scope of this episode. Using update_attributes! this way will mean that an exception is thrown if something is invalid. Once all of the products have been updated we set a flash message and return back to the products listing page.
Let’s see if it works. We have two products, Video Game Console and Video Game Disc, listed under Toys & Games which we want to list in Electronics instead. If we pick them from the list and click ‘Submit’ we’ll see them listed on the edit multiple page.
If we select “Electronics” from the category drop-down and click “Submit” we’ll be taken back to the listings page with the products shown in their new category.
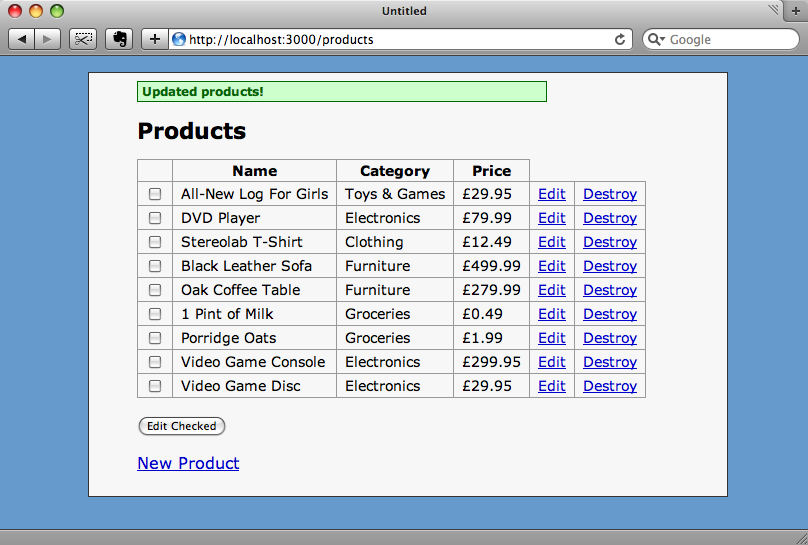
As you can see, the two products have been moved into the Electronics category, but none of their other attributes have been changed.
A Step Further
What we’ve done so far is a pretty useful way of updating a number of models at once, but to finish off this episode we’re going to take it a step further and allow relative changes to be made to the prices of our products so that we could, for example, have a 20%-off sale on all of our furniture.
We can currently select multiple products, but if we change the price field on the form all of the selected products will end up at the same price. If we were to make use of virtual attributes it would be fairly straightforward to allow relative price changes. If you’re not familiar with virtual attributes they were covered back in episode 16 so you can watch or read more about them there.
We’re going to create a virtual attribute called price_modification in the Product model. We’ll start by modifying the edit_multiple form so that it updates our new attribute rather than modifying the price field directly.
<li>
  <%= form.label :price_modification %>
  <%= form.text_field :price_modification %>
</li>
Now we need to define getter and setter methods for our new attribute inside the Product model.
class Product < ActiveRecord::Base
  belongs_to :category
  def price_modification
    price
  end
  def price_modification=(new_price)
    if new_price.ends_with? "%"
      self.price += (price * (new_price.to_f / 100)).round(2)
    else
      self.price = new_price
    end
  end
end
The getter is straightforward: we just want to return the price, but the setter method is a little more complicated. If the value entered ends with a percentage sign we’re going to convert that value to a number (new_price.to_f), divide it by one hundred and then multiply the original price by that amount to get the difference. We’ll then add that difference to the original price. If a negative amount is entered then the price will be discounted. Finally we’ll round the new value to two decimal places using an extension to round that ActiveSupport supplies.
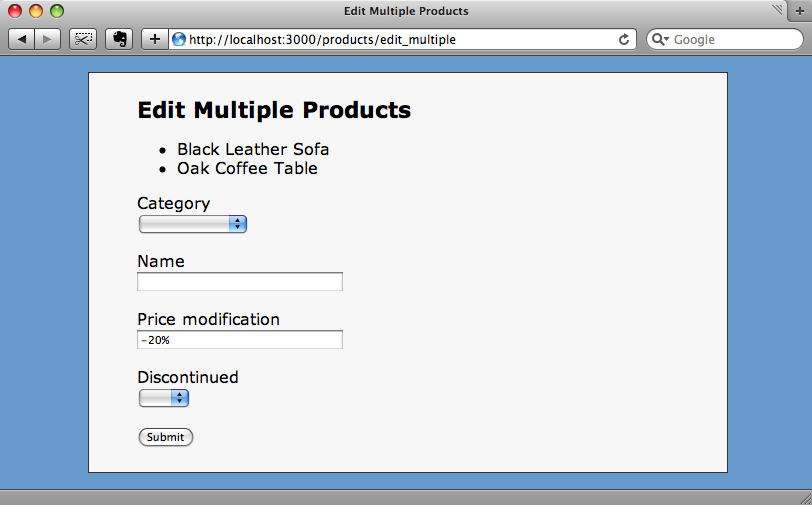
So, let’s start our furniture sale. We’ll select our two furniture products and edit them.

Then in the form we’ll enter “-20%” in the price field.
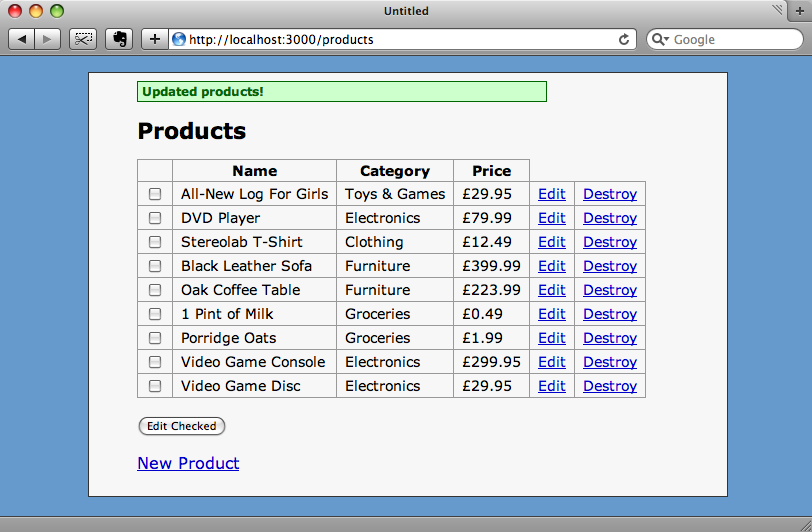
When we submit the form and return to the list, the prices for those items are now shown 20% lower.
The techniques shown in the episode have a lot of uses and can be applied in a number of scenarios. With experimentation you should be able to find a lot of ways in which being able to make relative changes to attributes in your records is useful in your Rails applications.