
258: Token Fields
(view original Railscast)
Other translations:


Let’s say that we’re developing a bookstore application. Currently it’s in a fairly basic state and we can only give a new book a name.
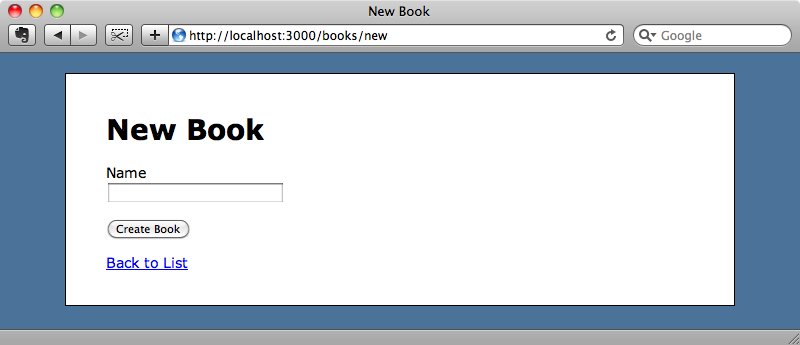
We want to be able to assign a number of authors to a given book and we already have some of the code in place to do this as the application has a many-to-many relationship between Book and Author via a join model called Authorship. Let’s take a look at the Book model.
/app/models/book.rb
class Book < ActiveRecord::Base
  attr_accessible :name
  has_many :authorships
  has_many :authors, :through => :authorships
end
The association is set up so that a book has_many authors through an Authorship, a standard has_many :through relationship.
How should we handle this many-to-many relationship in the form? One solution would be to use checkboxes, and this approach was demonstrated way back in episode 17 [watch, read]. The problem here is that we have such a large number of authors to choose from that a list of checkboxes is impractical. It would be much better if we could enter the authors through a text box that autocompletes from the list of authors as we type and allows us to enter multiple authors for each book. This is similar to the interface used by Facebook for sending messages and it handles many-to-many relationships nicely.
In this episode we’ll show you how to implement this functionality in a Rails application with a jQuery plugin.
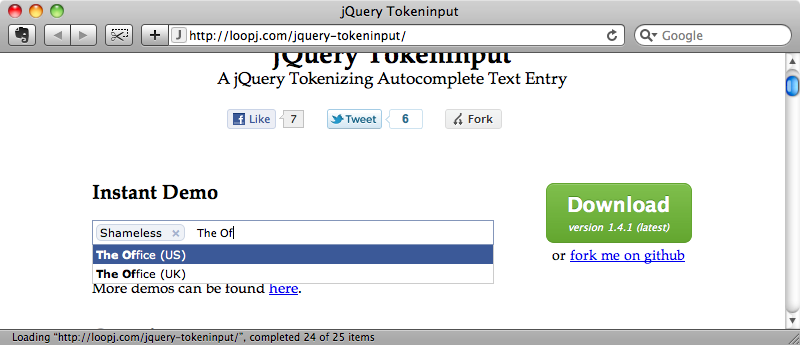
Tokeninput
One potential way to do this is to use the jQuery UI’s Autocomplete plugin. This would, however, require a lot of custom code to handle to tokenized inputs. A better alternative is jQuery Tokeninput which does exactly what we need and has several different themes available.
Any textfield that uses this plugin is will have its value submited as a comma-separated list of numeric ids which is easy to parse on the server. (We’ll see where these ids come from shortly).
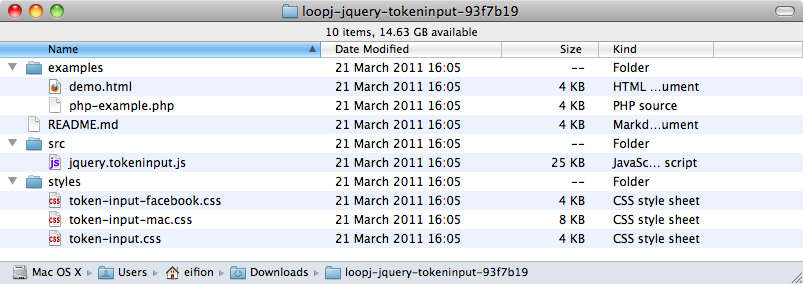
The plugin is made up from the following files. To use it in our application we’ll need to copy the jquery.tokeninput.js file into the public/javascripts directory and the files in the styles directory into public/stylesheets.
We haven’t set up our application to use jQuery yet so we’ll need to add the jquery-rails gem to the Gemfile then run bundle to install it.
/Gemfile
source 'http://rubygems.org'
gem 'rails', '3.0.5'
gem 'sqlite3'
gem 'nifty-generators'
gem 'jquery-rails'
We can then install jQuery by running
$ rails g jquery:install
Finally we need to include Tokeninput’s JavaScript and CSS files in the application’s layout file.
/app/views/layouts/application.html.erb
<!DOCTYPE html>
<html>
  <head>
    <title><%= content_for?(:title) ? yield(:title) : ↵
      "Untitled" %></title>
    <%= stylesheet_link_tag "application", "token-input" %>
    <%= javascript_include_tag :defaults, "jquery.tokeninput" %>
    <%= csrf_meta_tag %>
    <%= yield(:head) %>
  </head>
  <body>
  <!-- Rest of file... -->
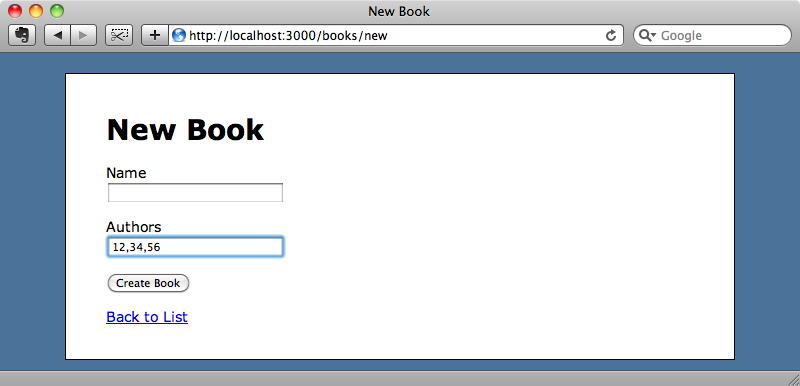
Now that we have everything set up we can add the authors field. First we’ll add a new text field to the form and call it author_tokens.
/app/views/books/_form.html.erb
<%= form_for @book do |f| %>
  <%= f.error_messages %>
  <p>
    <%= f.label :name %><br />
    <%= f.text_field :name %>
  </p>
  <p>
    <%= f.label :author_tokens, "Authors" %><br />
    <%= f.text_field :author_tokens %>
  </p>
  <p><%= f.submit %></p>
<% end %>
We don’t have an author_tokens attribute in the Book model so we’ll add getter and setter methods for it now.
/app/models/book.rb
class Book < ActiveRecord::Base
  attr_accessible :name, :author_tokens
  has_many :authorships
  has_many :authors, :through => :authorships
  attr_reader :author_tokens
  def author_tokens=(ids)
    self.author_ids = ids.split(",")
  end
end
We can use attr_reader for the getter method but the setter is a little more complex as it needs to parse the comma-separated list of ids that are submitted by the text field. In the setter method we’ll split the list into separate ids and then set the author_ids to that list to set the book’s authors. Finally we need to add the new field to the attr_accessible list so that we can accept both fields from the form.
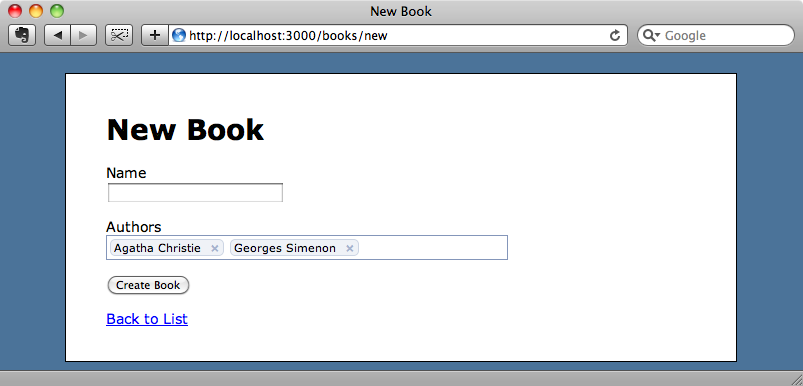
When we reload the form now it will have the new Authors field. We could insert ids manually into this field but obviously we want to use the Tokeninput plugin so let’s get it set up to work with this form field.
The Tokeninput page has some documentation on how to use the plugin. All we need to do is call tokenInput on the text field and pass in a URL. The URL will need to return some JSON in the following format for the items that will appear in the autocomplete list as the user is typing.
[
    {"id":"856","name":"House"},
    {"id":"1035","name":"Desperate Housewives"},
    ...
]
If we want to filter the list, the text that is currently in the text box is passed in to the URL’s querystring as a parameter called q.
Let’s start to apply this to our application. The first thing to do is to write the JavaScript that will add the Tokeninput functionality to the author tokens. This will go in the application.js file.
/public/javascripts/application.js
$(function () {
  $('#book_author_tokens').tokenInput('/authors.json', { crossDomain: false });
});
This code finds the author tokens text box by its id then calls tokenInput on it to enable the plugin, passing in a URL that will return some JSON to populate the autocomplete options. This URL will be /authors.json and we’ll write the code to handle it next. We can pass in some options as to the tokenInput function as a second argument and it appears to be necessary to pass in a crossDomain:false option here in order to stop the results being sent as JSONP. Setting this options will ensure that the response is sent in the standard JSON format.
Next we’ll need to get that URL working. We already have an AuthorsController so we just need to make the index action able to respond to JSON requests. To do this we add a call to respond_to with two formats inside its block, the default HTML one and a JSON one which will return the list of authors in JSON format.
/app/controllers/authors_controller.rb
class AuthorsController < ApplicationController
  def index
    @authors = Author.all
    respond_to do |format|
      format.html
      format.json { render :json => @authors }
    end
  end
end
If we visit http://localhost:3000/authors.json now we’l see the JSON that the URL returns.
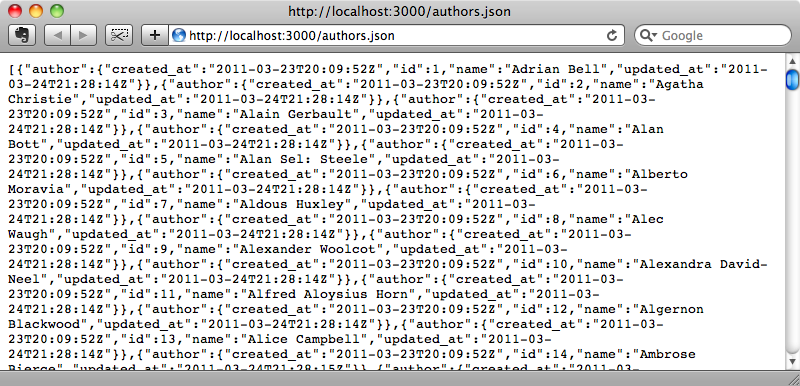
We can return a list of authors in JSON now but each one is nested within an author object. This is not the format that Tokeninput expects, it wants an array of id and name parameters. If the model we were working with didn’t have a name attribute we’d need to customize it to have one, but we need to do here is remove the root author object from each author in the list. There are ways to remove the root option globally but for a quick fix here all we have to do is map the array to the attributes list for each author.
/app/controllers/authors_controller.rb
def index
  @authors = Author.all
  respond_to do |format|
    format.html
    format.json { render :json => @authors.map(&:attributes) }
  end
end
If we reload the page now the root options is removed and we have a list of attributes for each author in a format that Tokeninput can work with.
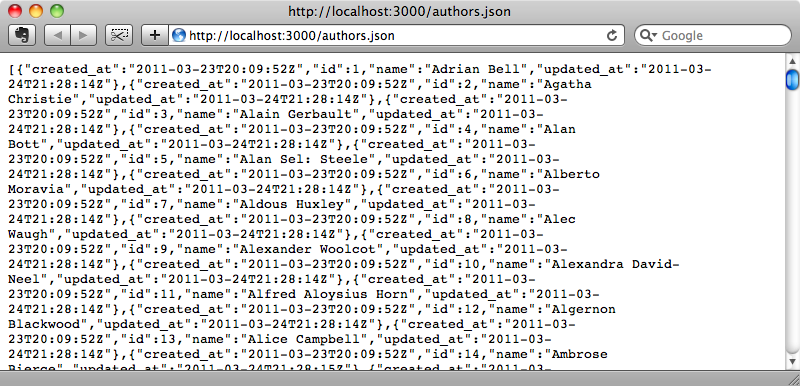
The attributes other than id and name will be ignored by Tokeninput but in a production application we might consider removing them to minimize the bandwidth used.
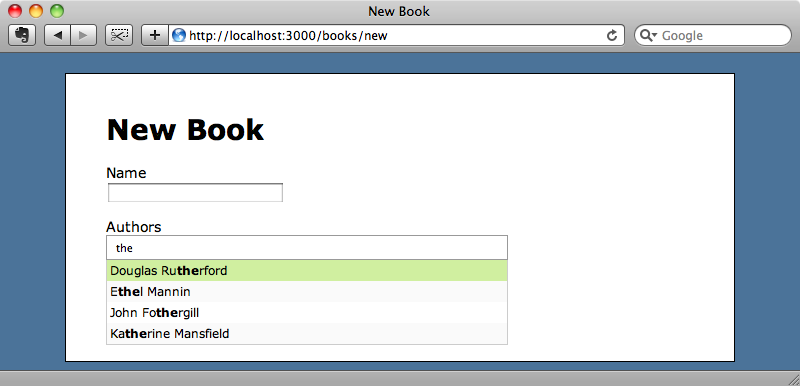
We can visit our New Book form our now and try the plugin out. When we start typing in the authors field we’ll see a list all of the authors returned.
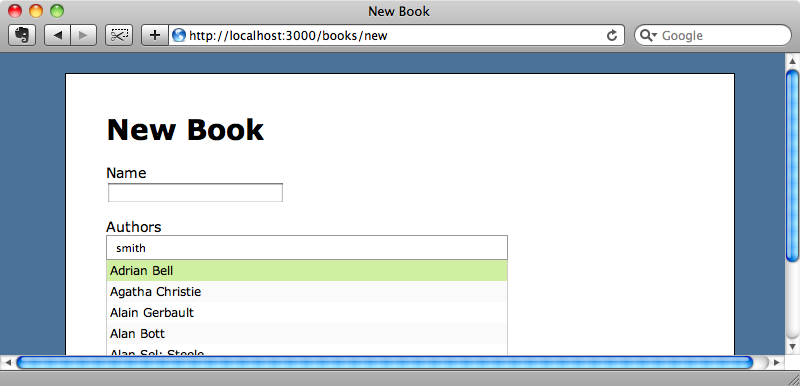
But instead of having all of the authors returned we just want the authors whose name matches our search term. In the AuthorsController we’ll filter the list of authors by the text in the text box which is passed to the controller in the q parameter in the query string.
/app/controllers/authors_controller.rb
def index
  @authors = Author.where("name like ?", "%#{params[:q]}%")
  respond_to do |format|
    format.html
    format.json { render :json => @authors.map(&:attributes) }
  end
end
We’ll replace Author.all with Author.where and search for the authors whose name is LIKE the term passed in. Not that the search term is wrapped in percentage signs so that it’s matched anywhere in the name field. If we search for an author now, only the matching names are returned.
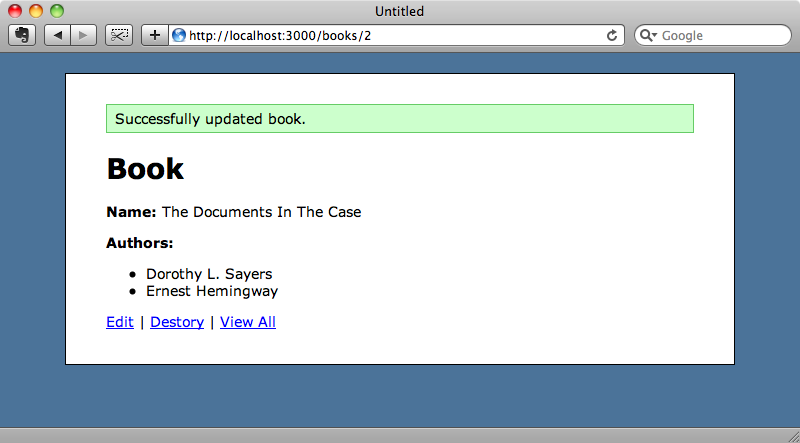
Now that the autocomplete field is filtering correctly we can try adding a book. If we create a book with two authors it will be saved correctly and we’ll see the authors listed on the book’s page when we’re redirected there after the book is saved.

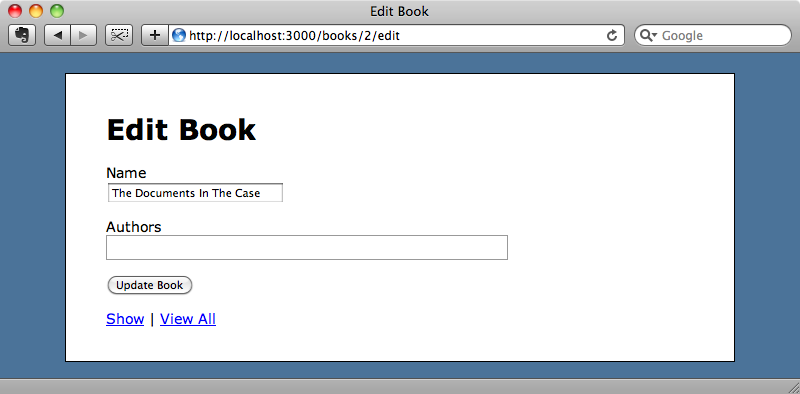
Editing a Book
We have a problem, however, when we try editing a book as the form doesn’t display the book’s authors. We need to pre-populate the form with the correct authors’ names.
The Tokeninput plugin supports a prePopulate option and if we pass it some JSON it will pre-populate the list based on that. We can add this option into the call to tokenInput in our application.js file but how should we pass in the relevant data? One way is to add an HTML 5 data attribute to the text field and read the data from there and this is what we’ll do.
/app/views/books/_form.html.erb
<%= form_for @book do |f| %>
  <%= f.error_messages %>
  <p>
    <%= f.label :name %><br />
    <%= f.text_field :name %>
  </p>
  <p>
    <%= f.label :author_tokens, "Authors" %><br />
    <%= f.text_field :author_tokens, "data-pre" => ↵
      @book.authors.map(&:attributes).to_json %>
  </p>
  <p><%= f.submit %></p>
<% end %>
We’ll call the attribute data-pre. Its value will be set to the attributes of the book’s authors in a similar way to the way we create the JSON for the auto complete list.
We can now read this data in the JavaScript file and use it to pre-populate the authors list.
/public/javascripts/application.js
$(function () {
  $('#book_author_tokens').tokenInput('/authors.json', {
    crossDomain: false,
    prePopulate: $('#book_author_tokens').data('pre')
  });
});
If we reload the edit page now the authors list is populated.
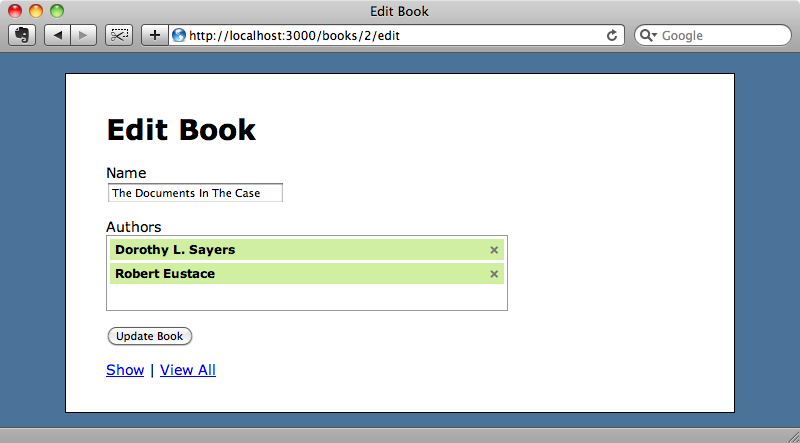
If we update the authors, say removing one and then adding another, everything will update correctly.
Themes
We’re currently using the default theme that comes with the Tokeninput plugin. If we want to change this we need to make two changes. First we need to go to our layout file and change the Tokeninput CSS file from the default one, token-input, to the one for the theme we want to use. There’s a Facebook theme available and we’ll use that to demonstrate theming.
/app/views/layouts/application.html.erb
<%= stylesheet_link_tag "application", "token-input-facebook" %>
Next we’ll modify the JavaScript that creates the Tokeninput field and set the theme option there.
/public/javascripts/application.js
$(function () {
  $('#book_author_tokens').tokenInput('/authors.json', {
    crossDomain: false,
    prePopulate: $('#book_author_tokens').data('pre'),
    theme: 'facebook'
  });
});
We can add any theme we like here and customize it to suit our application. If we reload the edit page now we’ll see the new theme applied.

That’s it for this episode. Tokeninput is a great solution for handling many-to-many relationships in Rails forms and I hope we’ve demonstrated that here.