272: Markdown with Redcarpet
(view original Railscast)
A couple of months ago Github introduced a Ruby gem called Redcarpet. This gem is used to interpret Markdown code and Github use it internally with the Upskirt library to provide an easy way to mark up documents. Redcarpet is easy to use and in this episode we’ll add it to a Rails application and show how it can be customized and how we can add syntax highlighting to code blocks.
We’ll be working with the simple blogging application shown below. The content we’ve entered for the article below is output directly as HTML so even though we entered it as two separate paragraphs it’s shown in one block.
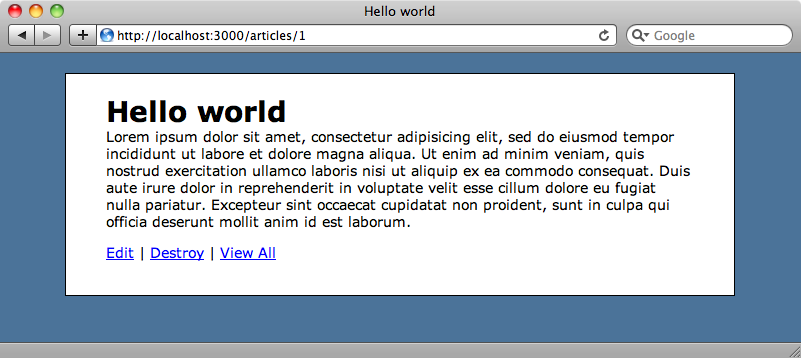
The content currently isn’t interpreted in any way. We’ll change our application so that it’s passed through Markdown. That way anyone creating or editing an article will have a lot of flexibility in controlling how it’s formatted.
Installing Redcarpet
The first step in doing this, as you might expect, is to install the Redcarpet gem. This is done in the usual way by adding a reference to the gem in the Gemfile and then running bundle to install it.
/Gemfile
source 'http://rubygems.org'
gem 'rails', '3.0.9'
gem 'sqlite3'
gem 'nifty-generators'
gem 'redcarpet'
Next we’ll go to the ArticleController’s show page and add Redcarpet to the line of the code that shows the article’s content. To do this we create a new Redcarpet object, pass in the content we want marked up, and call to_html on the string that is returned.
/app/views/articles/show.html.erb
<% title @article.name %>
<%= Redcarpet.new(@article.content).to_html %>
<p>
  <%= link_to "Edit", edit_article_path(@article) %> |
  <%= link_to "Destroy", @article, :confirm => 'Are you sure?', :method => :delete %> |
  <%= link_to "View All", articles_path %>
</p>
When we reload the page, though, we don’t quite get the result we want.
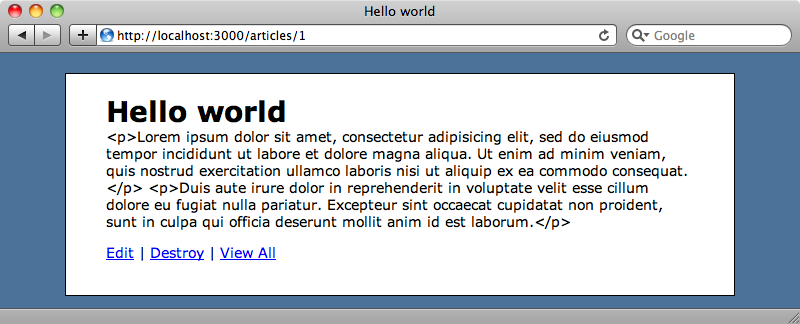
Rails 3 has auto-escaped the HTML so we see the tags that Redcarpet has added displayed on the page. The quick way to fix this is to wrap the output with raw.
/app/views/articles/show.html.erb
<% title @article.name %>
<%= raw Redcarpet.new(@article.content).to_html %>
<p>
  <%= link_to "Edit", edit_article_path(@article) %> |
  <%= link_to "Destroy", @article, :confirm => 'Are you sure?', :method => :delete %> |
  <%= link_to "View All", articles_path %>
</p>
When we reload the page now it displays like we want it to.
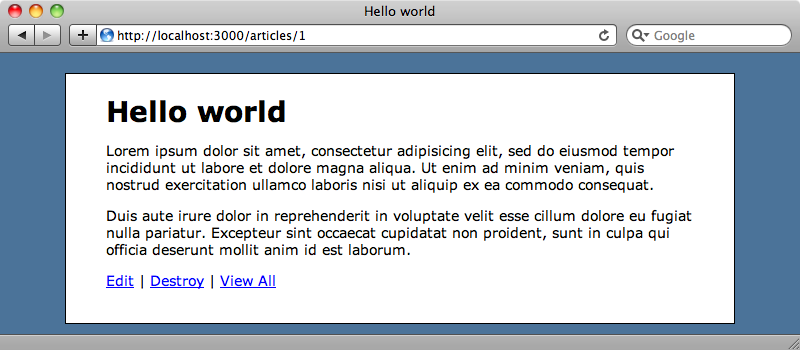
Doing all this every time we want to display some Markdown code is a bit of a pain so we’ll create a helper method called markdown to make it easier.
/app/helpers/application_helper.rb
module ApplicationHelper
  def markdown(text)
    Redcarpet.new(text).to_html.html_safe
  end
end
When we return content from a helper method we call html_safe on it instead of raw. We can now use the new helper method in the article page.
/app/views/articles/show.html.erb
<% title @article.name %>
<%= markdown @article.content %>
<p>
  <%= link_to "Edit", edit_article_path(@article) %> |
  <%= link_to "Destroy", @article, :confirm => 'Are you sure?', :method => :delete %> |
  <%= link_to "View All", articles_path %>
</p>
Customizing Redcarpet
We’ll look next at customizing Redcarpet. One thing that it doesn’t do by default is handle single line breaks: a blank line is required to define the start of a new paragraph. If we enter some text with a single line break in it like this
give me a
break
it will be displayed as a single line of text in the output.
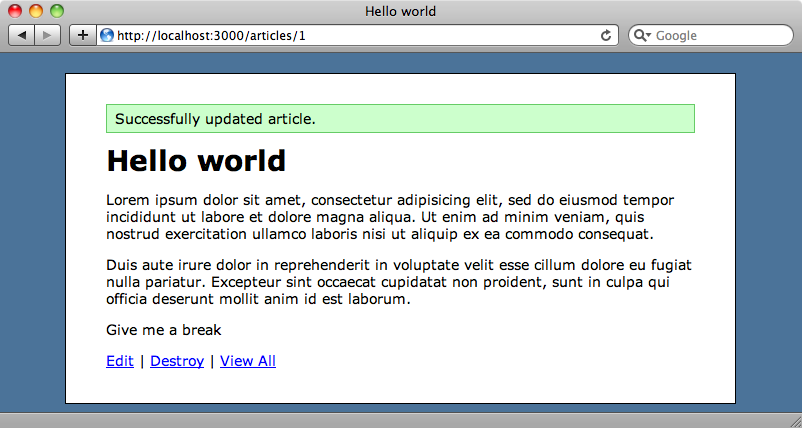
It would be better if entering text like this inserted a line break tag at the appropriate place in the HTML. If we take a look at the Redcarpet documentation we’ll see a list of options and one of these is hard_wrap which will do exactly that.
We add options as symbols to Redcarpet’s constructor, like this:
/app/helpers/application_helper.rb
module ApplicationHelper
  def markdown(text)
    Redcarpet.new(text, :hard_wrap).to_html.html_safe
  end
end
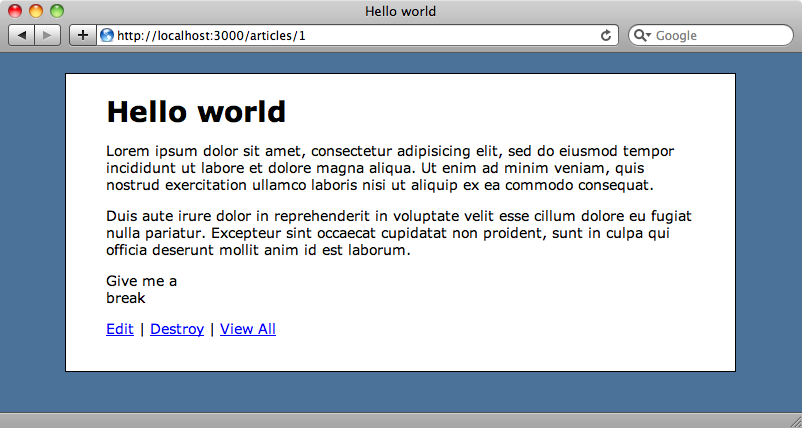
When we reload our article now the line “Give me a break” will appear on two lines as we want.
There are a number of other useful options we can add here. The filter_html option will stop any raw HTML from being output. We’ll also add autolink so that any URLs that are detected in the code are turned into links. As we’re planning on including code examples in the articles we’ll also use the no_intraemphasis option. This will stop underscores within words from being treated as the start or end of emphasis blocks and will therefore stop Ruby method or variable names with underscores in them from triggering the emphasis. Finally, to help render code samples in our blog’s articles we’ll add two more options: fenced_code (we’ll see this in use shortly) and gh_blockcode.
We now have quite a long list of options we’ll extract them out into an array in our helper.
/app/helpers/applciation_helper.rb
module ApplicationHelper
  def markdown(text)
    options = [:hard_wrap, :filter_html, :autolink, ↵
      :no_intraemphasis, :fenced_code, :gh_blockcode]
    Redcarpet.new(text, *options).to_html.html_safe
  end
end
With these options in place we can add code blocks to our articles just as we can with Github. These blocks start and end with a line containing three backticks and with the language specified in the opening line. We’ll edit our article and add a Ruby code block to it.
Lorem ipsum dolor sit amet, consectetur adipisicing elit, sed do eiusmod tempor incididunt ut labore et dolore magna aliqua. Ut enim ad minim veniam, quis nostrud exercitation ullamco laboris nisi ut aliquip ex ea commodo consequat.
``` ruby
puts "Hello, world!"
```
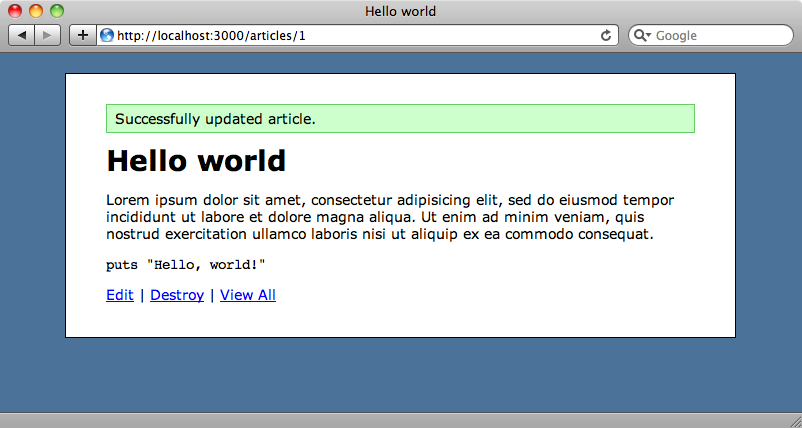
This is rendered like this, with the code sample rendered in a pre tag with the appropriate lang element to define the language.
We can also use the more traditional way of defining code blocks with Fenced Code by using tildes instead of backticks.
Lorem ipsum dolor sit amet, consectetur adipisicing elit, sed do eiusmod tempor incididunt ut labore et dolore magna aliqua. Ut enim ad minim veniam, quis nostrud exercitation ullamco laboris nisi ut aliquip ex ea commodo consequat.
~~~ruby
puts "Hello, world!"
~~~
This will be rendered exactly as it is when we use backticks.
Syntax Highlighting
Now that we can add code blocks to our articles how can we add syntax highlighting? Github handles this with a combination of the Python library Pygments and the Albino gem and we’ll do the same in our application.
We’ll add Albino to our Gemfile and also Nokogiri so that we can interpret and parse the HTML that Redcarpet generates.
/Gemfile
source 'http://rubygems.org'
gem 'rails', '3.0.9'
gem 'sqlite3'
gem 'nifty-generators'
gem 'redcarpet'
gem 'albino'
gem 'nokogiri'
As before we’ll need to run bundle to ensure that everything’s installed.
We’ll also need to install Pygments. As we have Python installed on our machine we can install it by running
$ sudo easy_install pygments
In our ApplicationHelper we’ll add a wrapper method that we’ll call syntax_highlighter around the line of code that converts the Redcarpet code to HTML. This method will use Nokogiri to search the document for pre elements with a lang attribute as this is how Redcarpet defines code blocks. It will then replace the contents of these elements with the syntax-highlighted code.
/app/helpers/application_helper.rb
module ApplicationHelper
  def markdown(text)
    options = [:hard_wrap, :filter_html, :autolink, ↵
      :no_intraemphasis, :fenced_code, :gh_blockcode]
    syntax_highlighter(Redcarpet.new(text, ↵
      *options).to_html).html_safe
  end
  def syntax_highlighter(html)
    doc = Nokogiri::HTML(html)
    doc.search("//pre[@lang]").each do |pre|
      pre.replace Albino.colorize(pre.text.rstrip, pre[:lang])
    end
    doc.to_s
  end
end
This code is based on the rack-pygmentize gem and it’s worth taking a look at that to see how it works. This method makes it easy to swap in a different syntax highlighting library such as Coderay if you prefer.
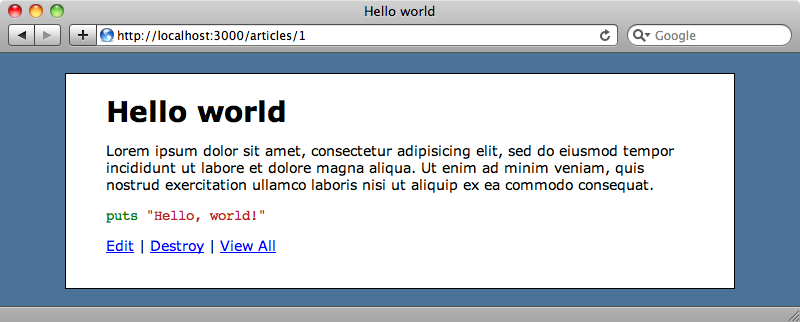
We’ve added in a stylesheet to show off the syntax highlighting which you can find on Github. When we reload the page the code sample is highlighted.
That wraps up our look at Redcarpet. For more information take a look at the project’s Github page.


